Configure Single Sign-On for Entra ID (Azure)
Securden leverages SAML 2.0 to seamlessly integrate with SAML-compatible federated identity management solutions like Entra ID (Azure AD) SSO. Securden serves as the SAML Service Provider (SP), and it integrates with SAML Identity Providers (IdP).
Once this integration is done, users who log in to solutions like Okta (IdP) will be automatically logged in to Securden. The IdP and Securden exchange validation details in the background.
Configuration Steps
To integrate Securden Login with Entra ID (Azure AD), you need to carry out the following steps:
- Log in to your Microsoft Azure portal.
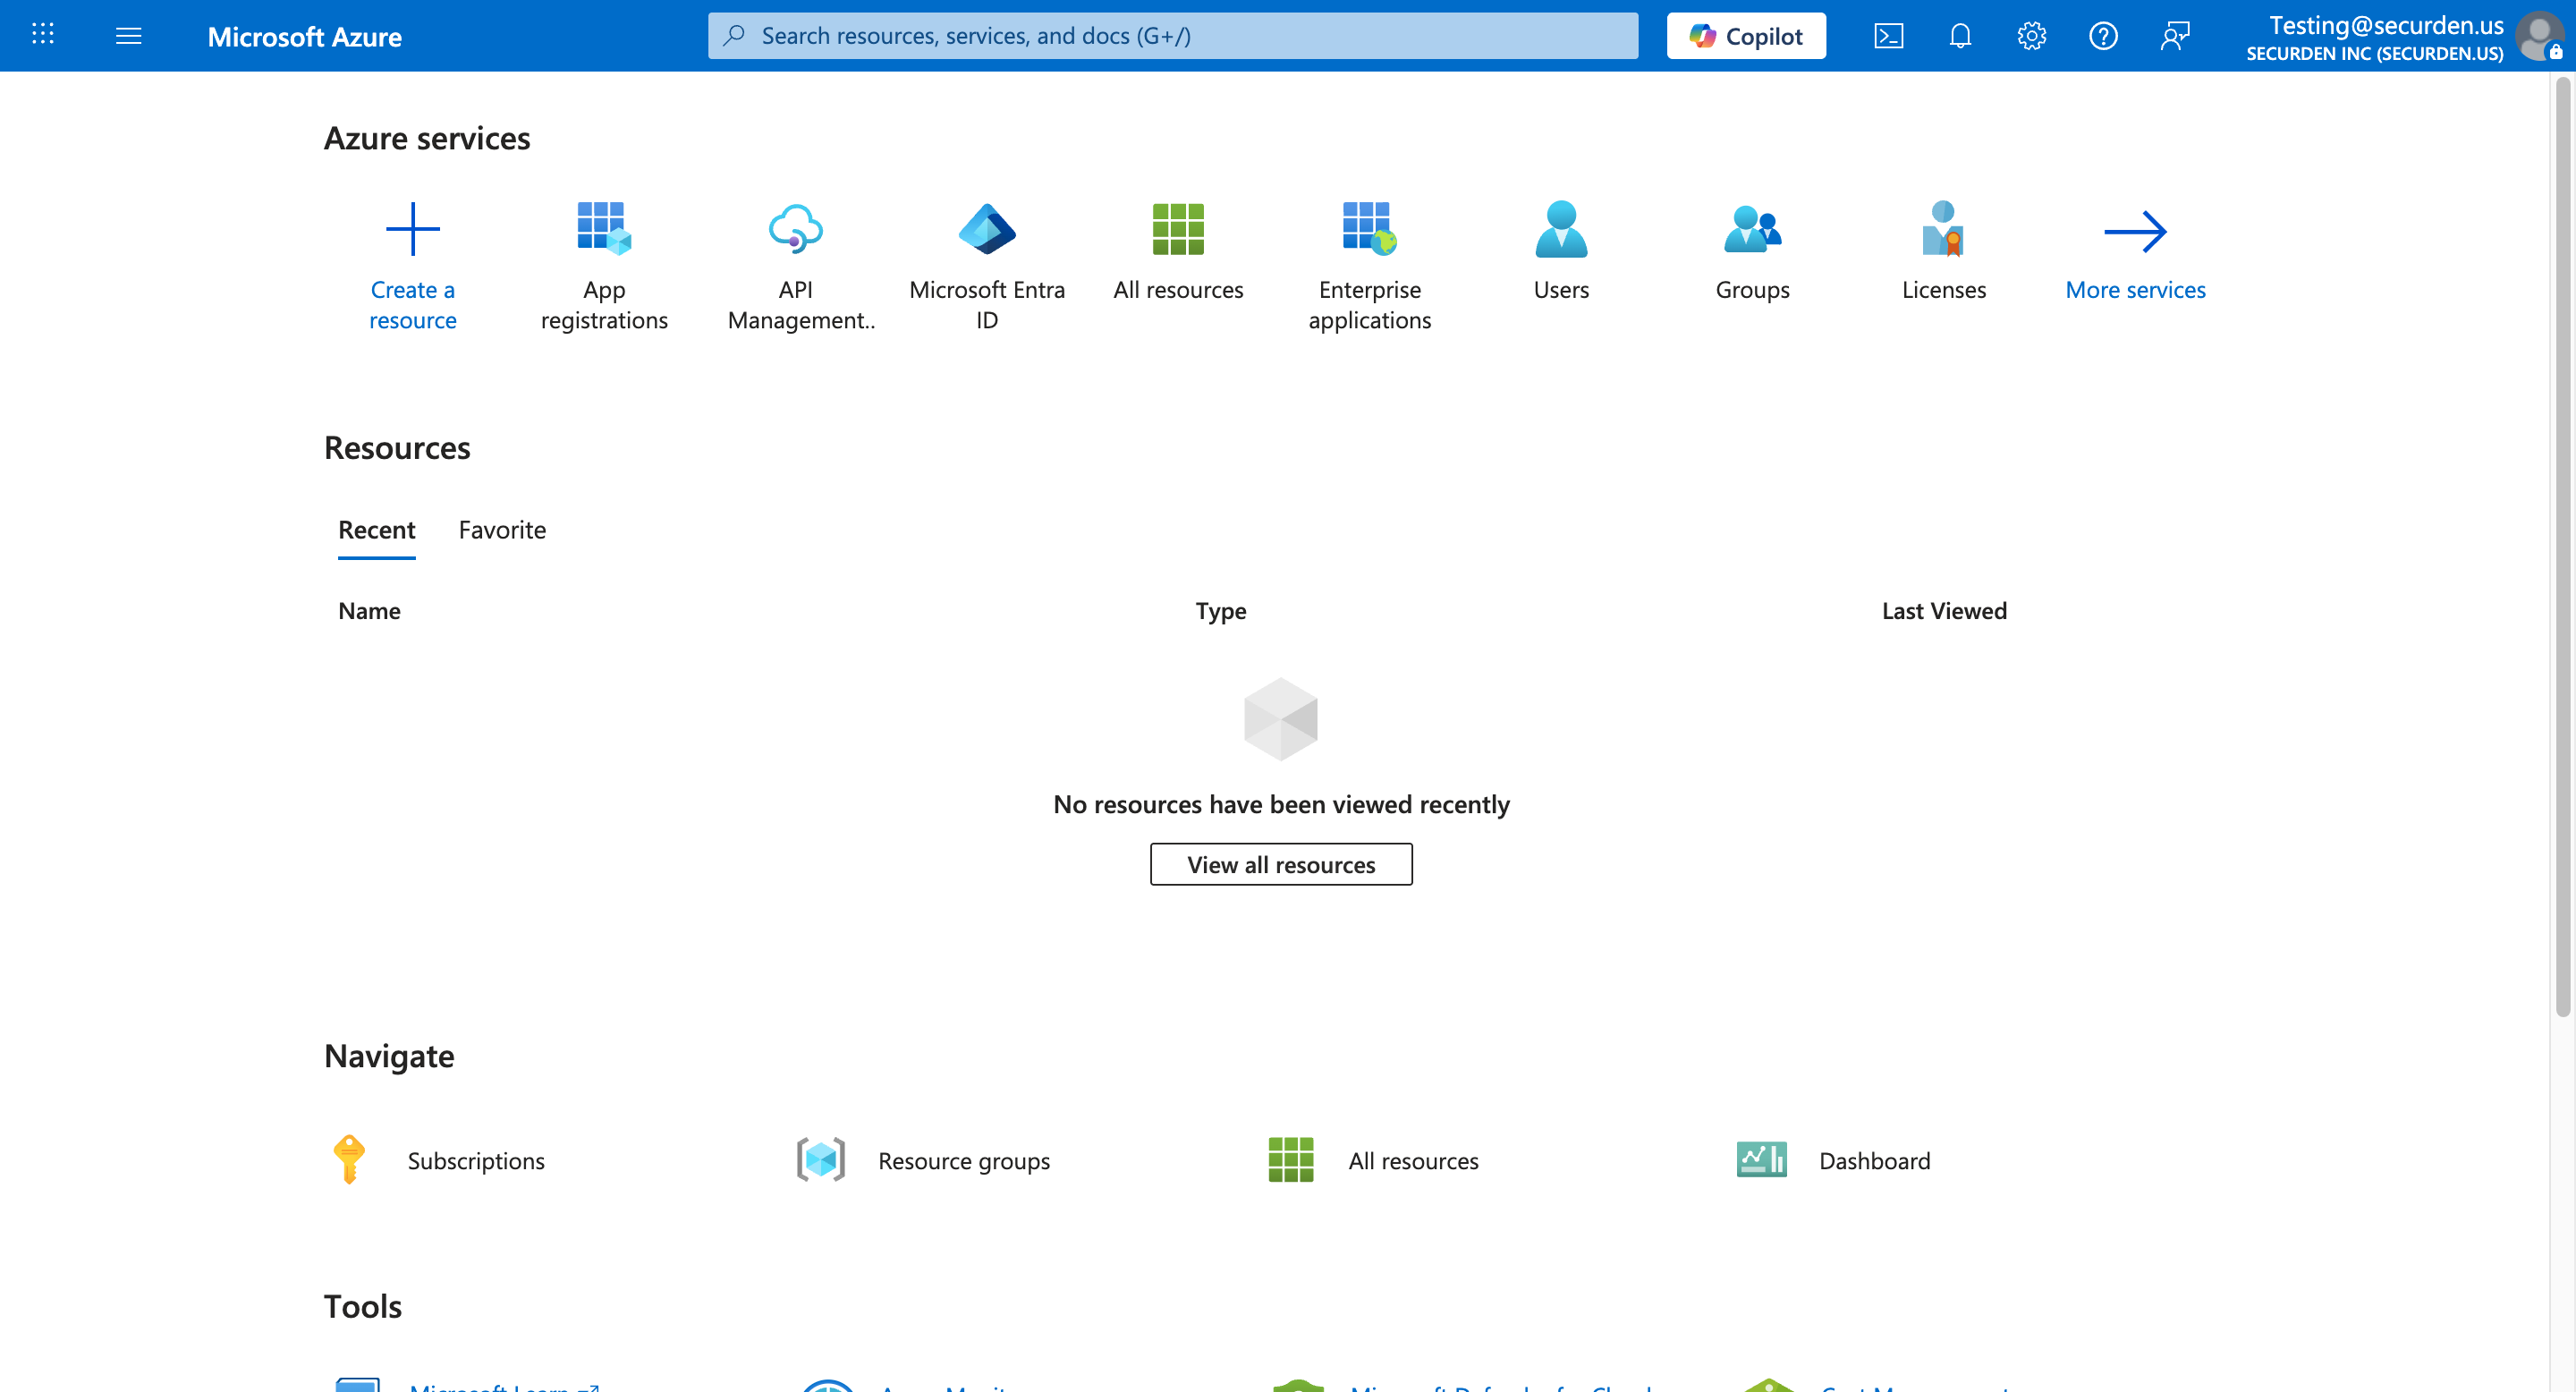
- Navigate to Azure Active Directory → Enterprise applications and select New application.
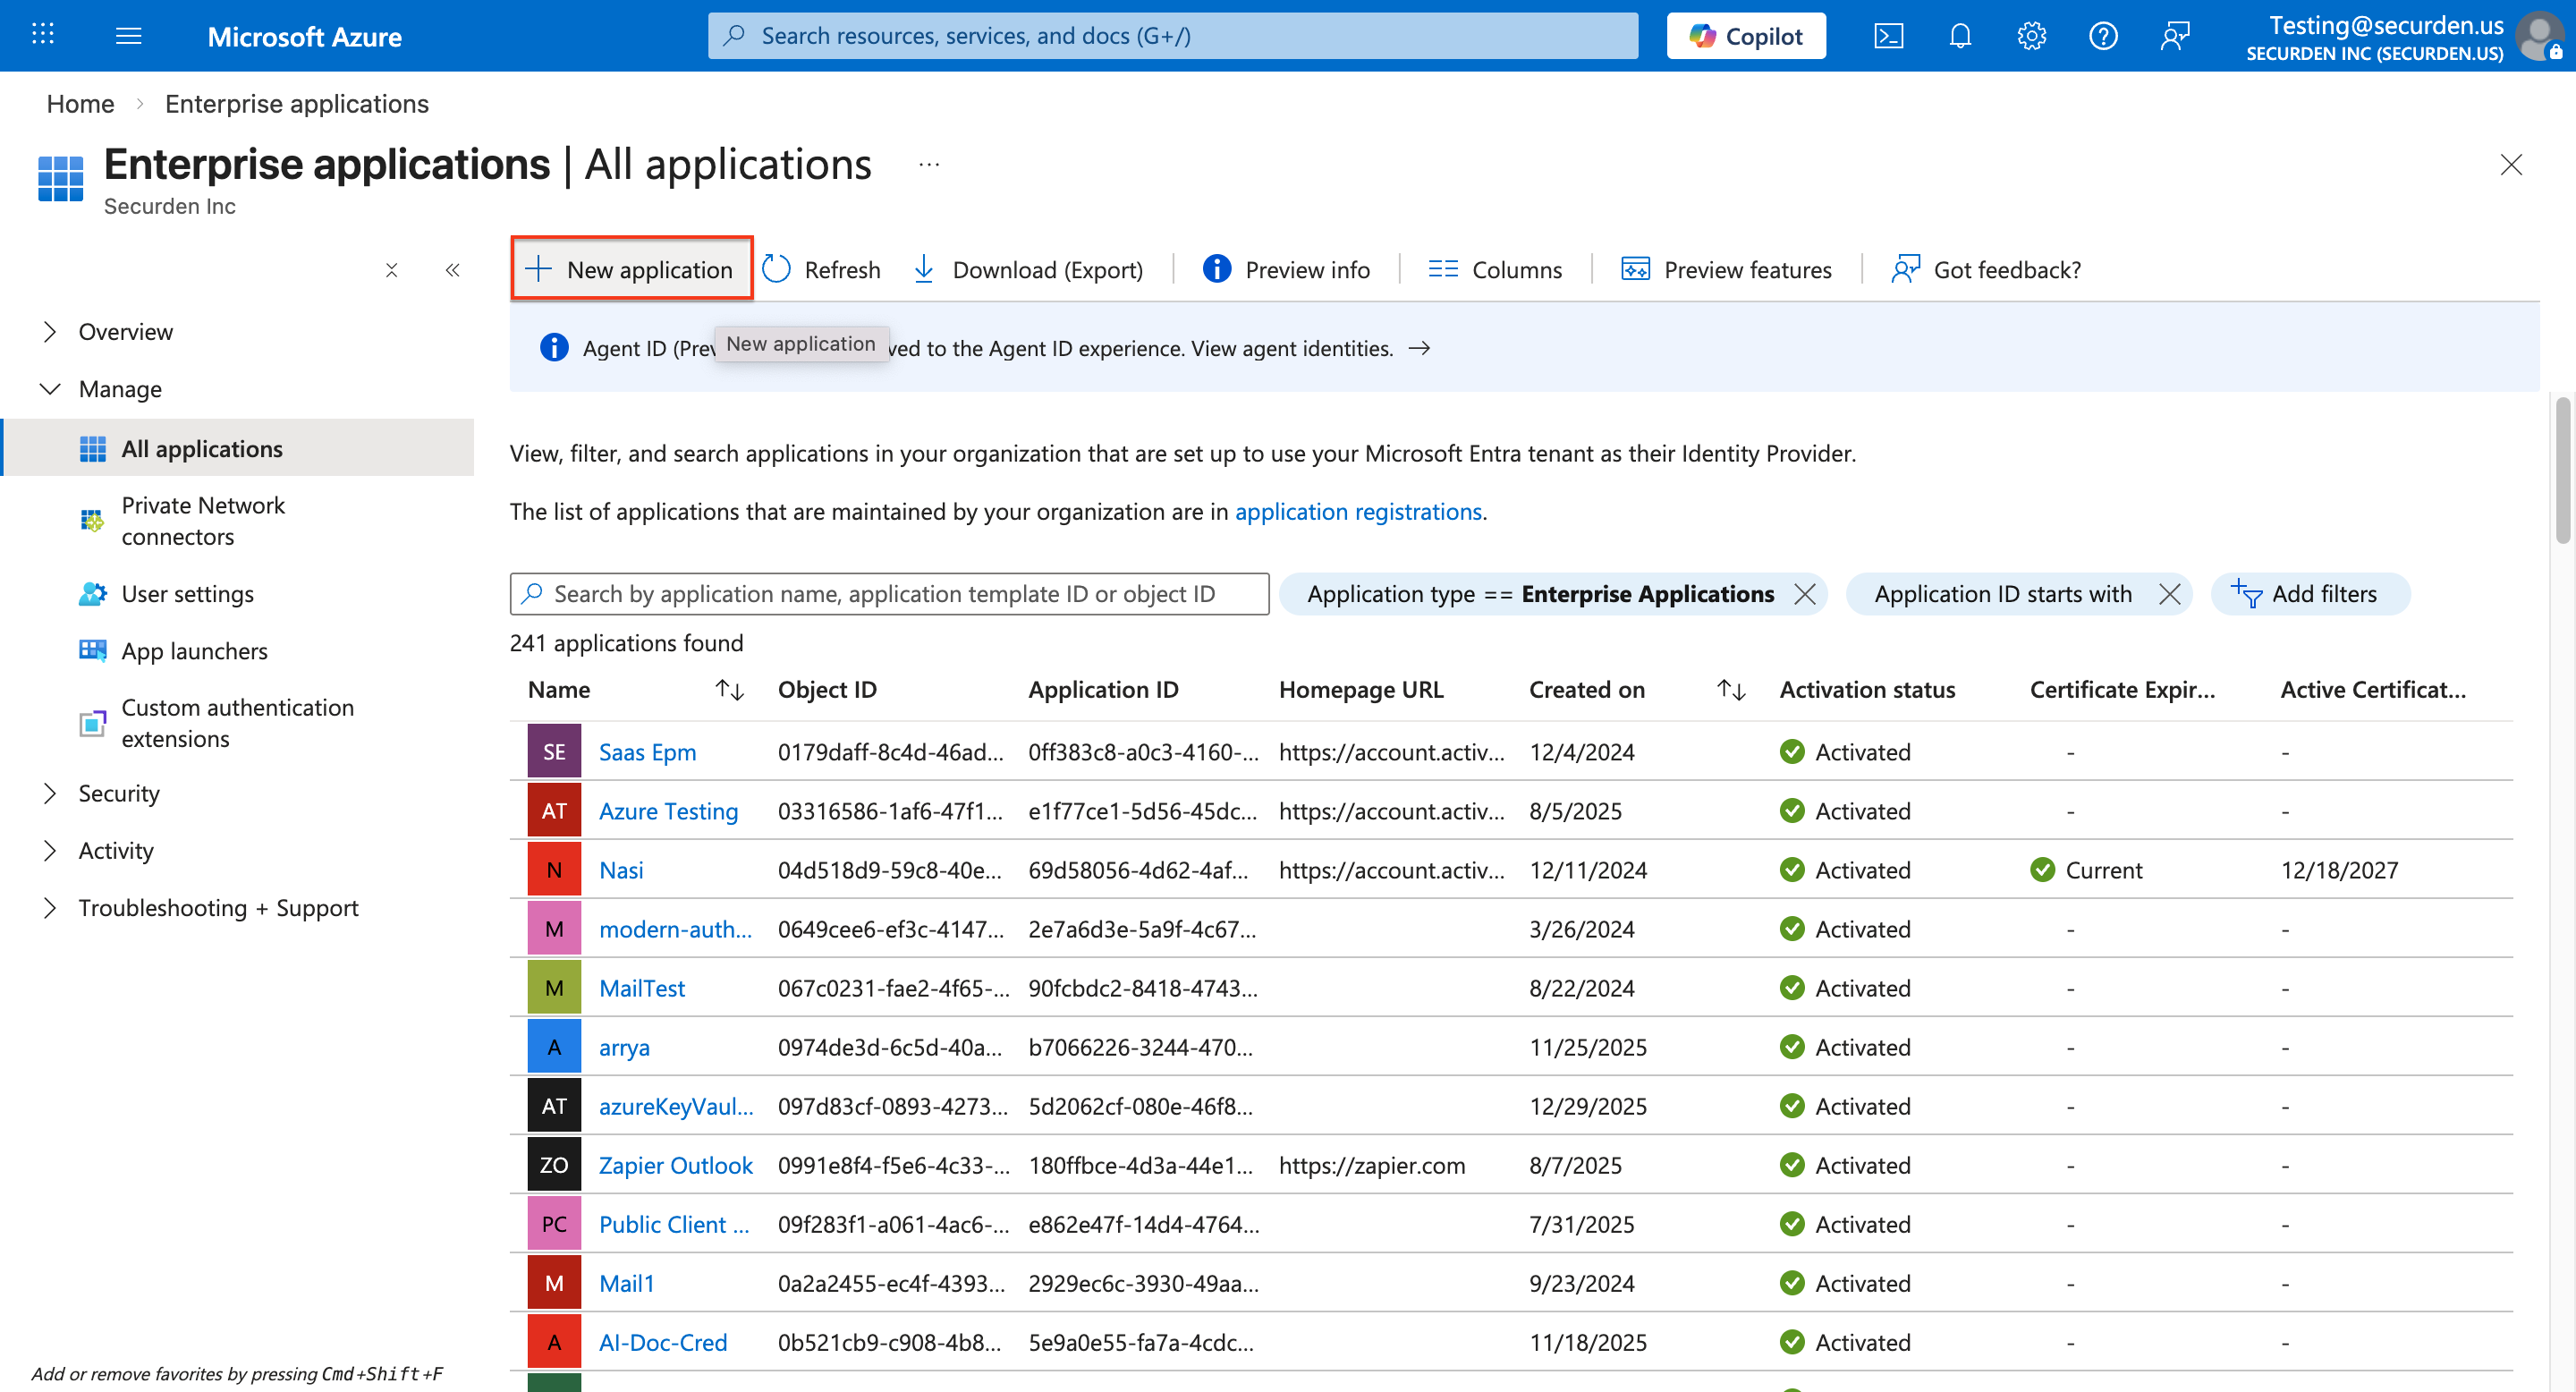
- Choose Create your own application >> Non-gallery application
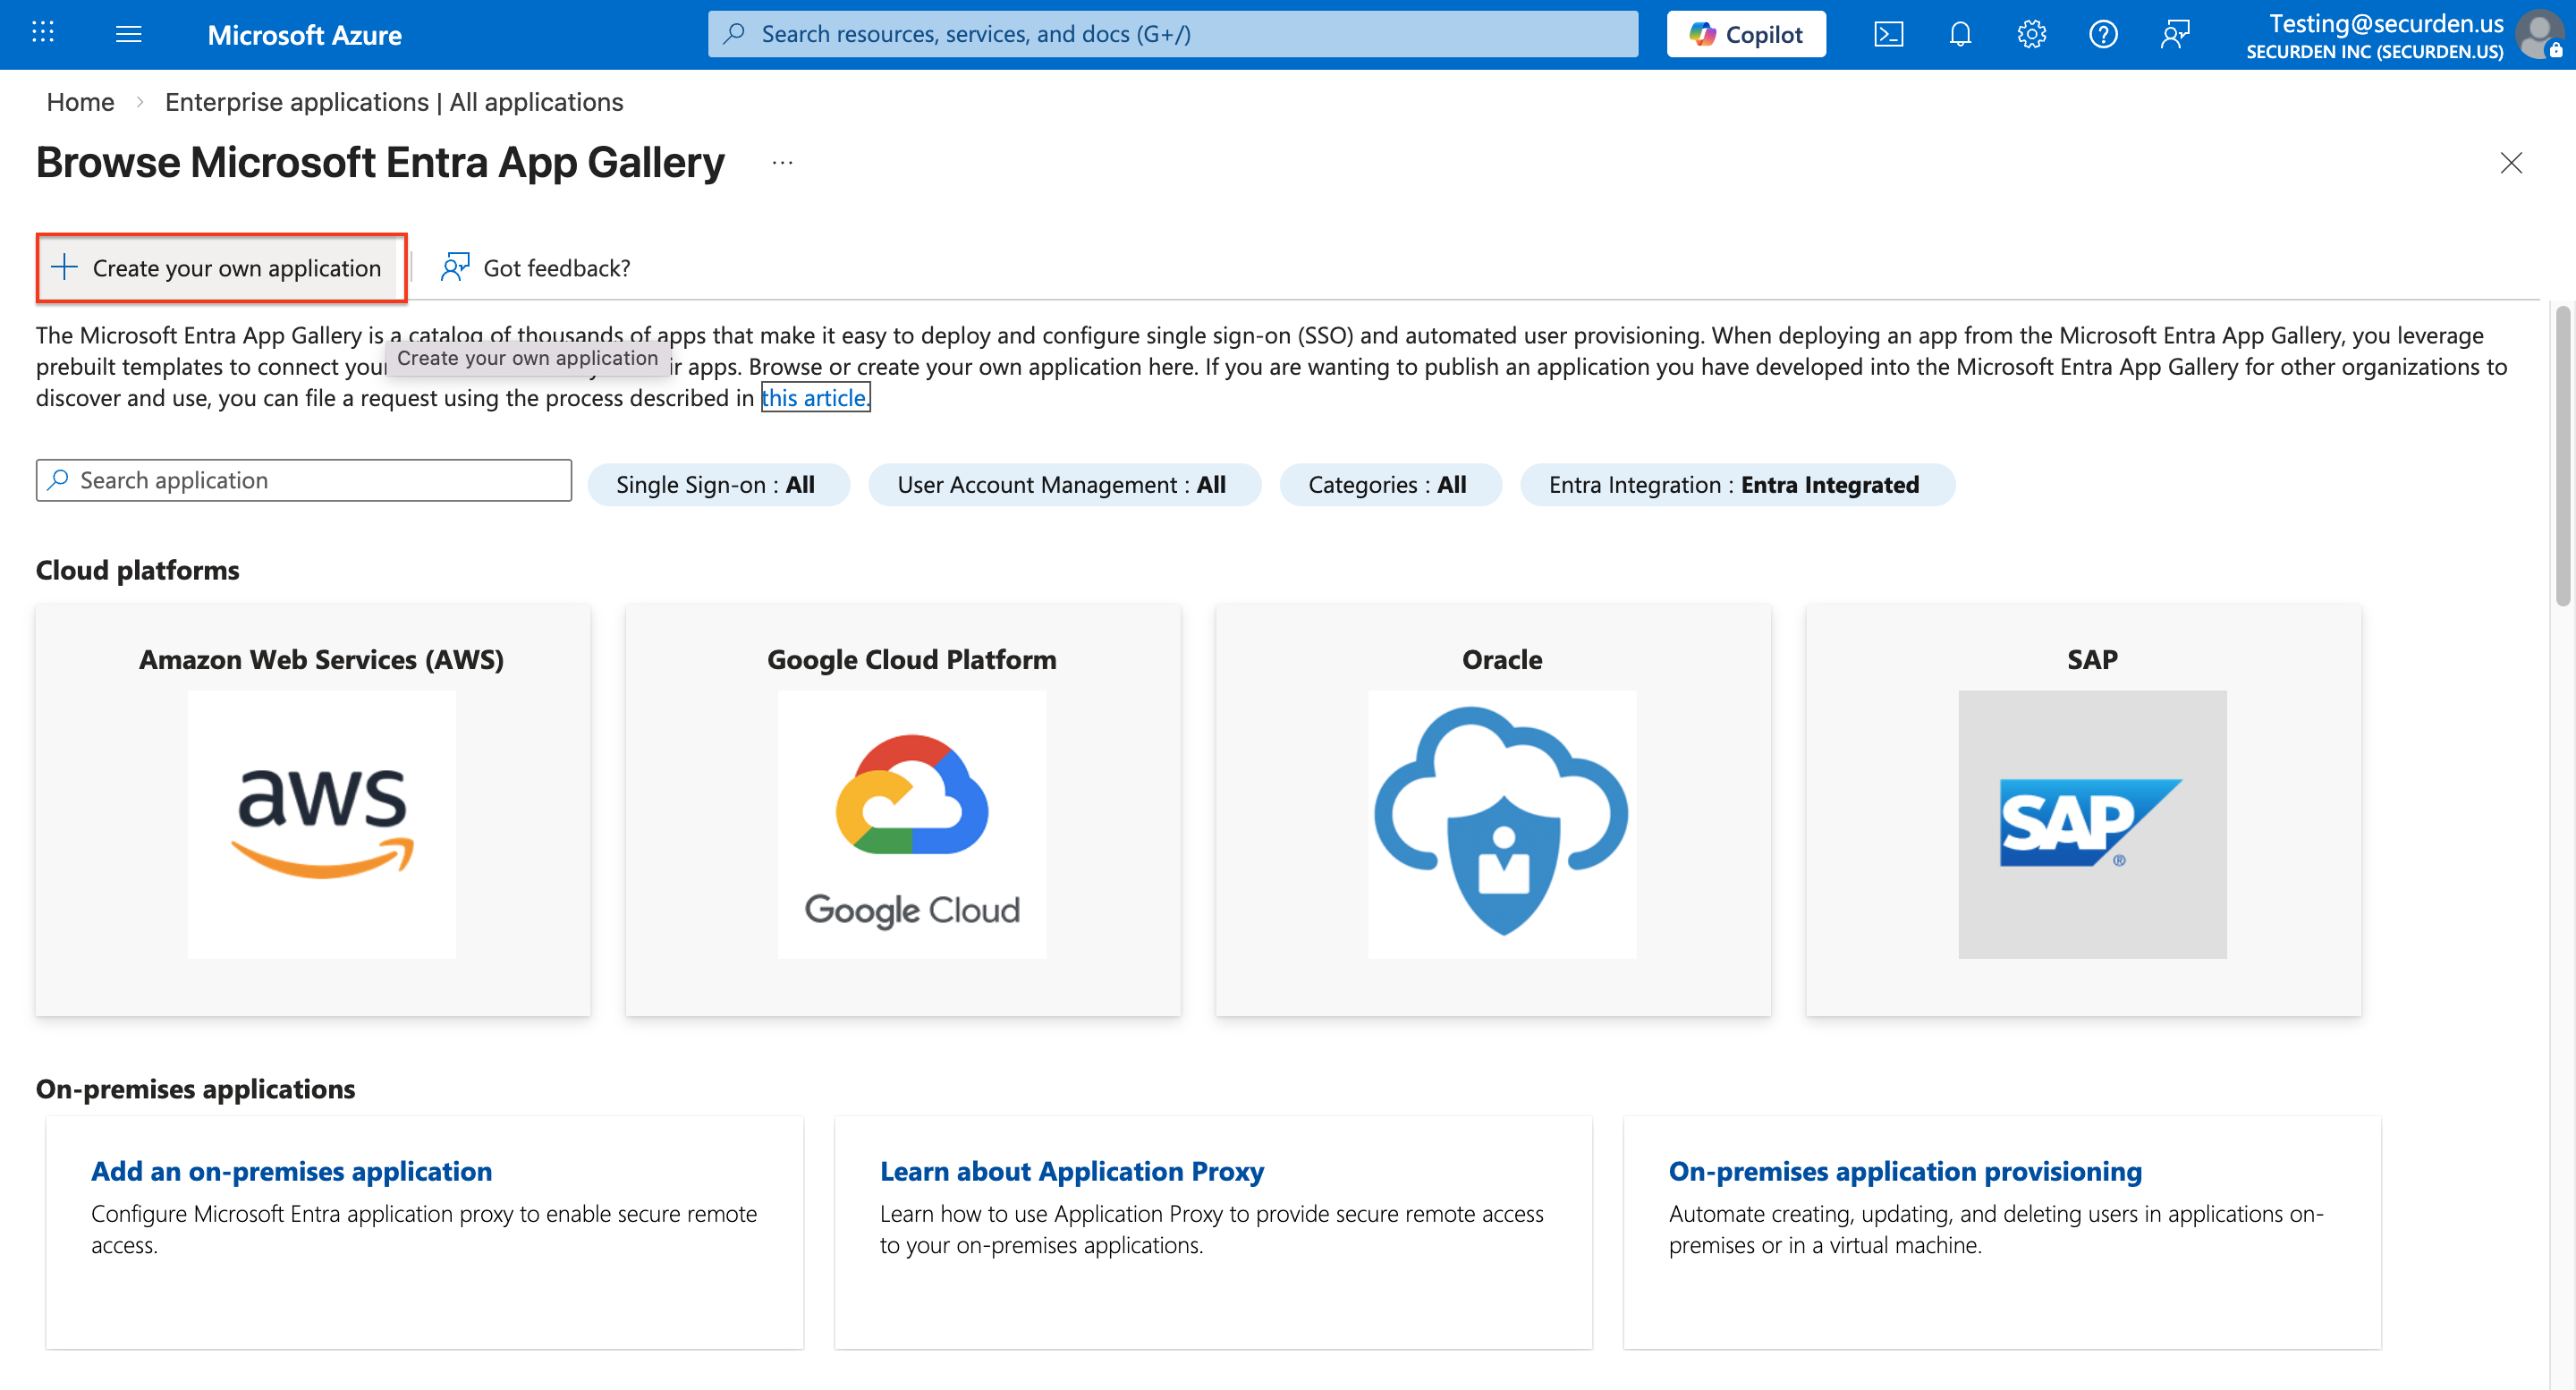
- When configuring the New Application, provide a suitable name for the application (e.g., Securden SSO) and click Create
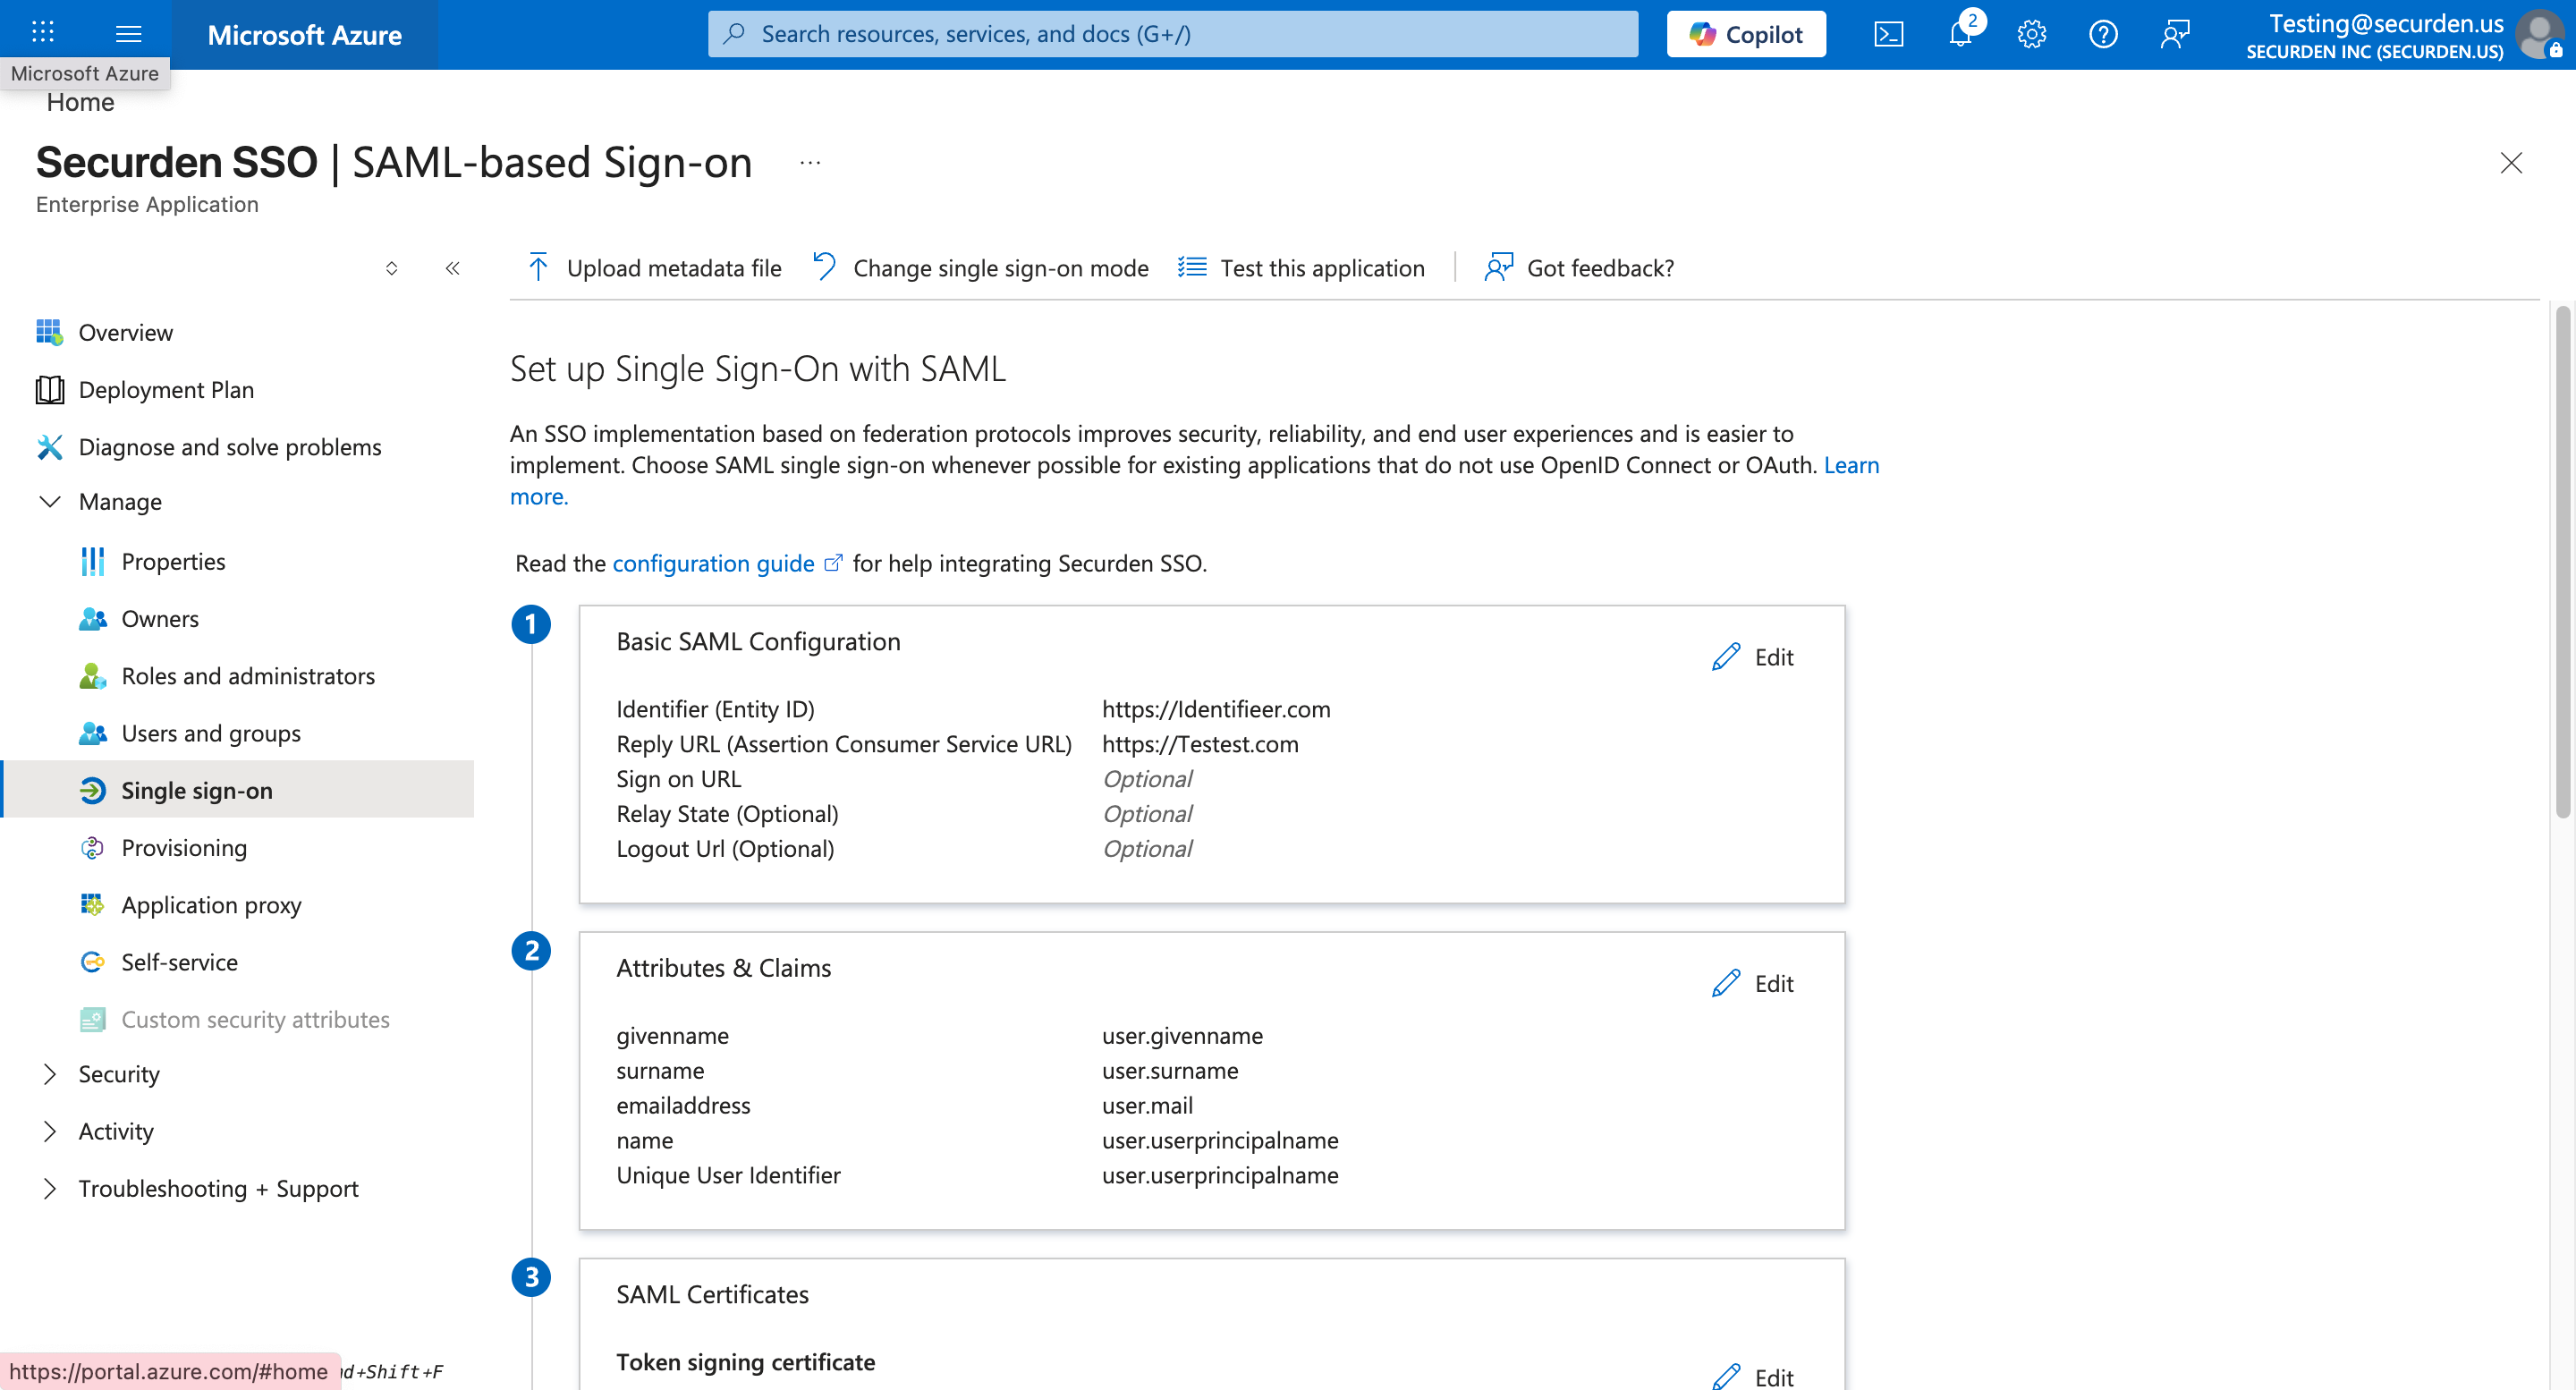
- From the left-hand navigation pane, select Single Sign-on

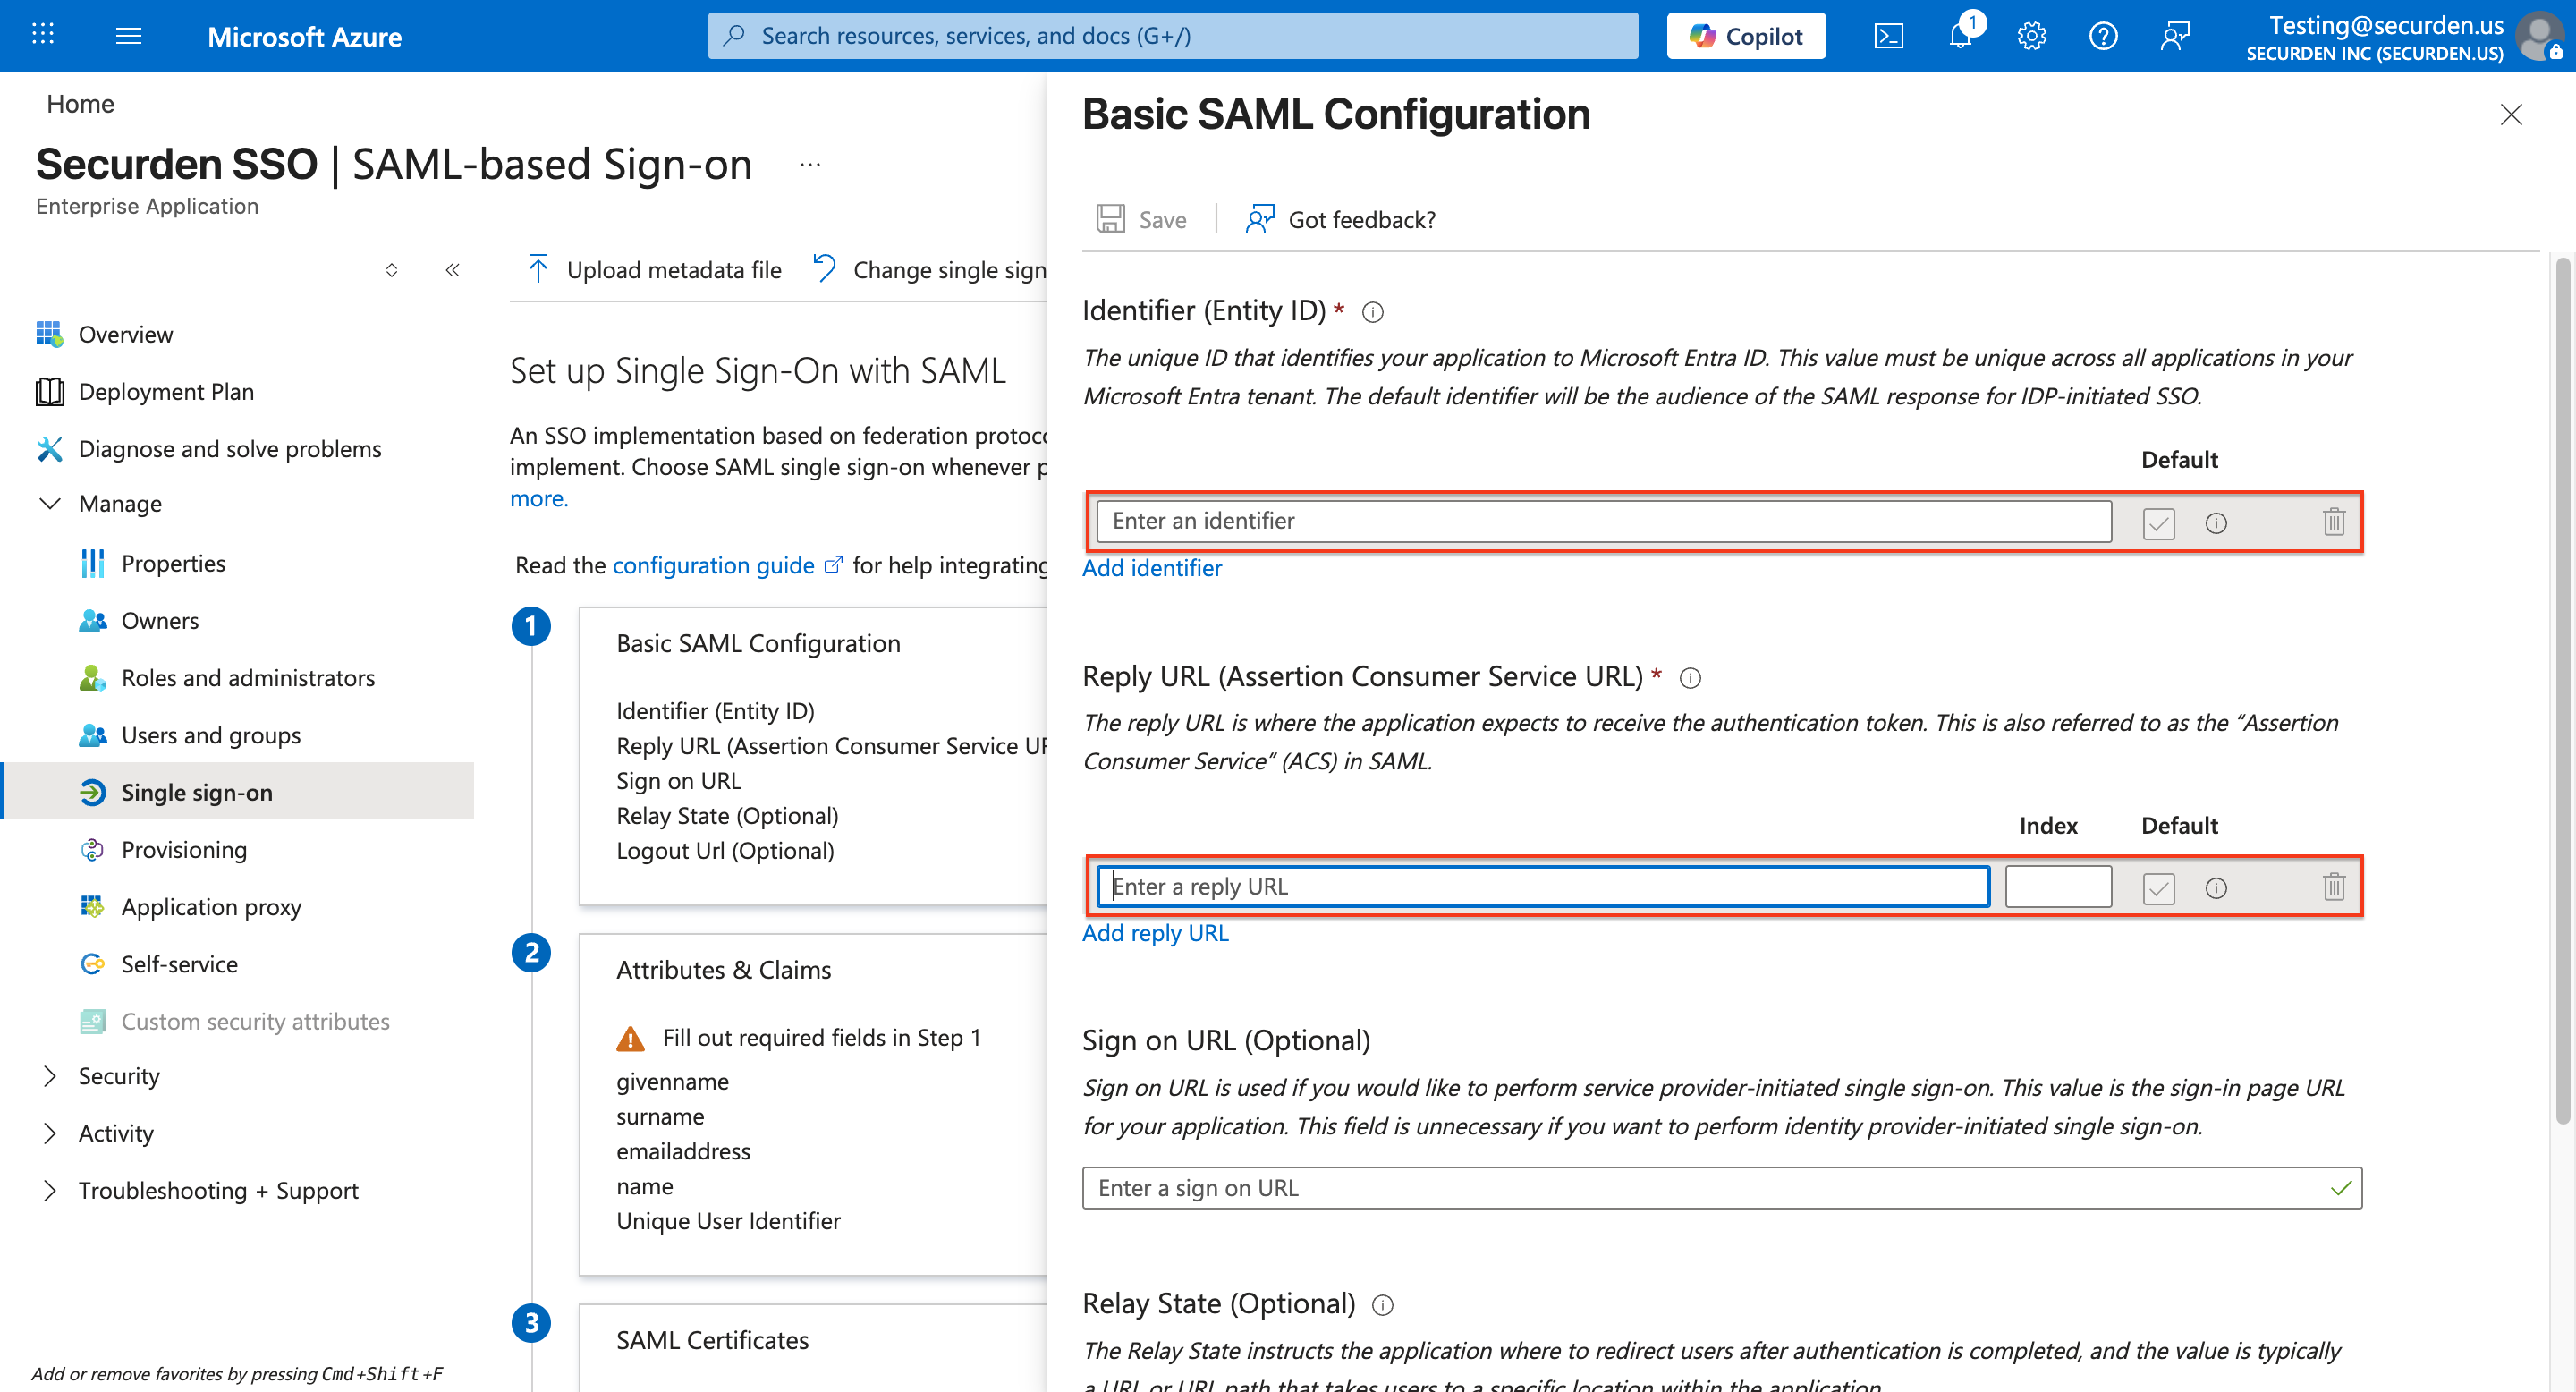
- Click on SAML to open the SAML-based Sign-on page.

Keep this Azure SAML SSO page open
- Open a new tab and log in to the Securden Web Interface.
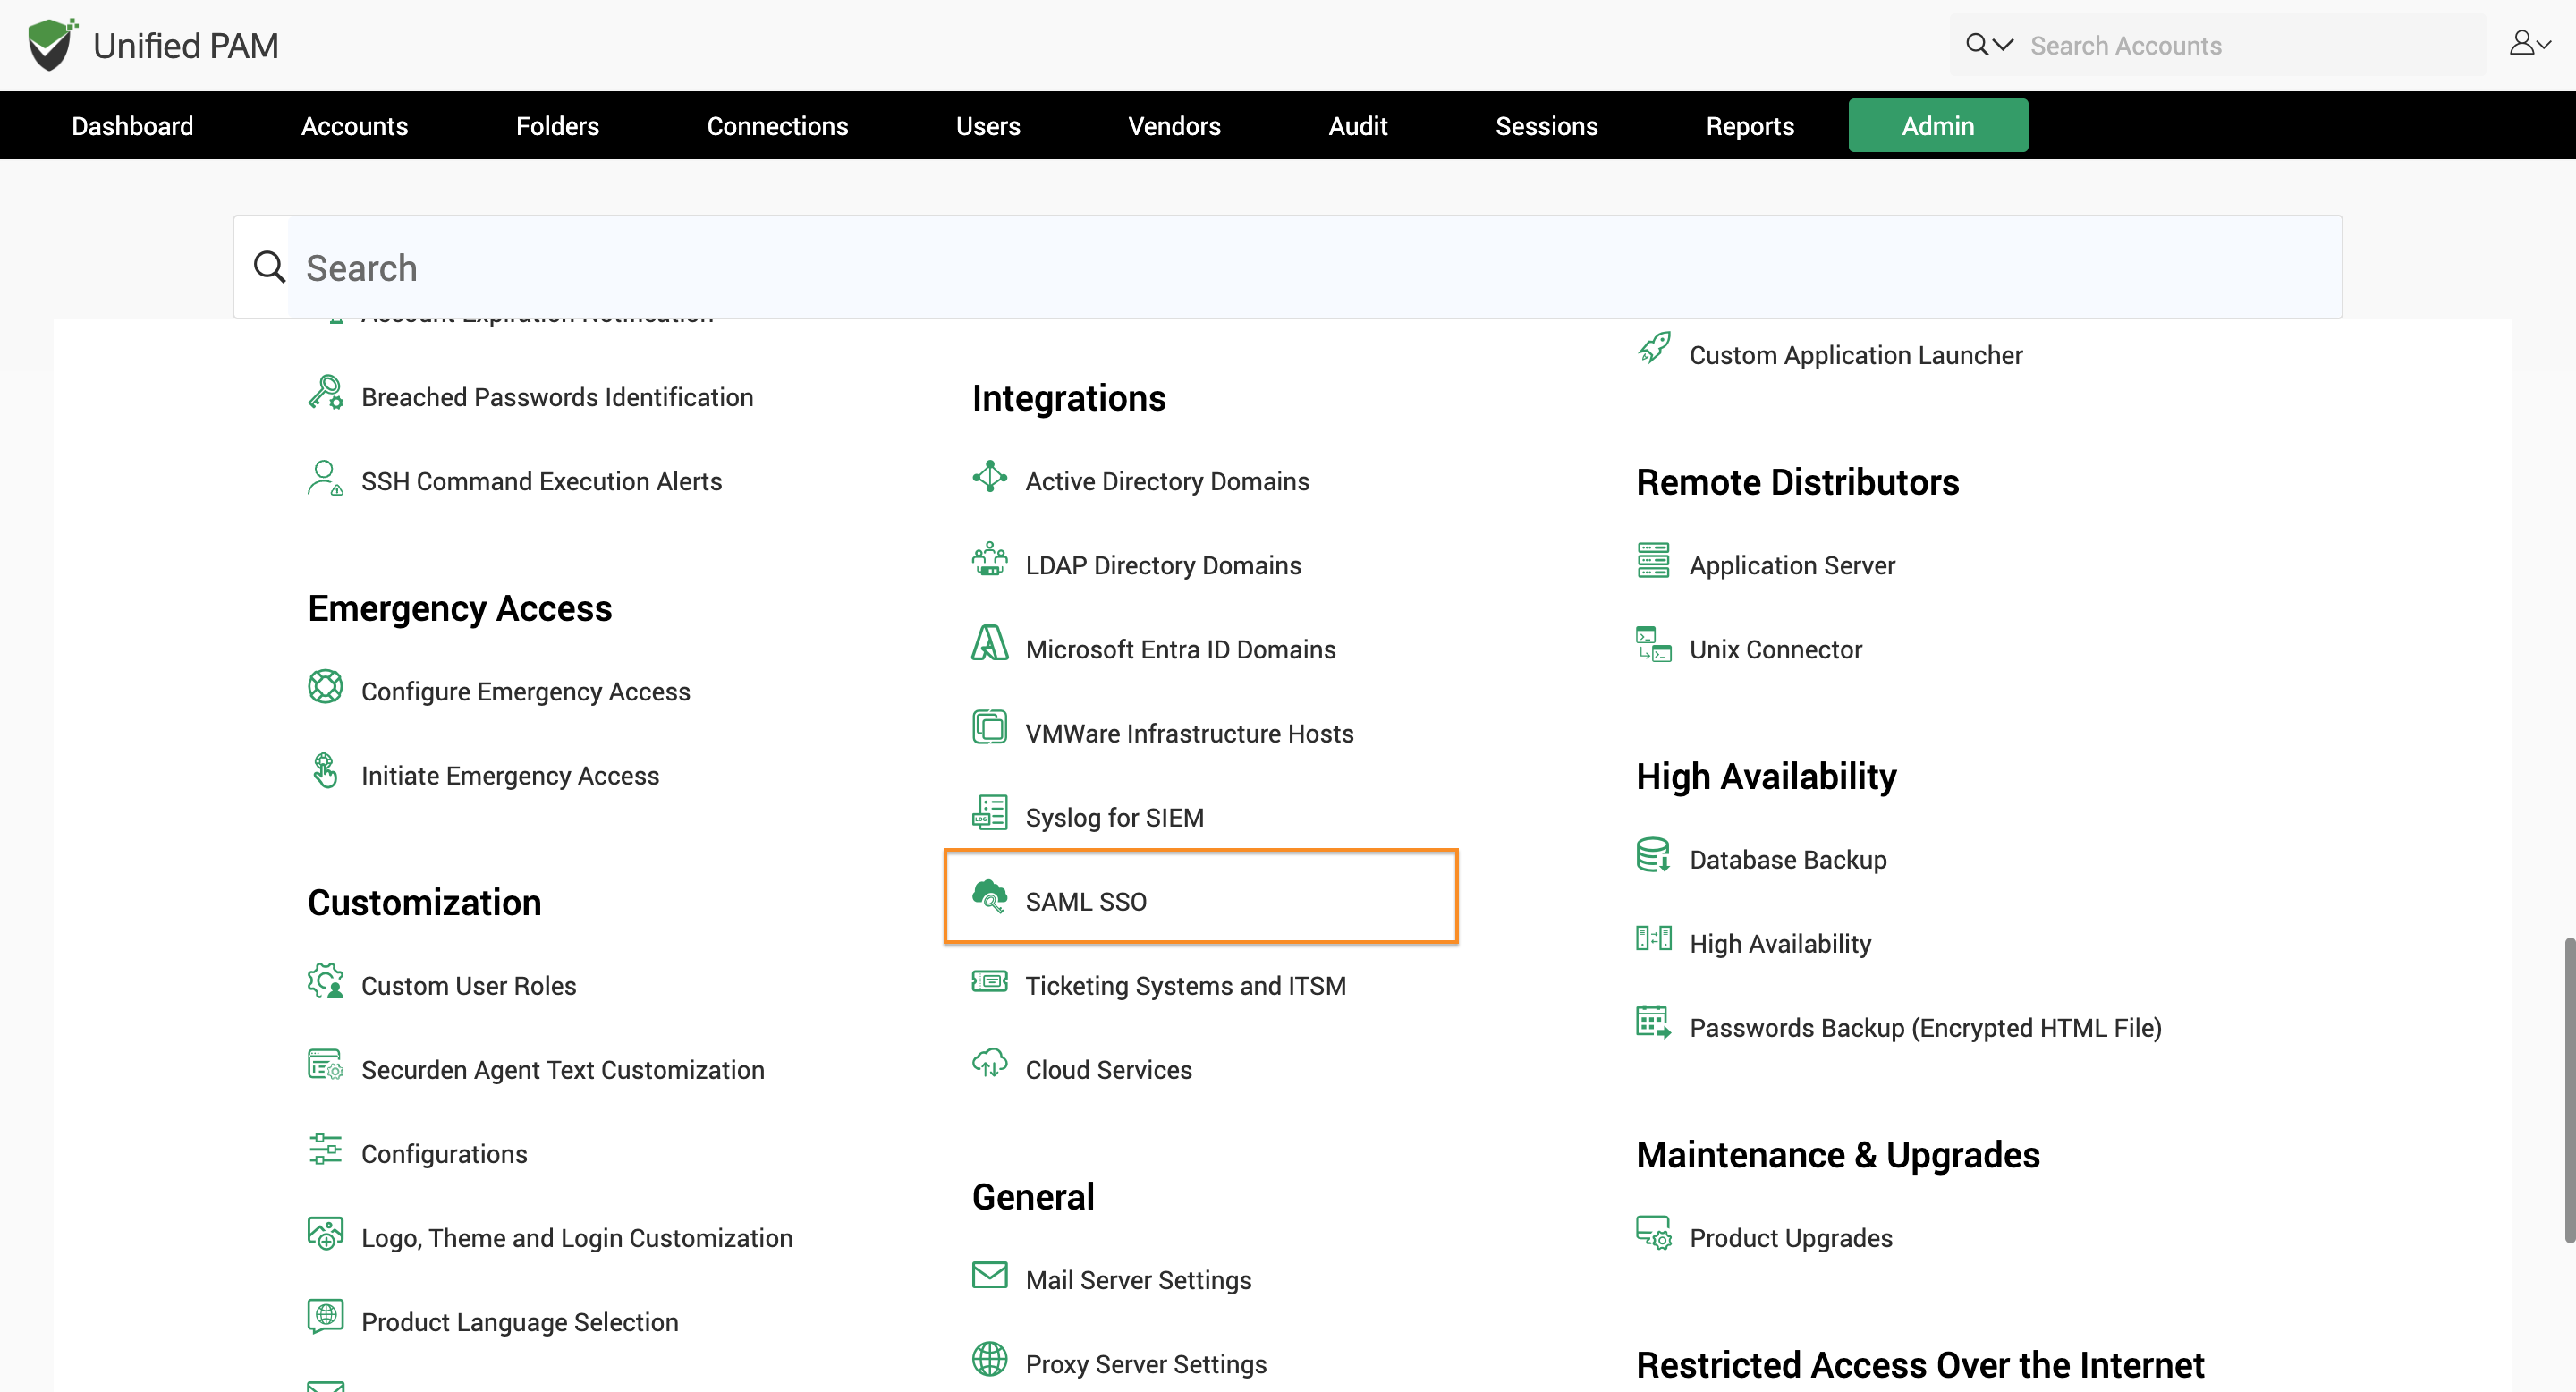
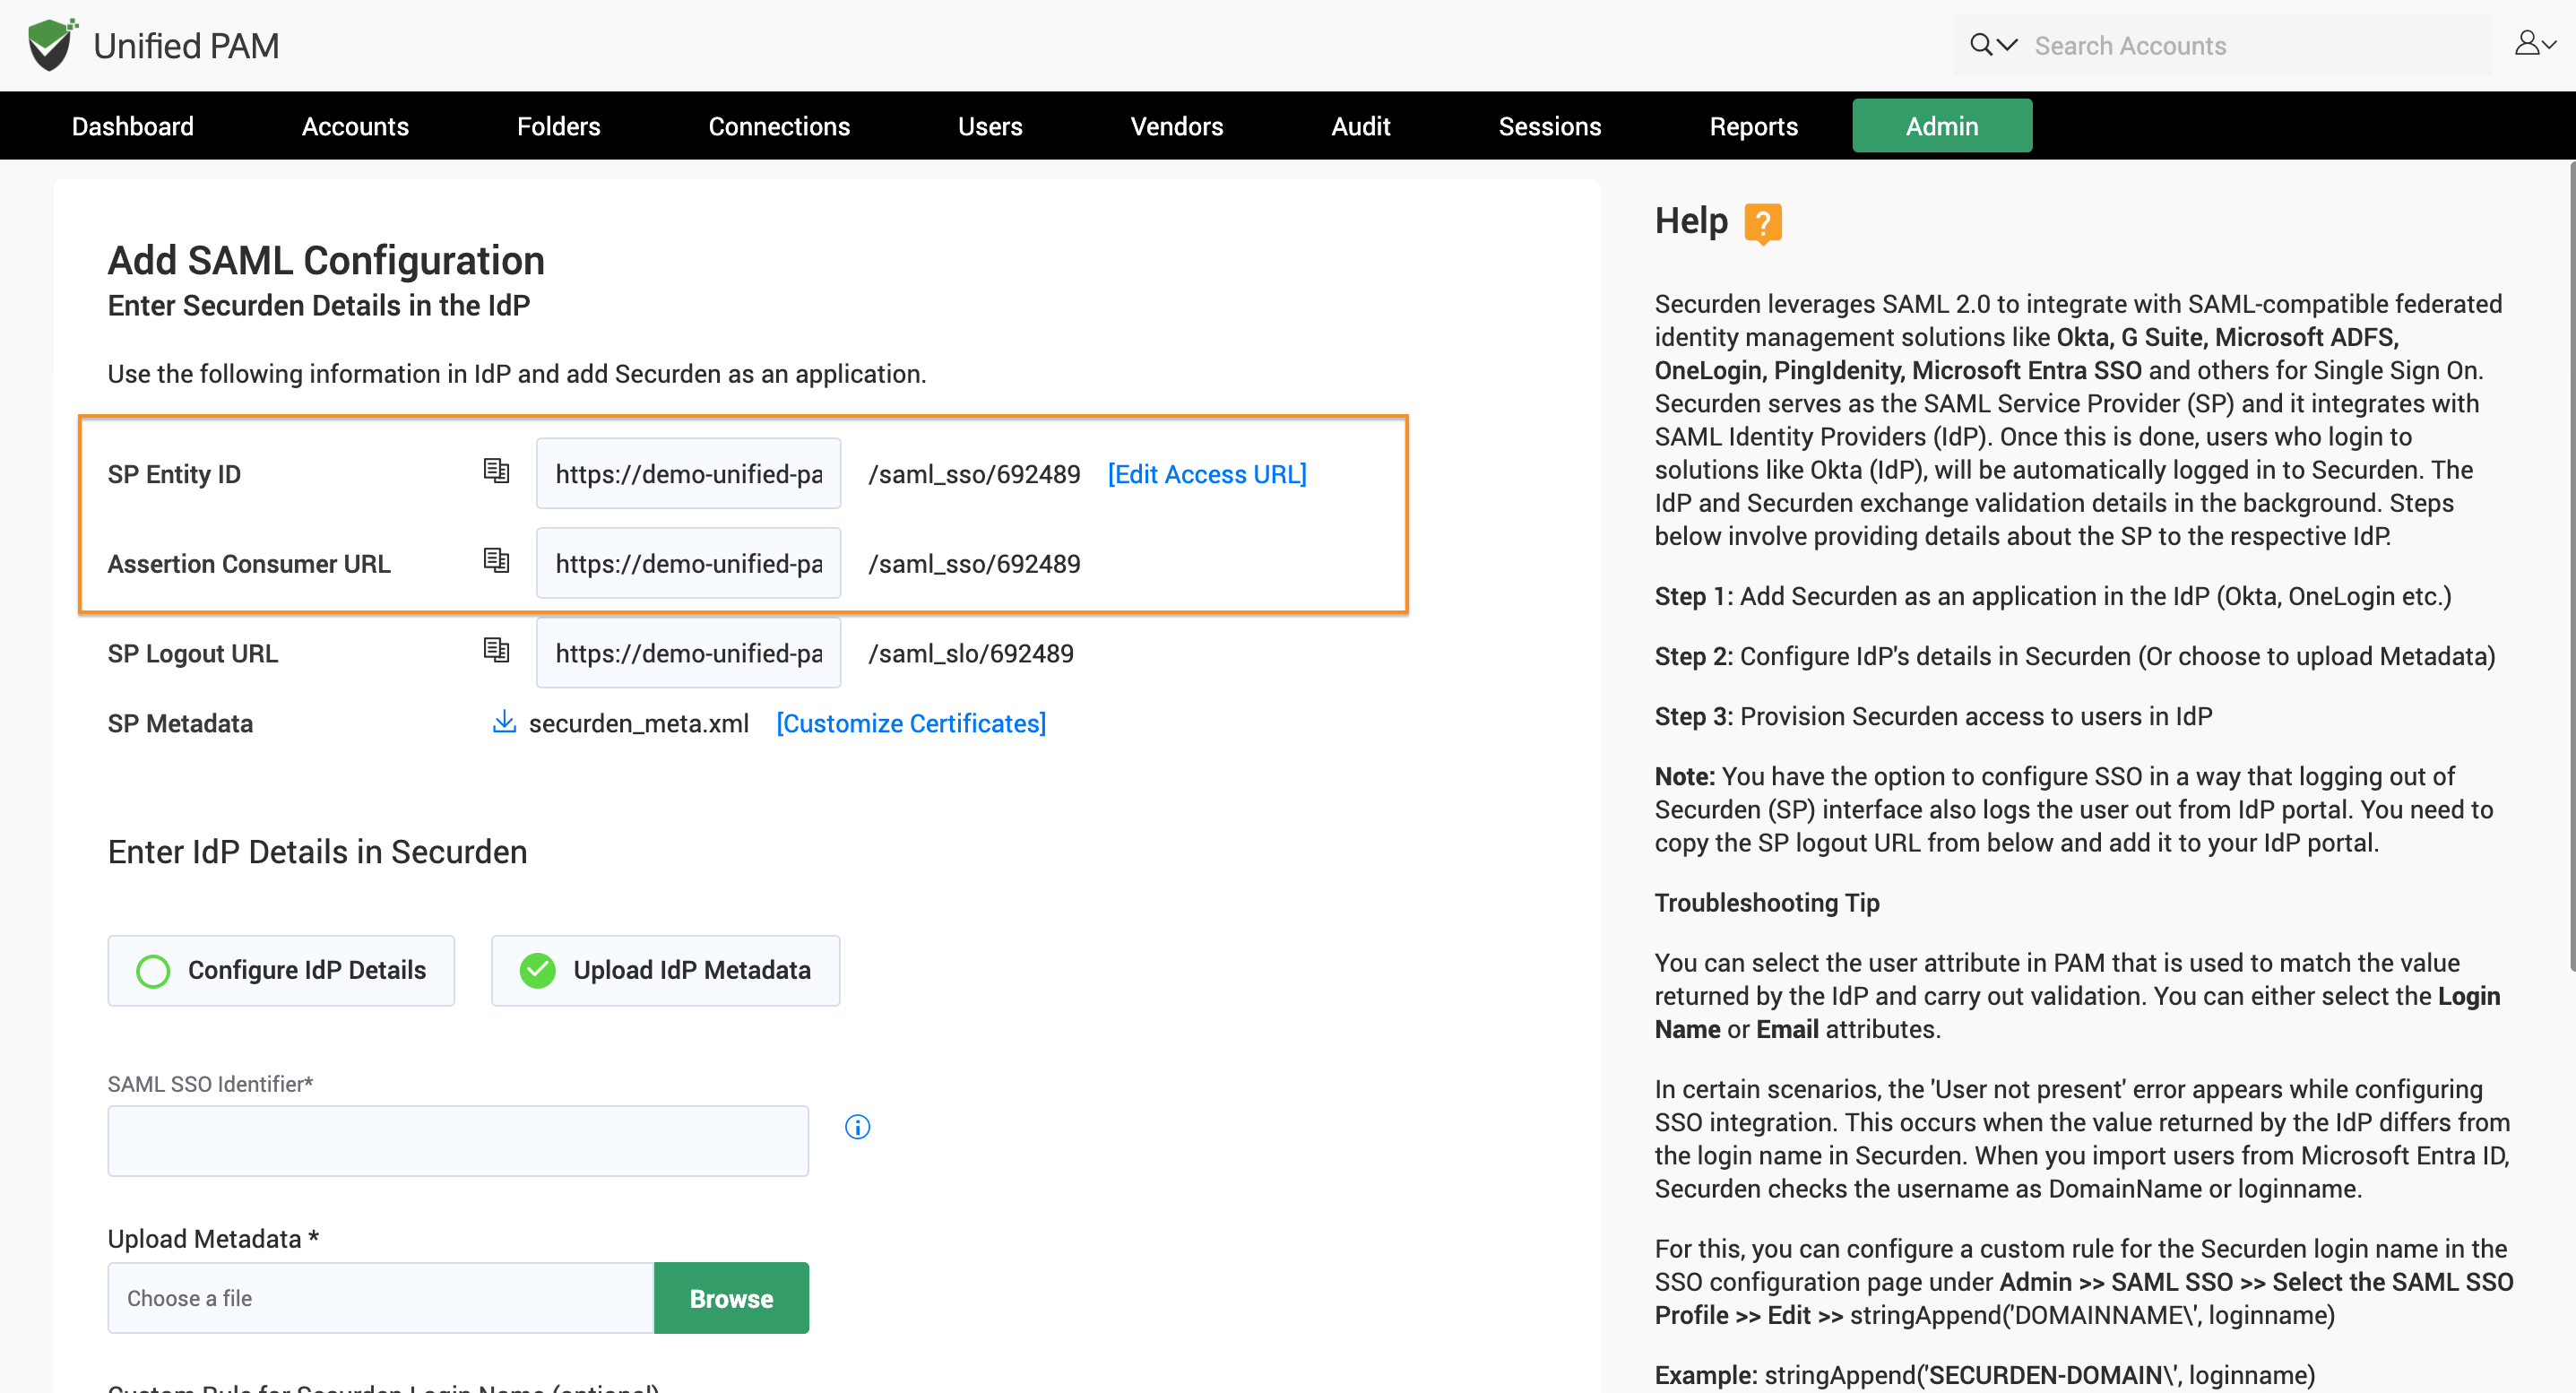
- Navigate to Admin → SAML SSO and find Securden details that need to be provided on Azure.
- Copy the SP Entity ID and Assertion Consumer URL from Securden.
- Paste these details into the relevant fields in your Azure SSO portal.
- In the SAML Signing Certificate section, click Download next to Federation Metadata XML.
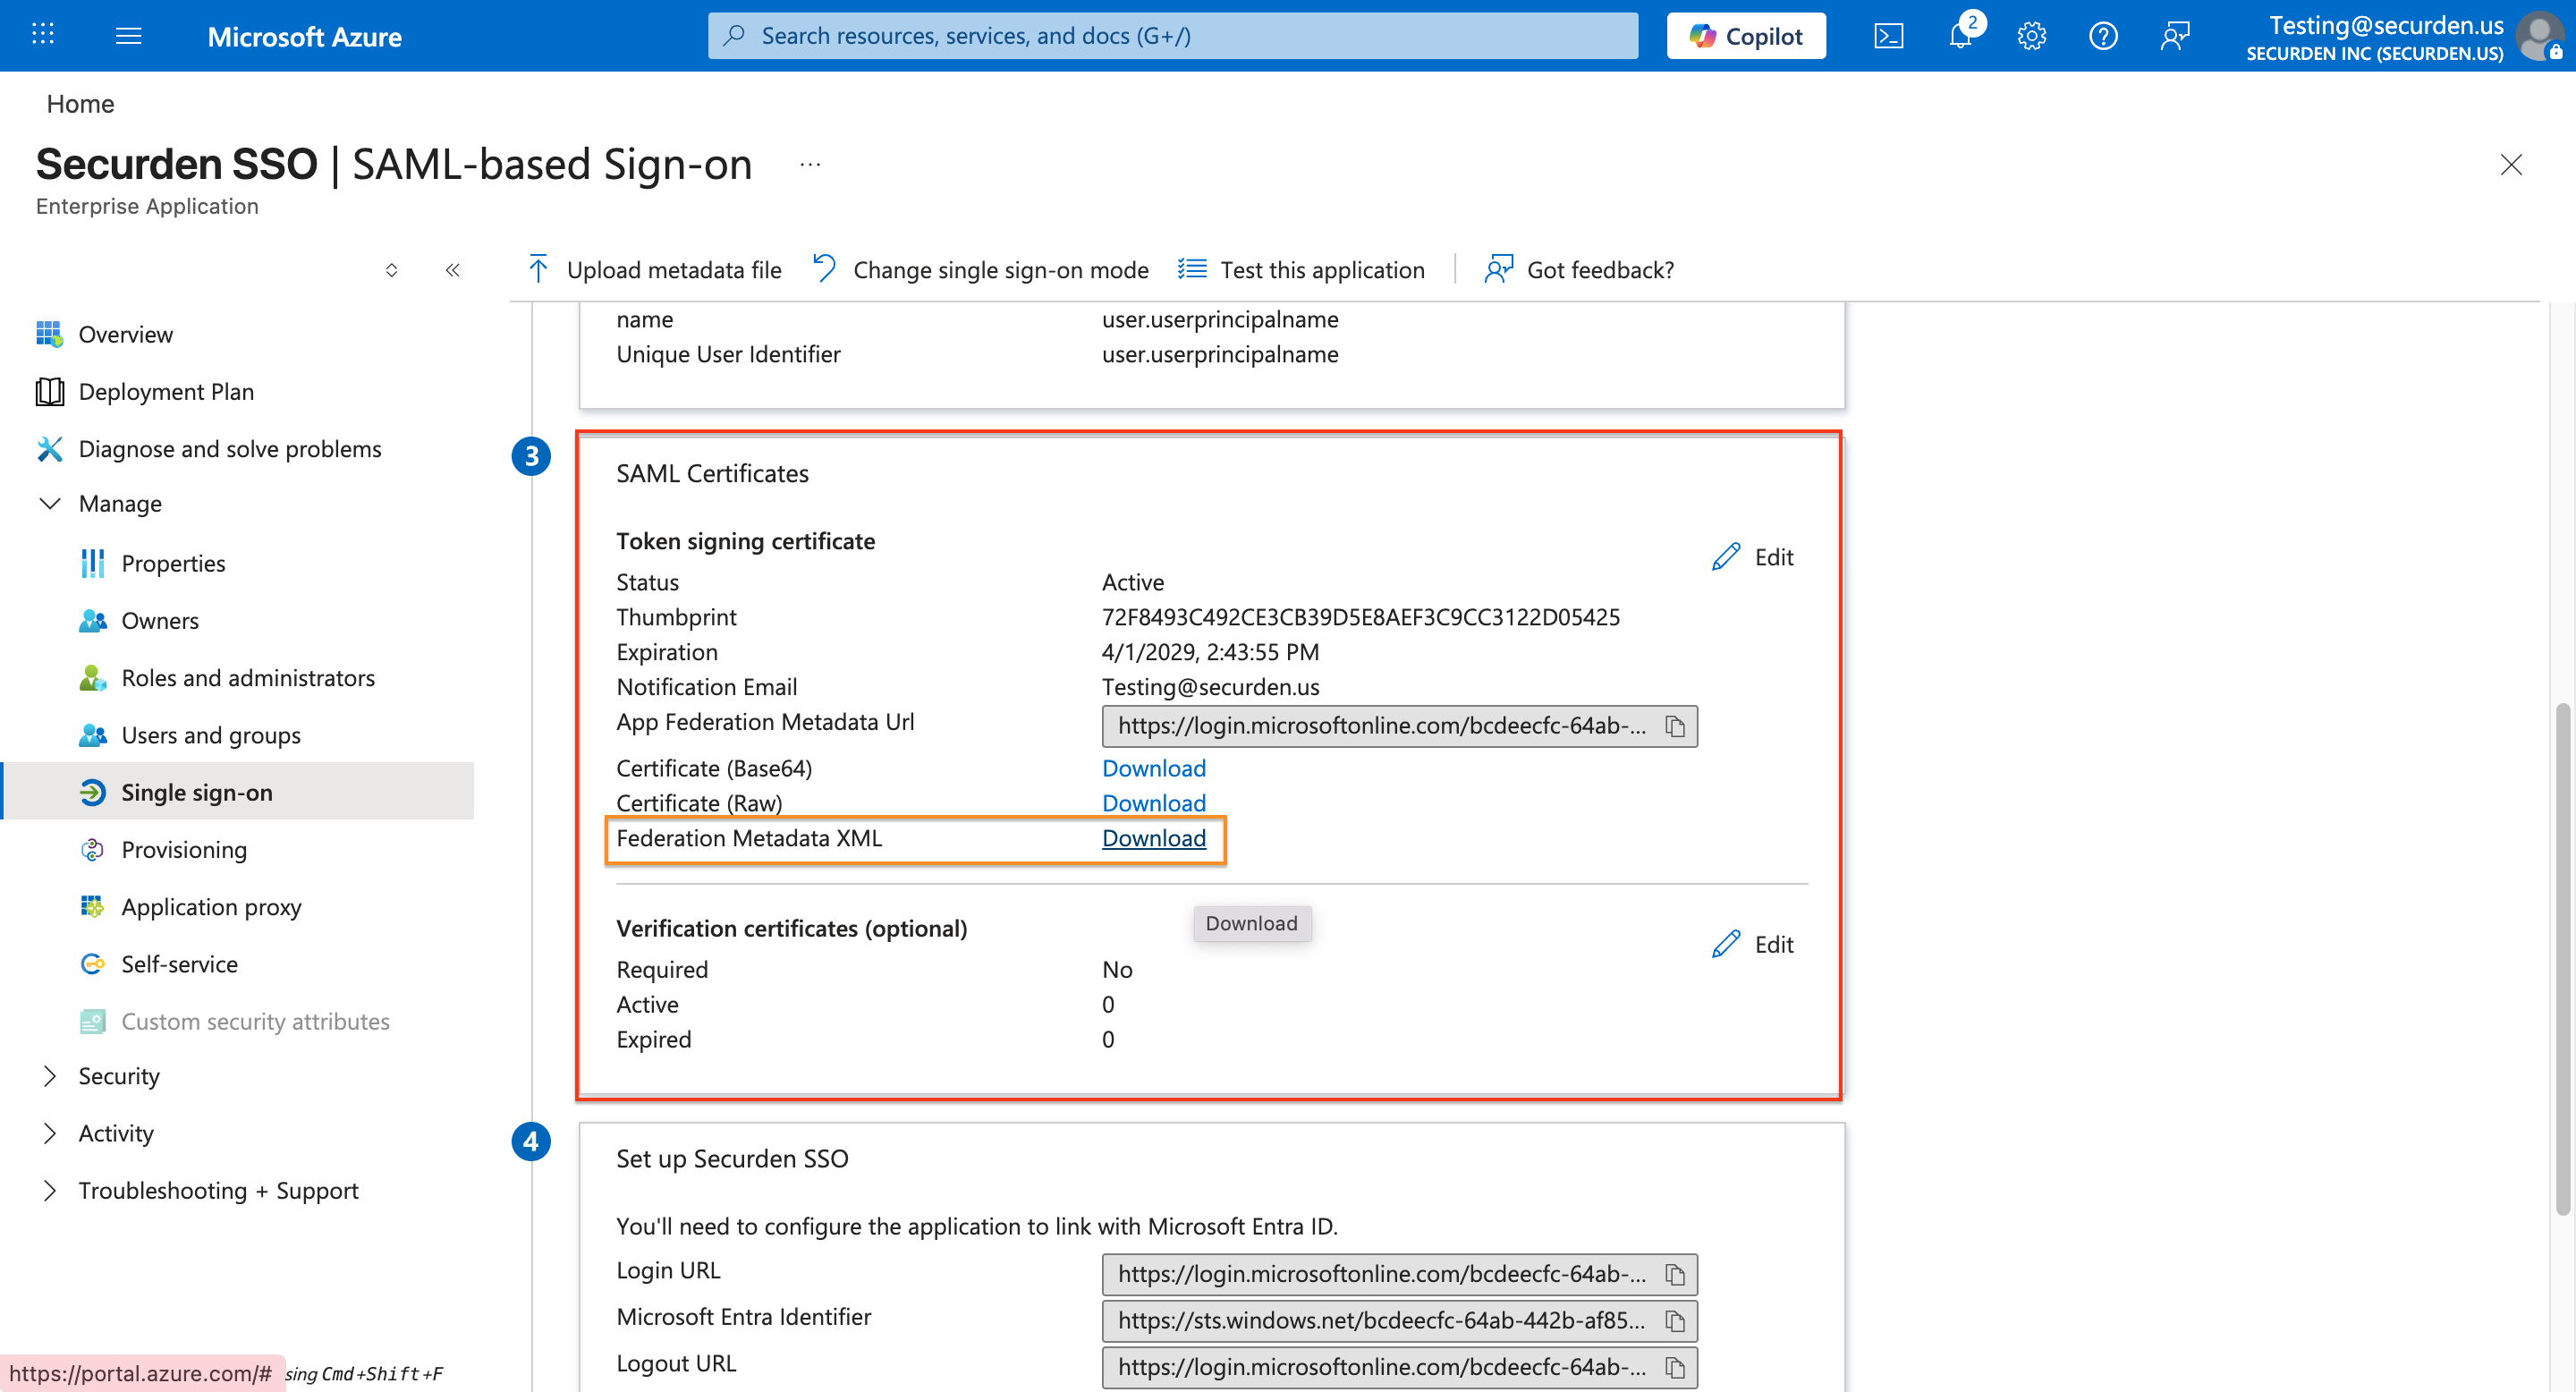
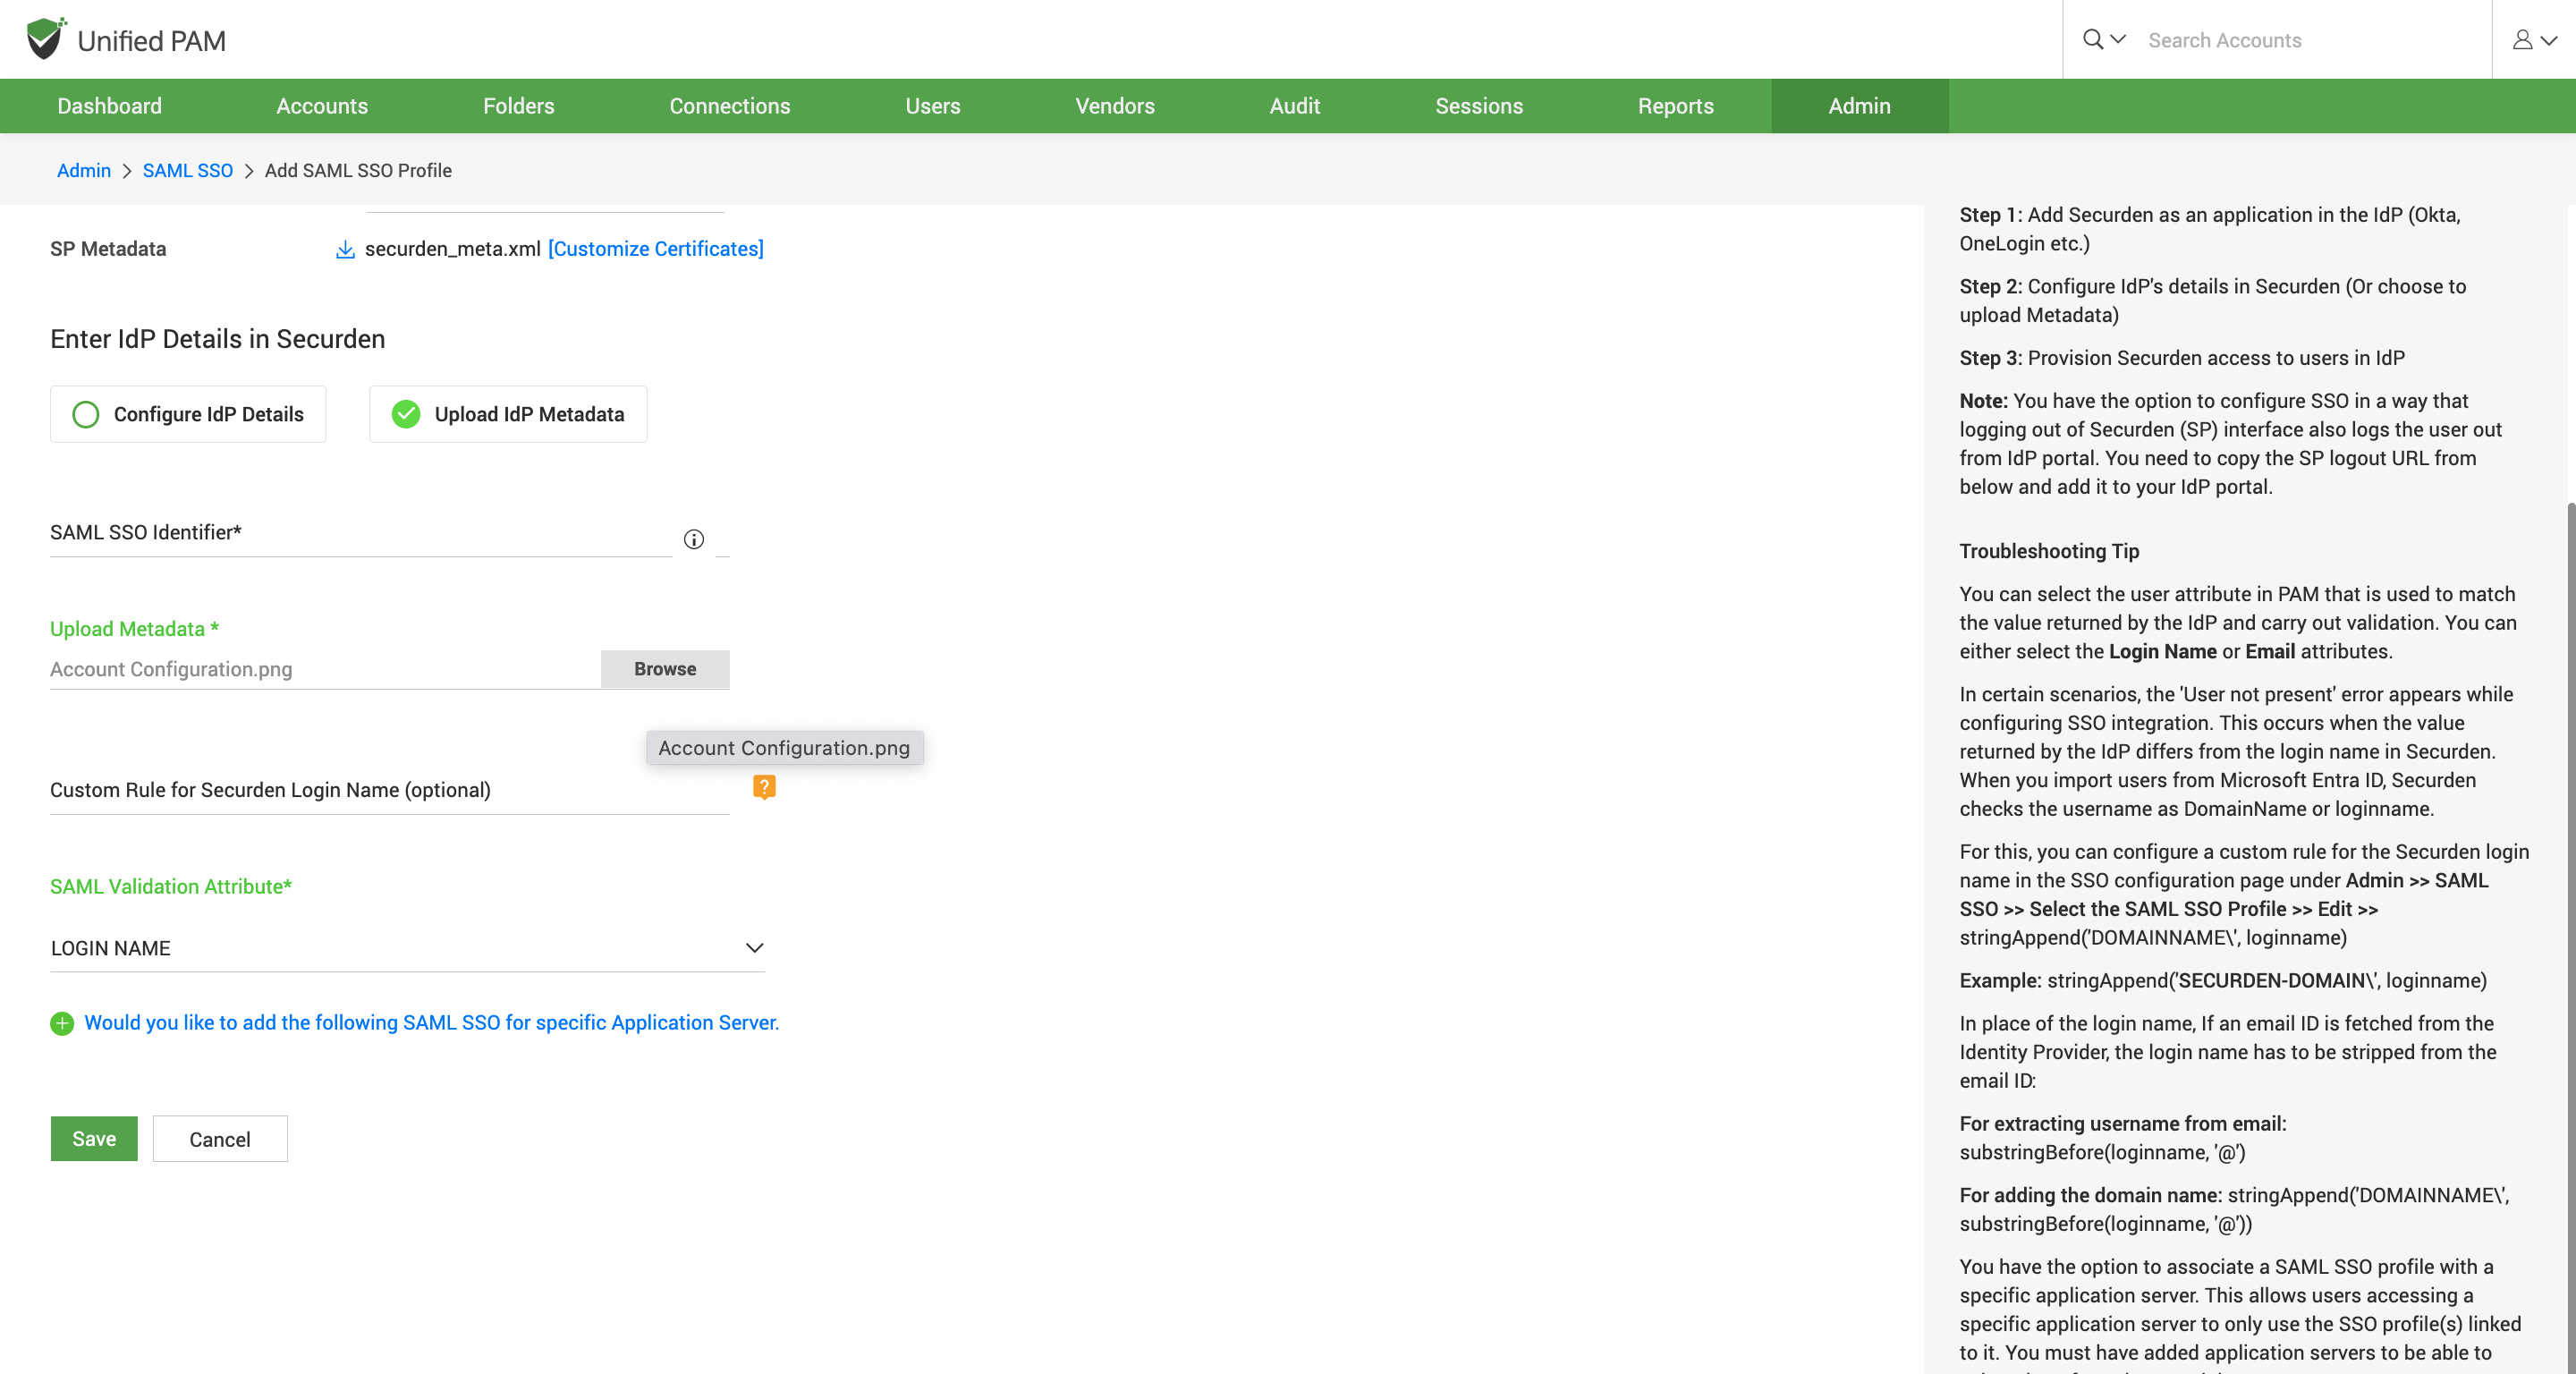
- Once the file is downloaded, upload the same file to the Upload IdP Metadata section of Securden as the IdP metadata file. (Shown Below)
-
Save the configuration settings.
-
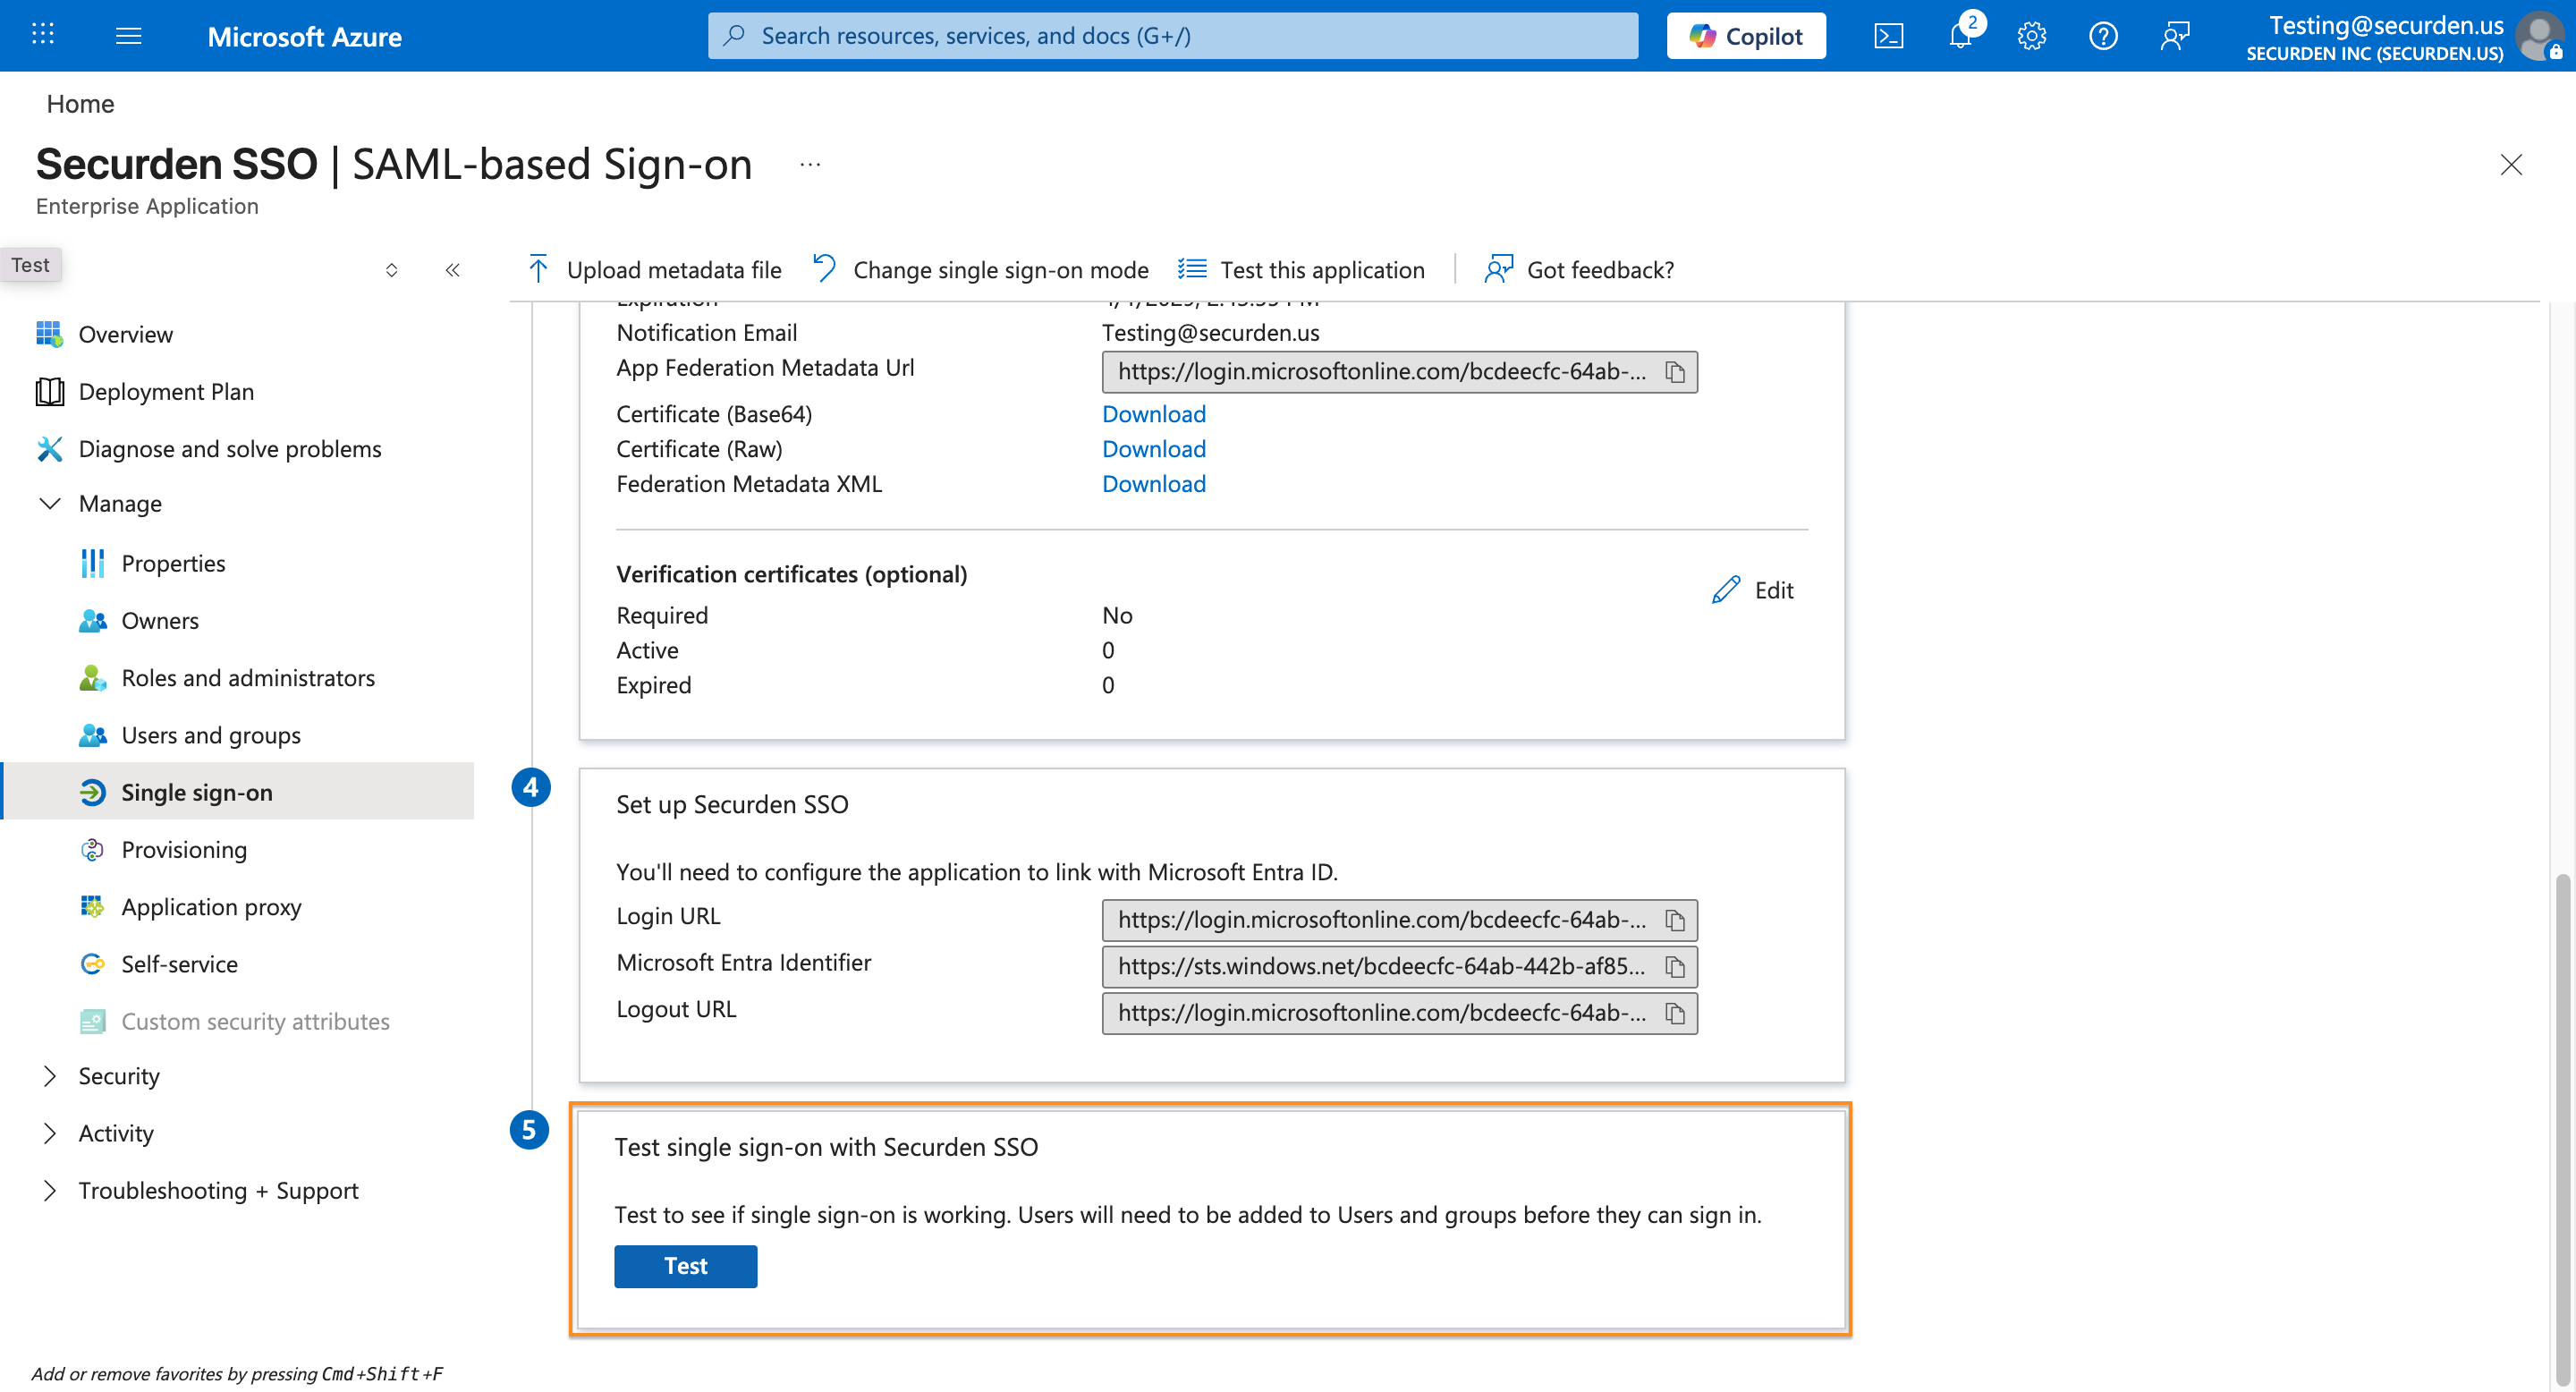
Finally, test the SAML SSO login to confirm successful integration
Troubleshooting Tips
Issue: "User not present" error while configuring Entra ID (Azure AD) SSO integration.
Solution:
During authentication, we validate the value returned by the identity provider against the login name in Securden. When you import users from Entra ID (Azure AD), Securden checks the username as DomainName\loginname.
For this, you can change the custom rule for Securden login name in the SSO configuration page under "Admin>>SAML SSO>>Edit"
stringAppend('DOMAINNAME\', loginname)
Example:
stringAppend('SECURDENDEV\', loginname)
If an email is received from identity provider, the login name has to be stripped from the value:
stringAppend('DOMAINNAME\', substringBefore(loginname, '@'))
For extracting username from email:
substringBefore(loginname, '@')