Cache Database Installation Guide
Securden Endpoint Privilege Manager now supports usage of Cache Database to support scalability and to increase performance in complex networks. Securden makes use of Apache Couch Database for this purpose. The cache database will be installed on the primary server of Securden EPM, and all the secondary servers will connect to the cache database installed on the primary server.
Pre-requisites:
Cache database can be configured on instances running on Securden EPM version 9.5.4 or higher. Lower versions do not support cache databases. If you are running an older version of Securden Endpoint Privilege Manager, then your EPM instance has to be upgraded to 9.5.4 or higher.
Part 1: Configure cache database on the Securden Primary Server.
-
Stop ‘Securden WPM Service’ from services.msc
-
Open Command Prompt as Administrator and navigate to the bin folder in the Securden EPM installation directory (C:\Program Files\Securden\Windows_Privilege_Manager\bin).
-
Execute the following command based on your case. (explained below)
SecurdenServiceInstaller.exe installCache <IP-Address> <Cache-DB-Https-Port(Optional)>.-
Case 1: If you are running Securden only on your primary server, simply execute the following command on your primary server.
SecurdenServiceInstaller.exe installCache 127.0.0.1- Once the cache database is installed, you can start the Securden WPM Service from services.msc and skip the steps in part 2.
-
Case 2: You are making use of one or more application servers (secondary servers) for distributed deployment, high availability, or load balancing.
-
In such case, when executing the command, you must specify the IP address or the FQDN of the primary server along with the port used by the secondary server to connect to the cache database. For example,
SecurdenServiceInstaller.exe installCache 172.31.6.33 5253 -
172.31.6.33 - Private IP of the Machine
-
5253 – The port that will be exposed to the secondary servers for connecting the cache database.
-
-
-
Start ‘Securden WPM Service’ from services.msc. Now the cache database will be used by the Securden Agent for querying purposes. You can verify that by opening the application.log in the Securden EPM installation folder.
- Ex: (C:\Program Files\Securden\Windows_Privilege_Manager\logs\application.log).
Part 2: Opening access for Cache Database to the Secondary Servers
-
Download and install the ‘URLRewrite’ and ‘Application Request Routing’ modules for Internet Information Services Manager using the links provided below.
https://www.iis.net/downloads/microsoft/url-rewrite
https://www.iis.net/downloads/microsoft/application-request-routing
-
Now open ‘Internet Information Services Manager’.
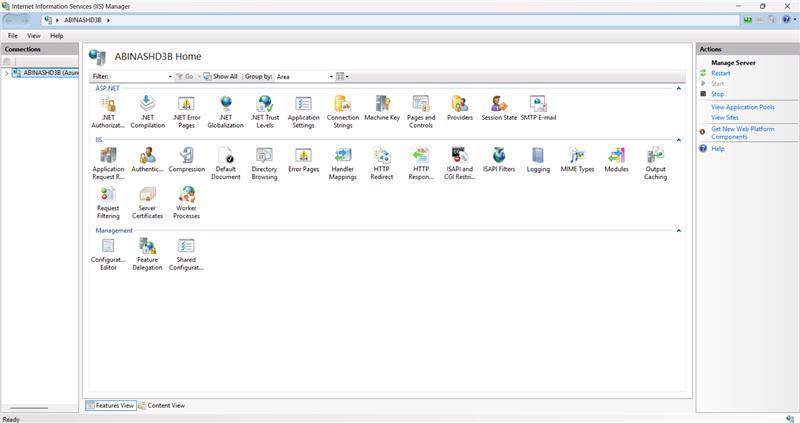
- Open ‘Application Request Routing Cache’ under IIS and click on ‘Server Proxy Settings’ link available on the right pane
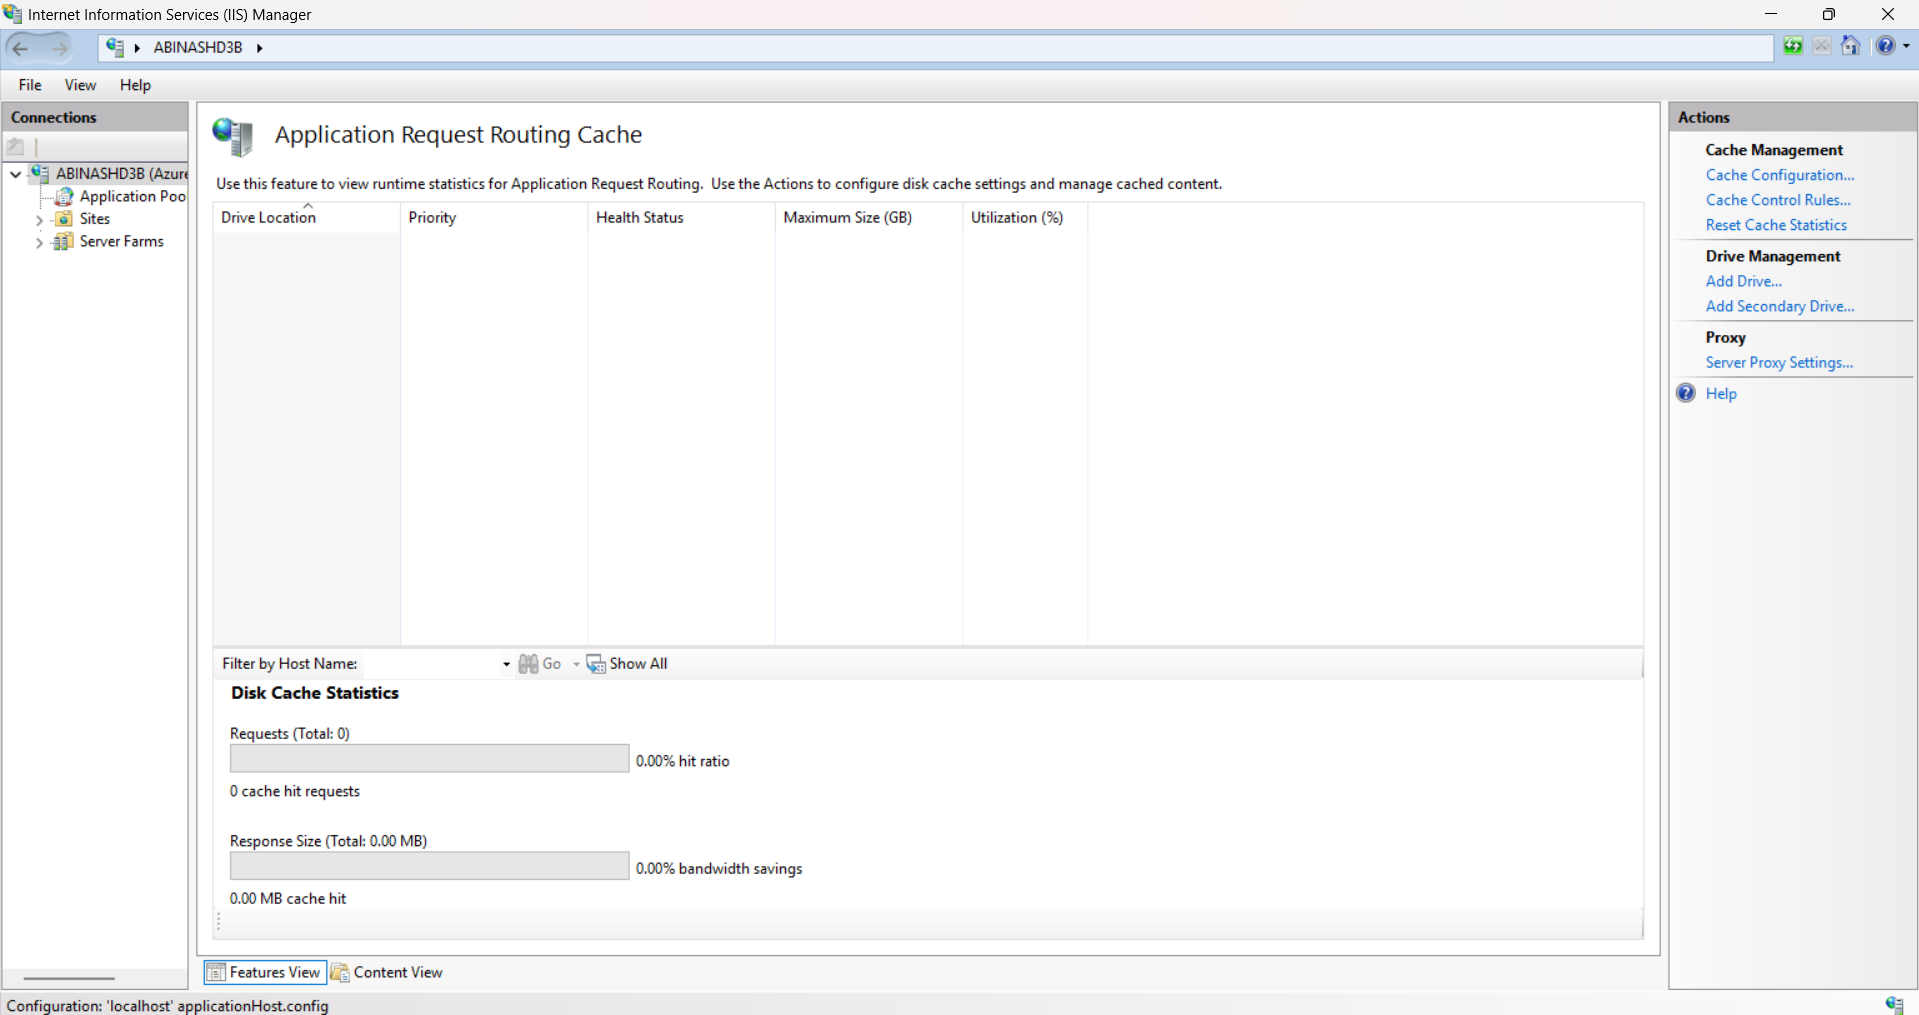
- Check whether the values are as per the screenshot below. If anything differs, change the values as in the Screenshot and click ‘Apply’.
-
Go to C:\inetpub\wwwroot.
-
Copy the web.config file and paste it in this folder path on your primary server.
‘<InstallationFolder>\couchdb’(C:\Program Files\Securden\Windows_Privilege_Manager\couchdb) -
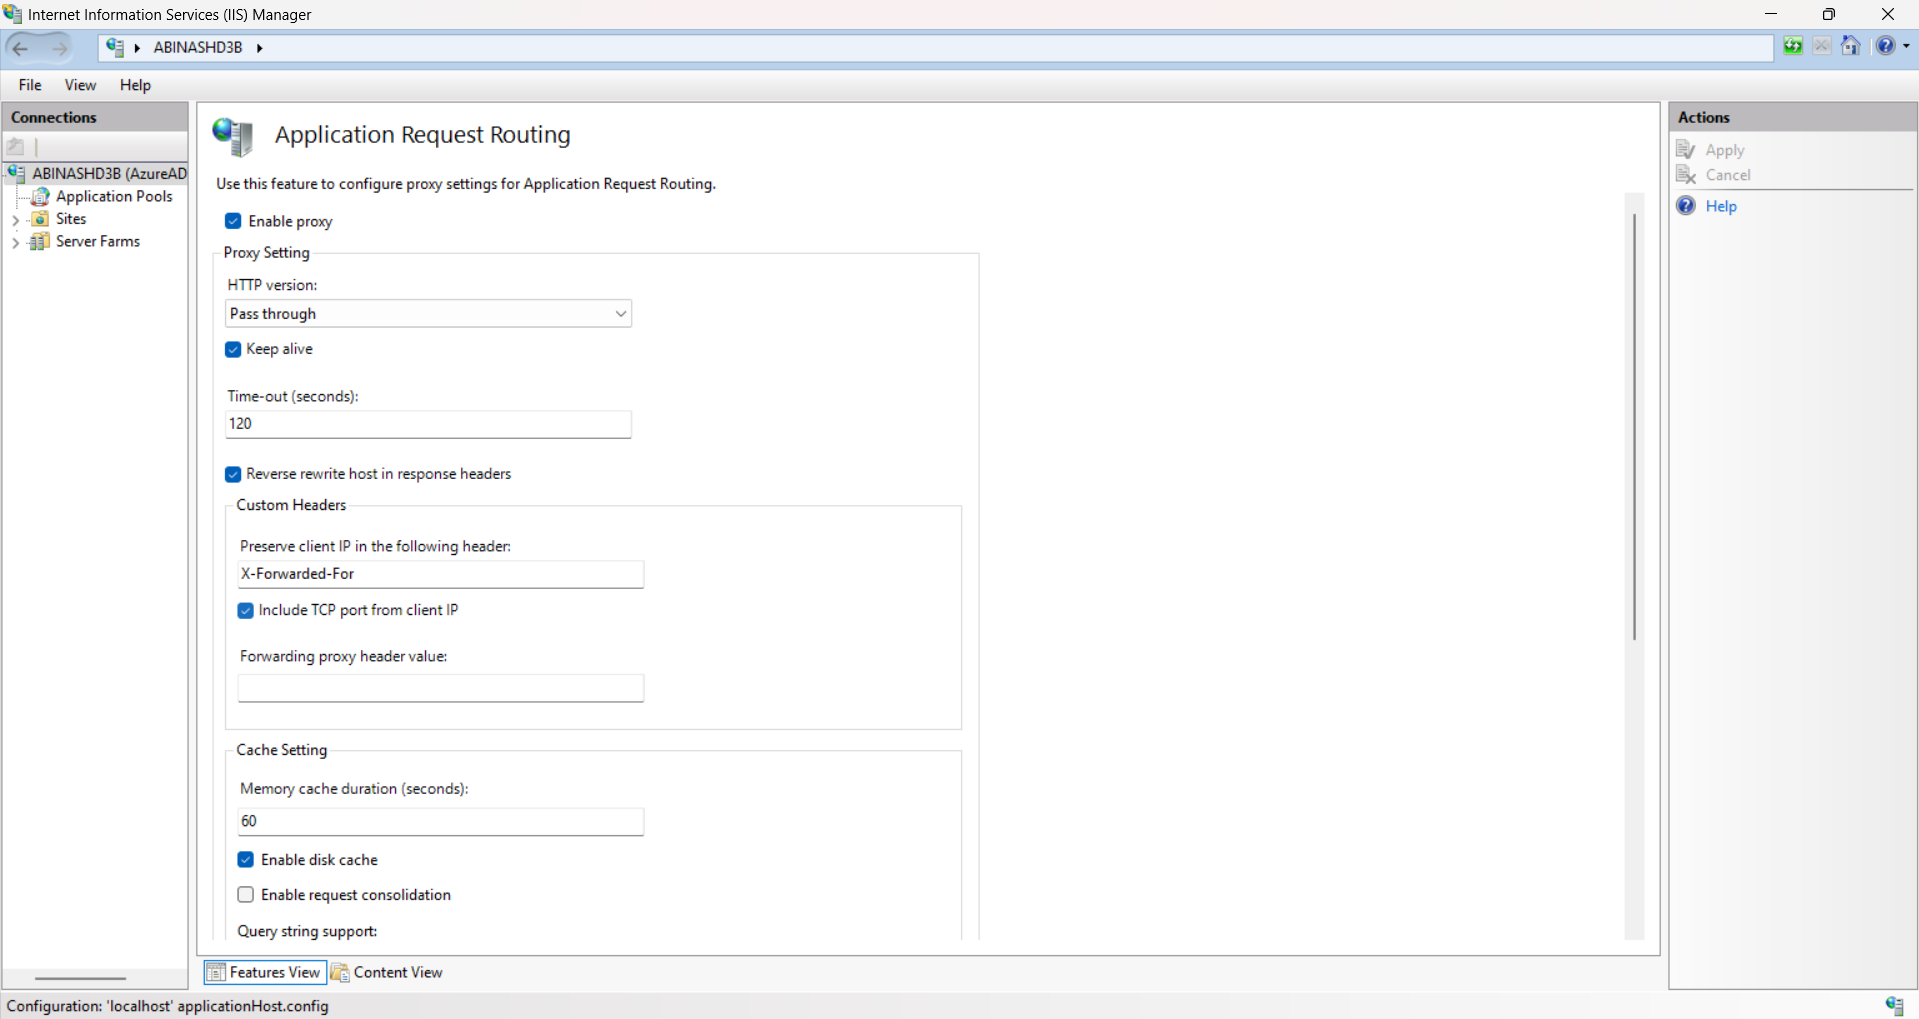
Go to Internet Information Services and navigate to ‘Sites’ and click on ‘Add Website’

- Create a website with the values in the screenshot below and click ‘Ok’
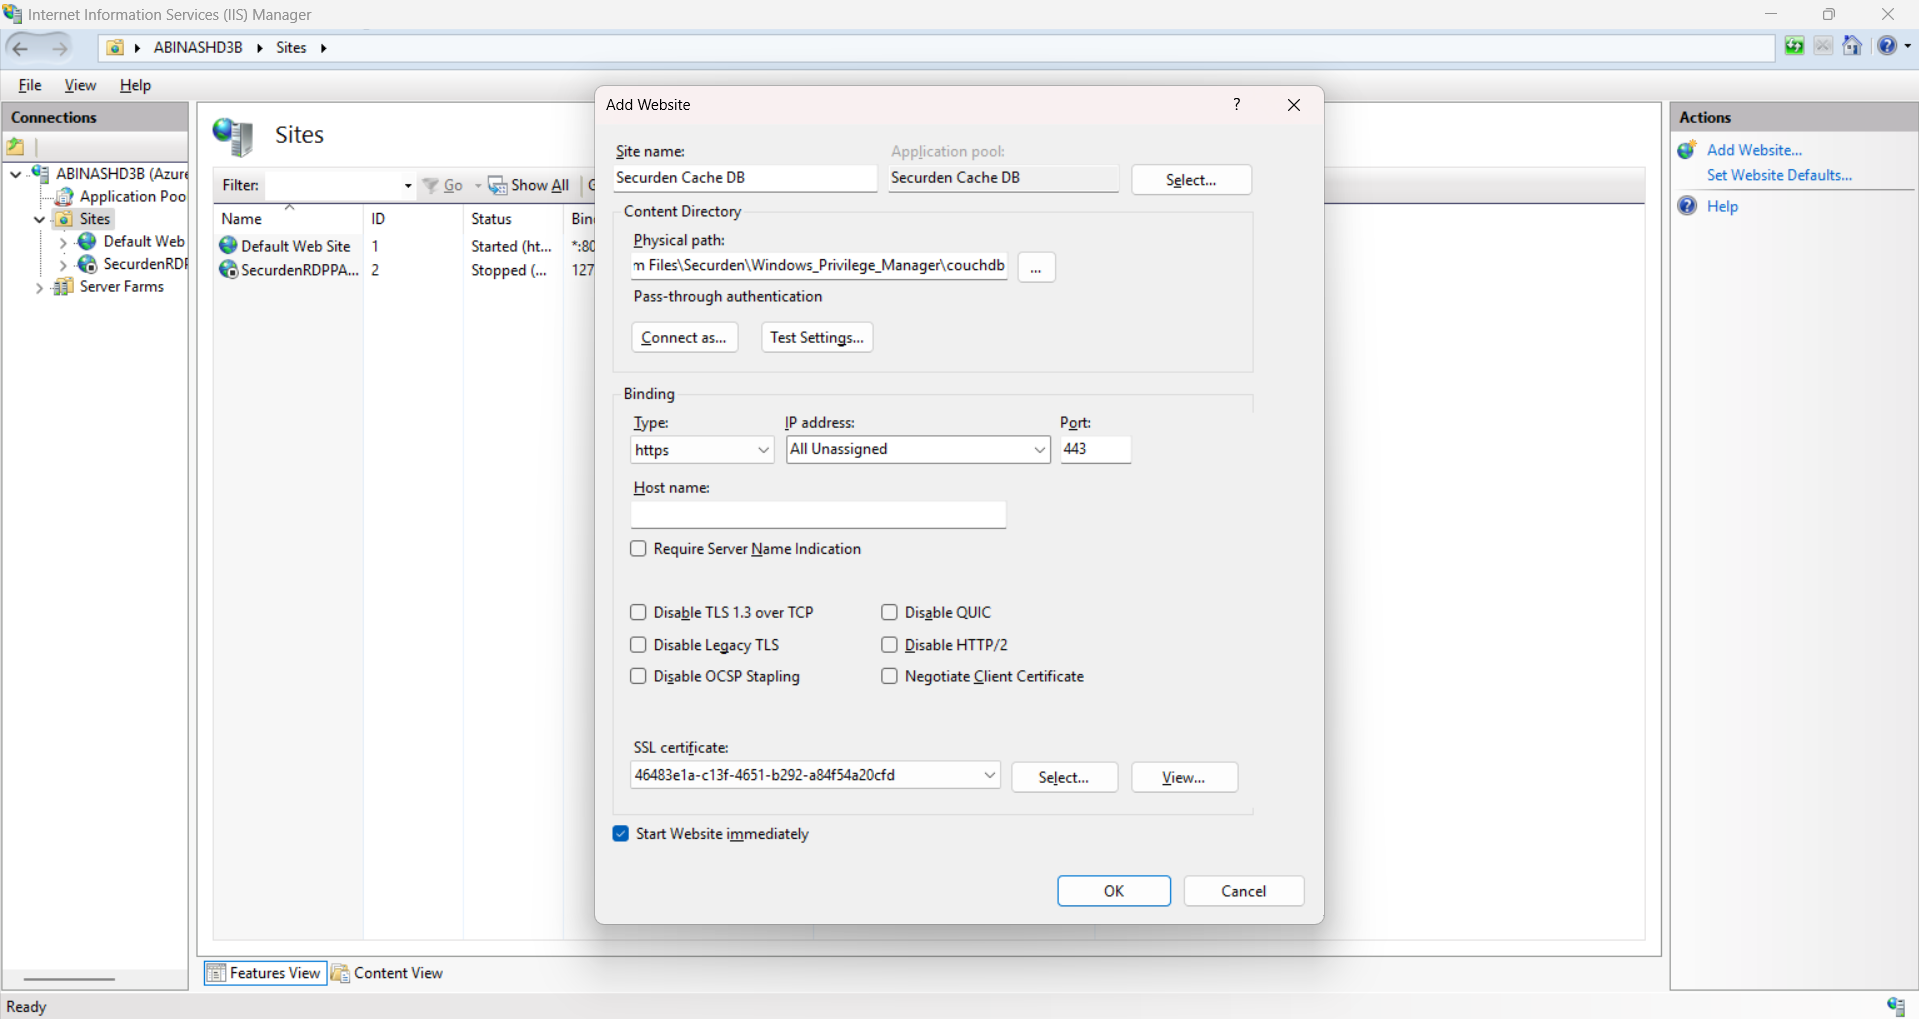
Note
In the Port, you must specify the port as specified in the url in Part 1.
You can choose the SSL certificate of your choice.
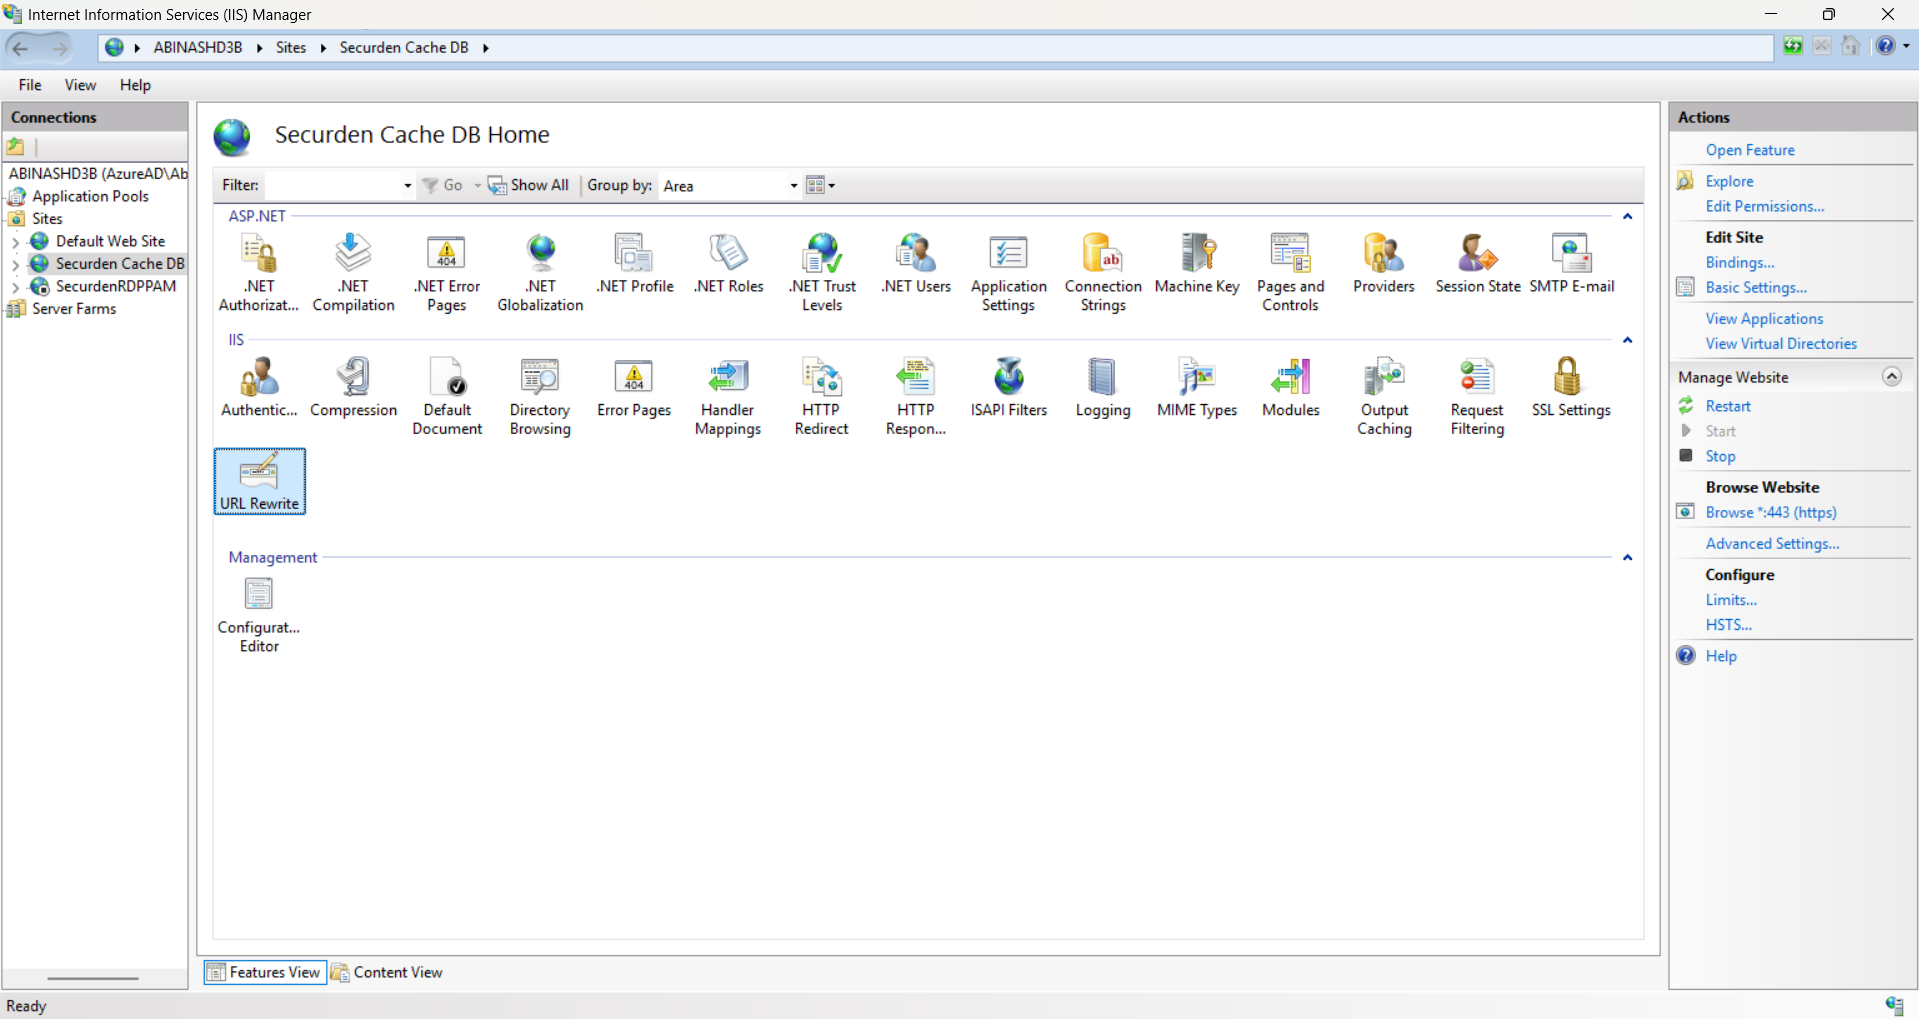
- Now open the website you just created and go to ‘URL Rewrite’.
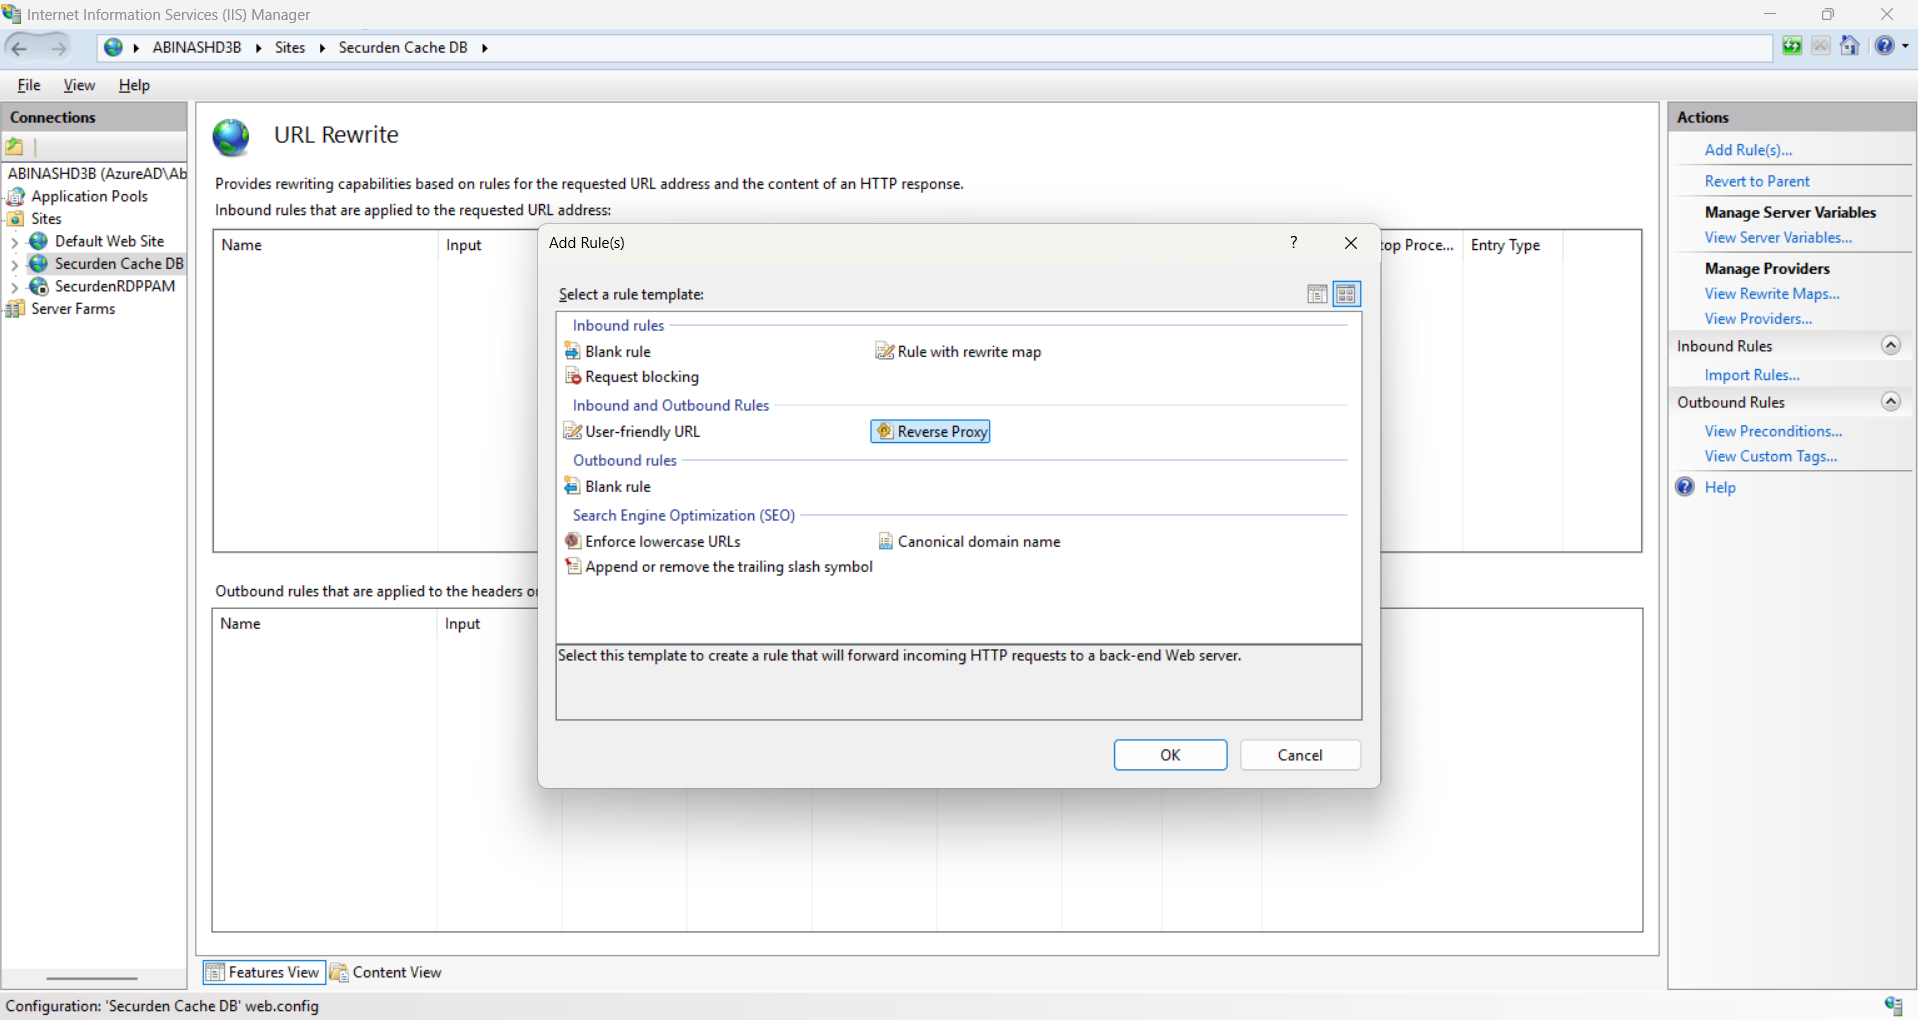
- Click on ‘Add Rule’ and then choose ‘Reverse Proxy’ and click OK.
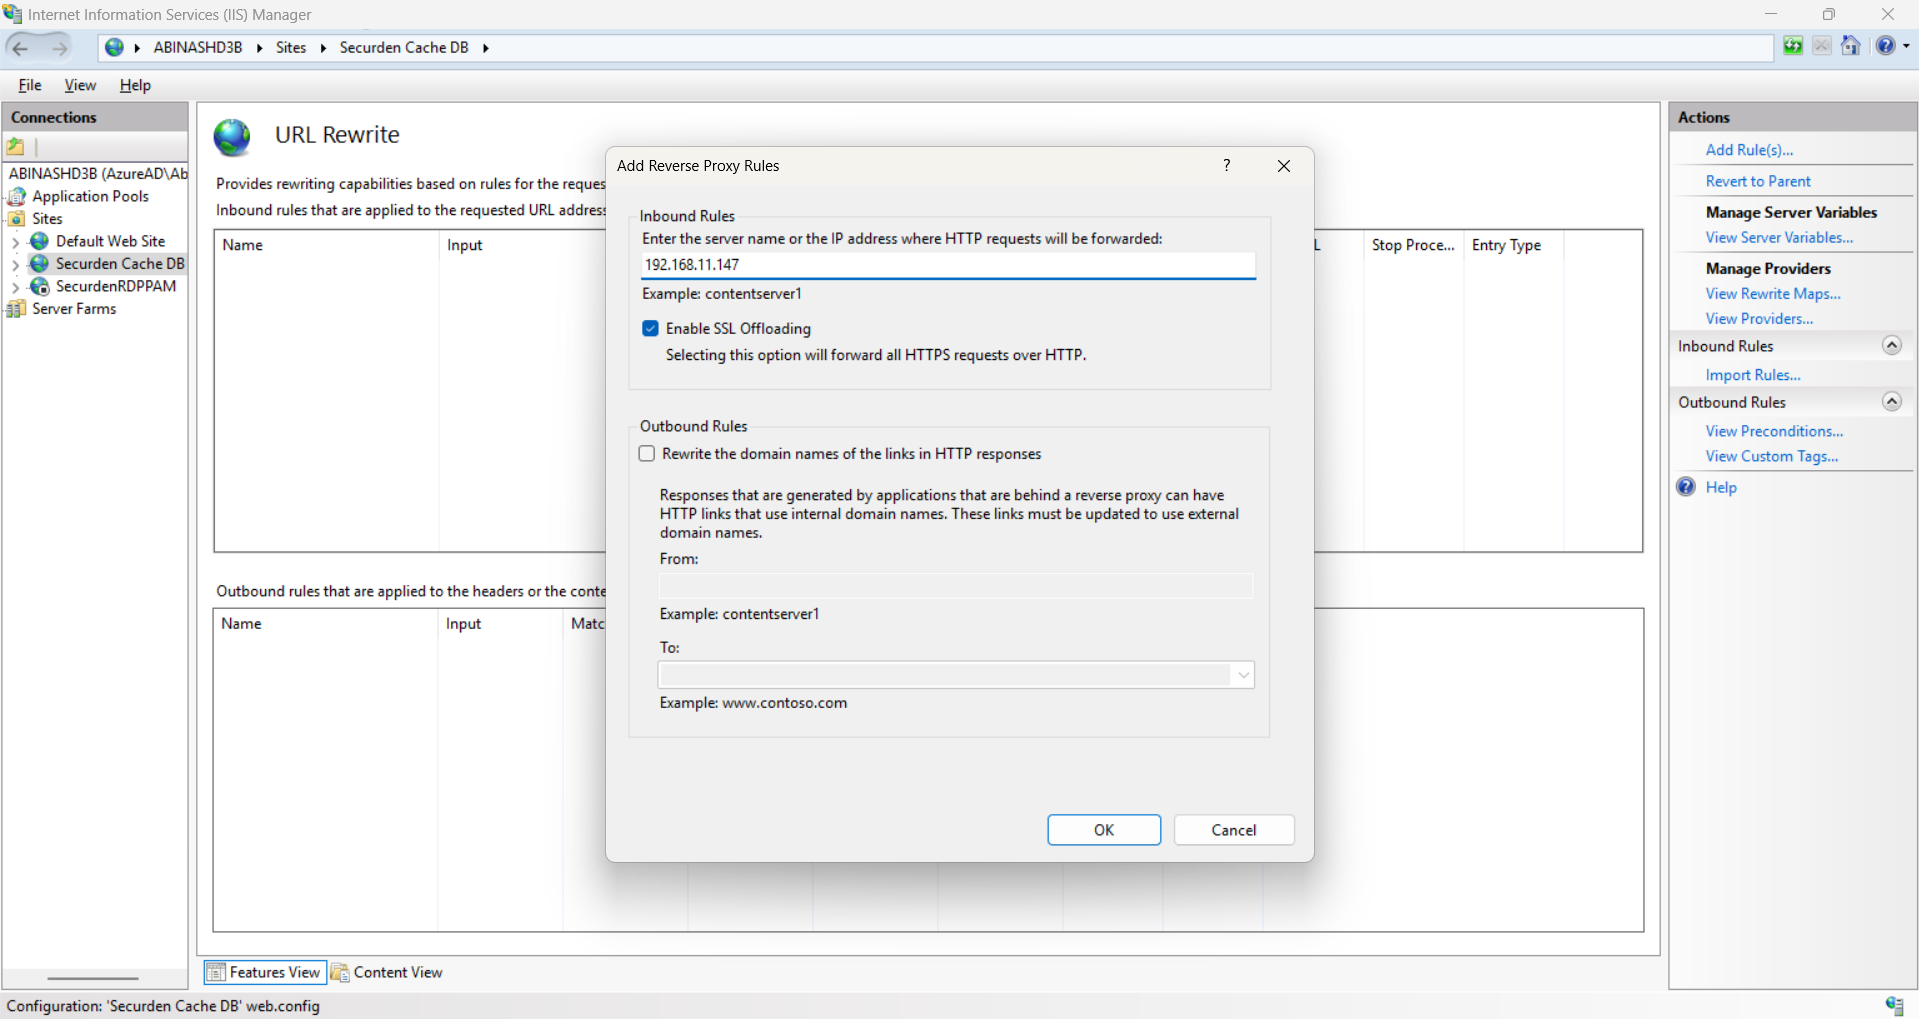
- Give value as in the screenshot below and click ‘OK’.
-
Now access https://localhost:5253/ from the primary server machine. It should point to the Cache database.
-
Ensure 5253 port of the primary server is accessible to all the secondary servers. Add necessary firewall rules if needed.
-
In all the secondary servers, download the HA pack from Securden web interface and install the secondary server packages again.

