How To Manage Requests in Securden EPM Using Jira ITSM?
To start using Jira ITSM solution for managing requests, you need to follow the three steps below.
-
Configure the connectivity between Securden and Jira
-
Configure ticket creation parameters
-
Configure ticket parameters for managing the request
How To Configure Connectivity between Jira ITSM with Securden?
To integrate with Jira, you need to provide appropriate credentials for Securden to establish connectivity with the ticketing system. Navigate to Admin >> Integrations >> Ticketing Systems and ITSM and choose Jira from the options displayed.
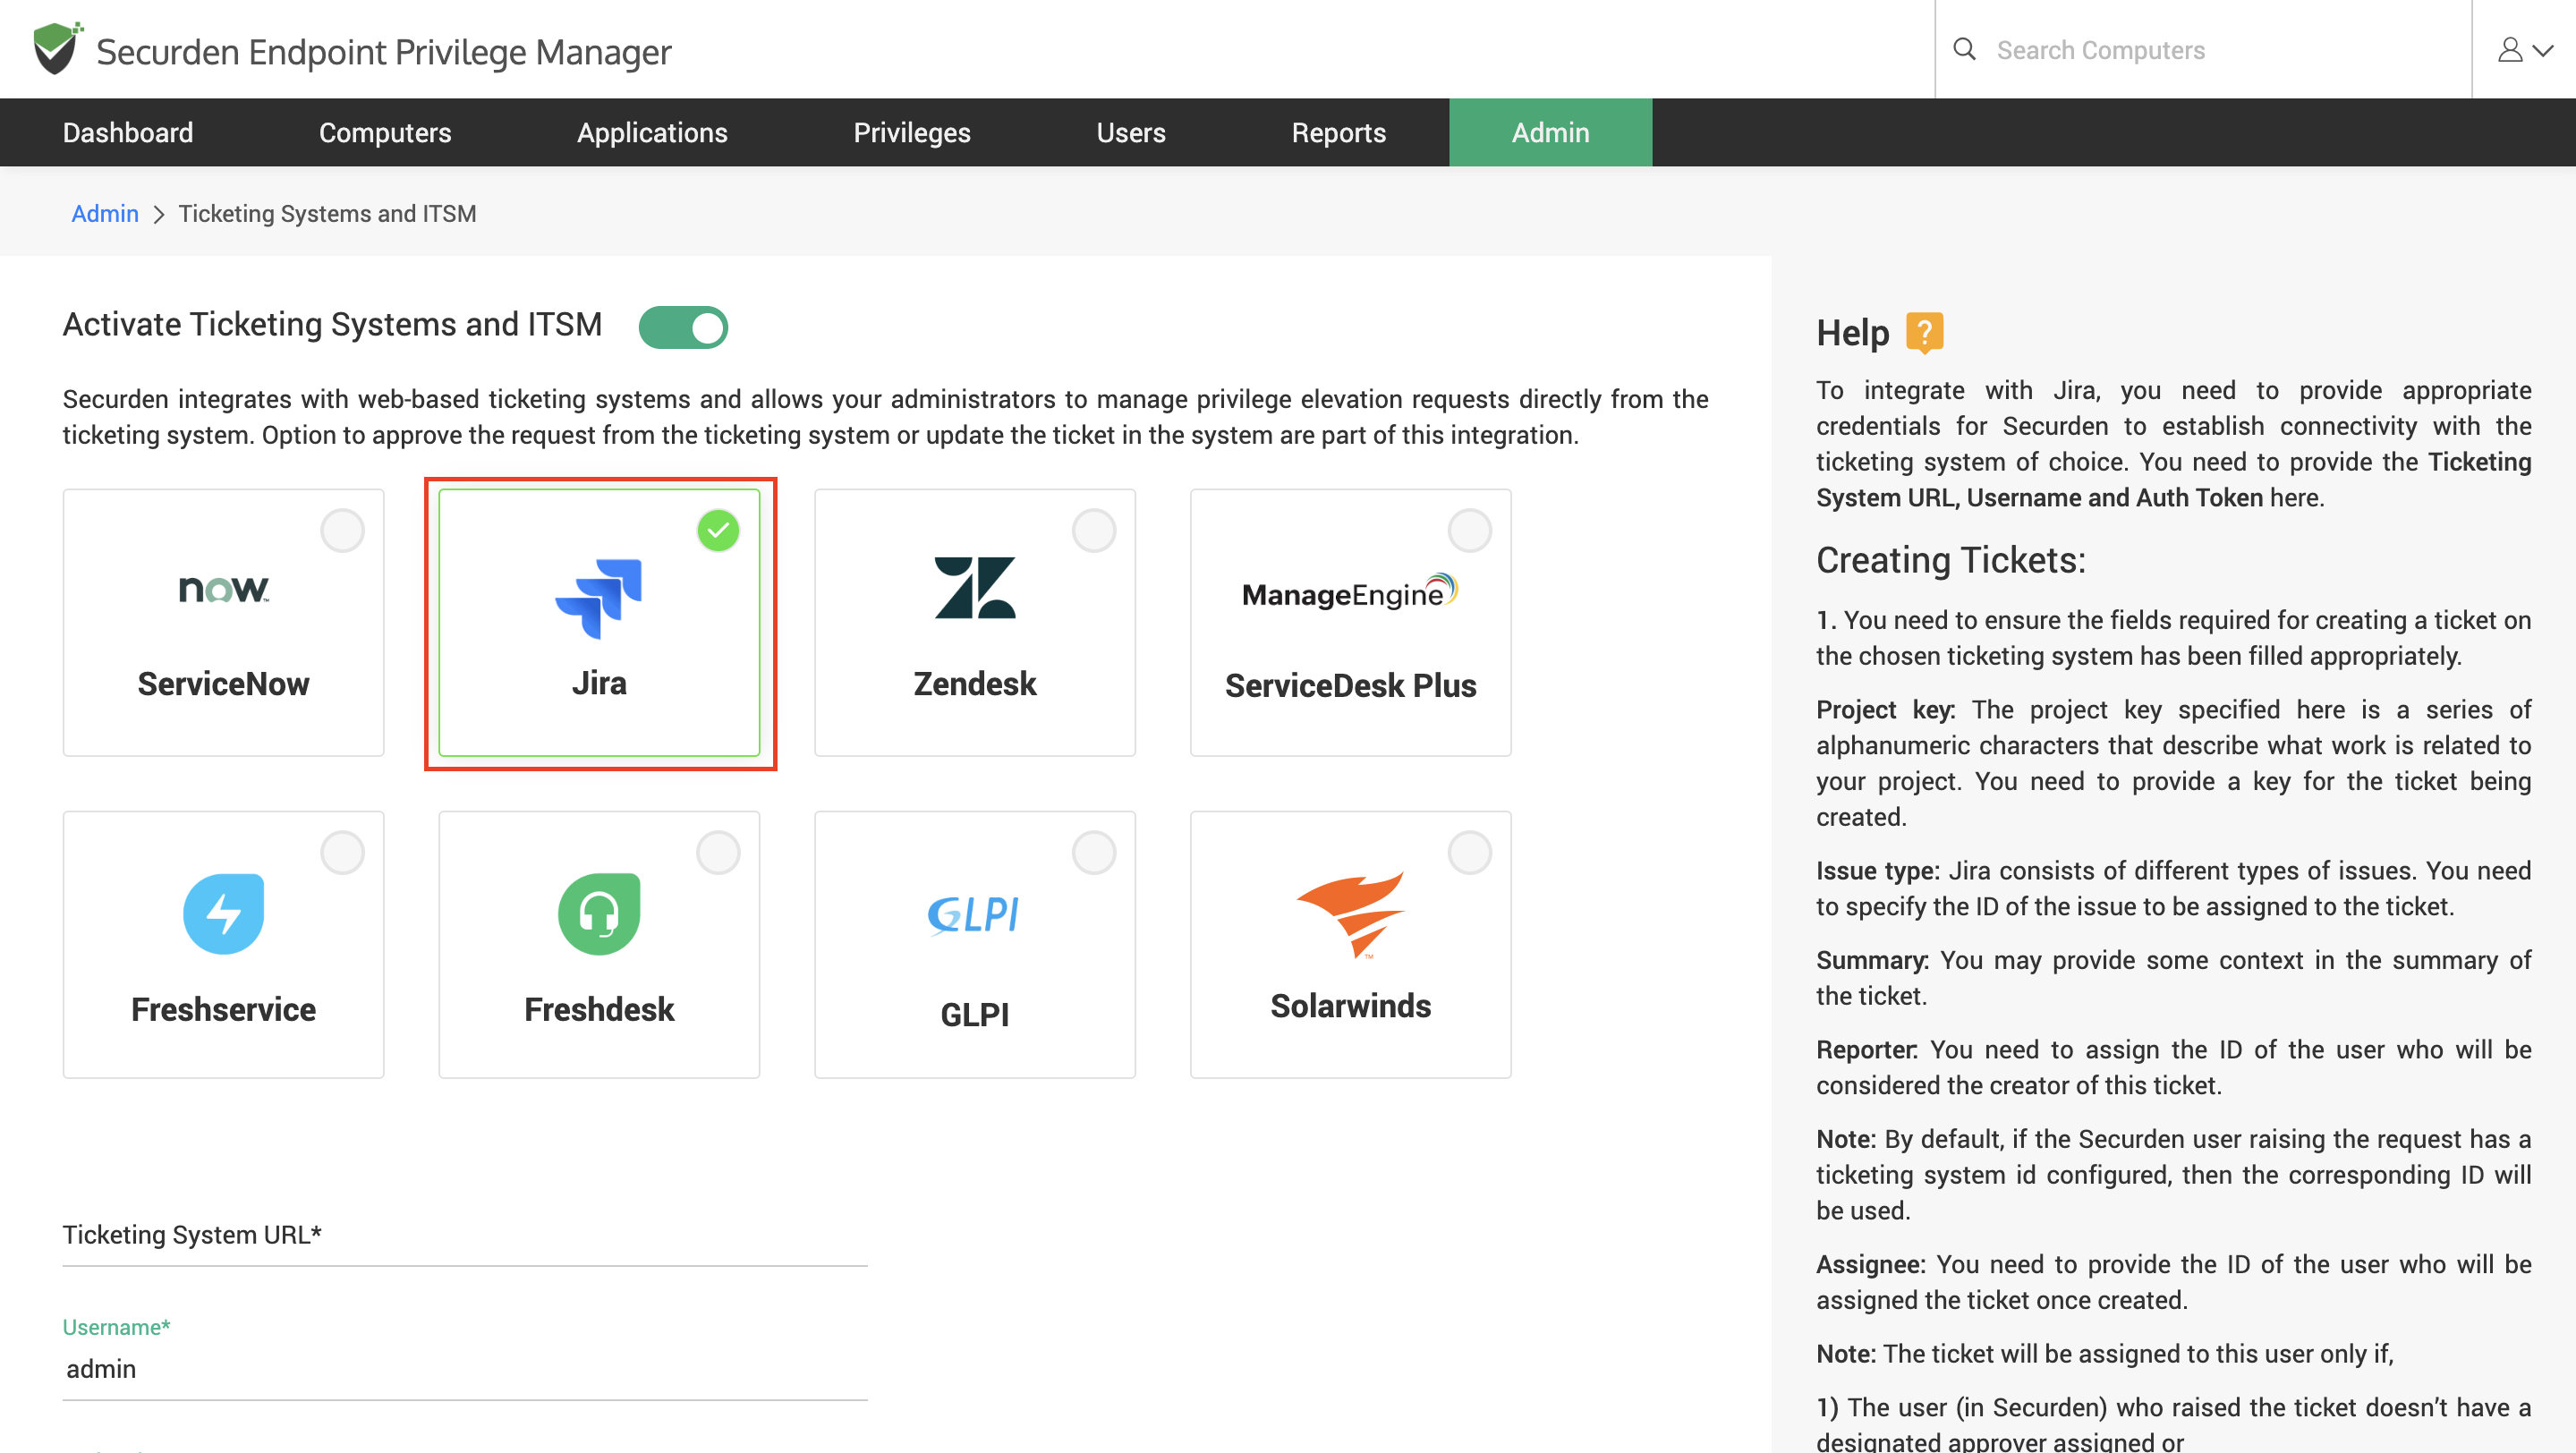
In this window, you need to provide the following
-
Ticketing System URL
-
Username
-
Auth Token
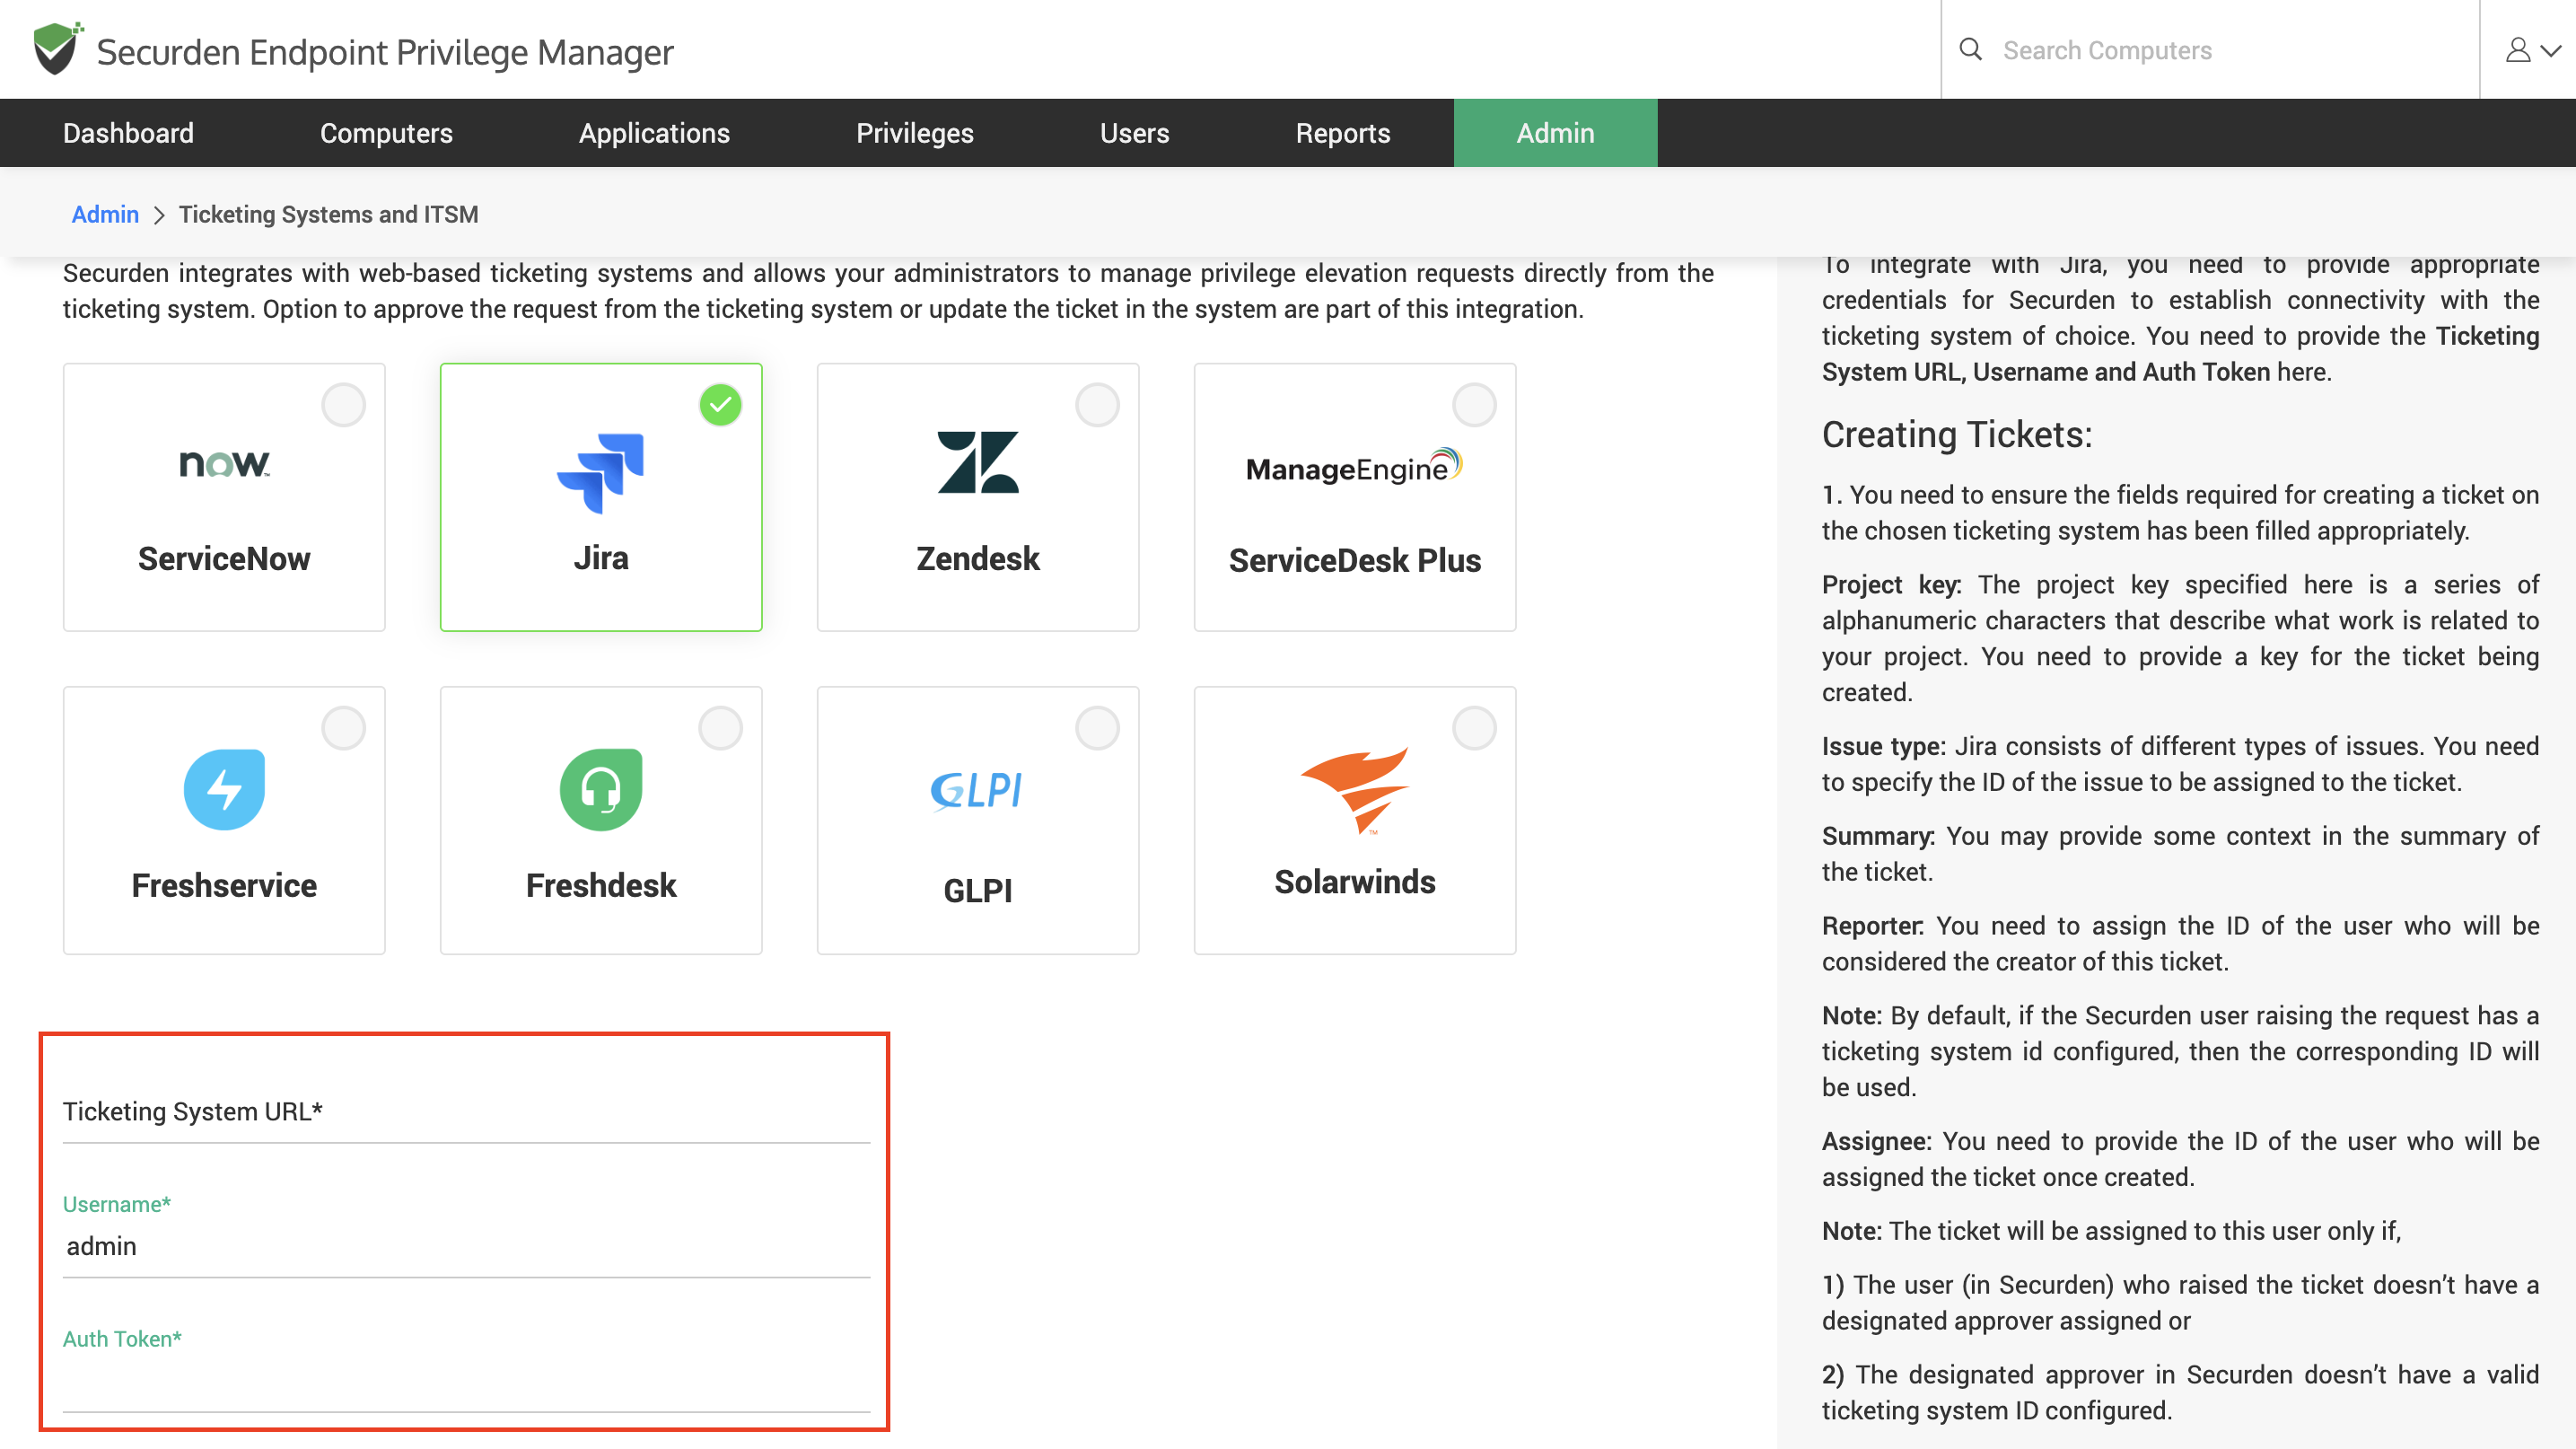
The URL is used by Securden to communicate with the ITSM solution. The username and authentication tokens are used to authenticate with the Jira ITSM solution.
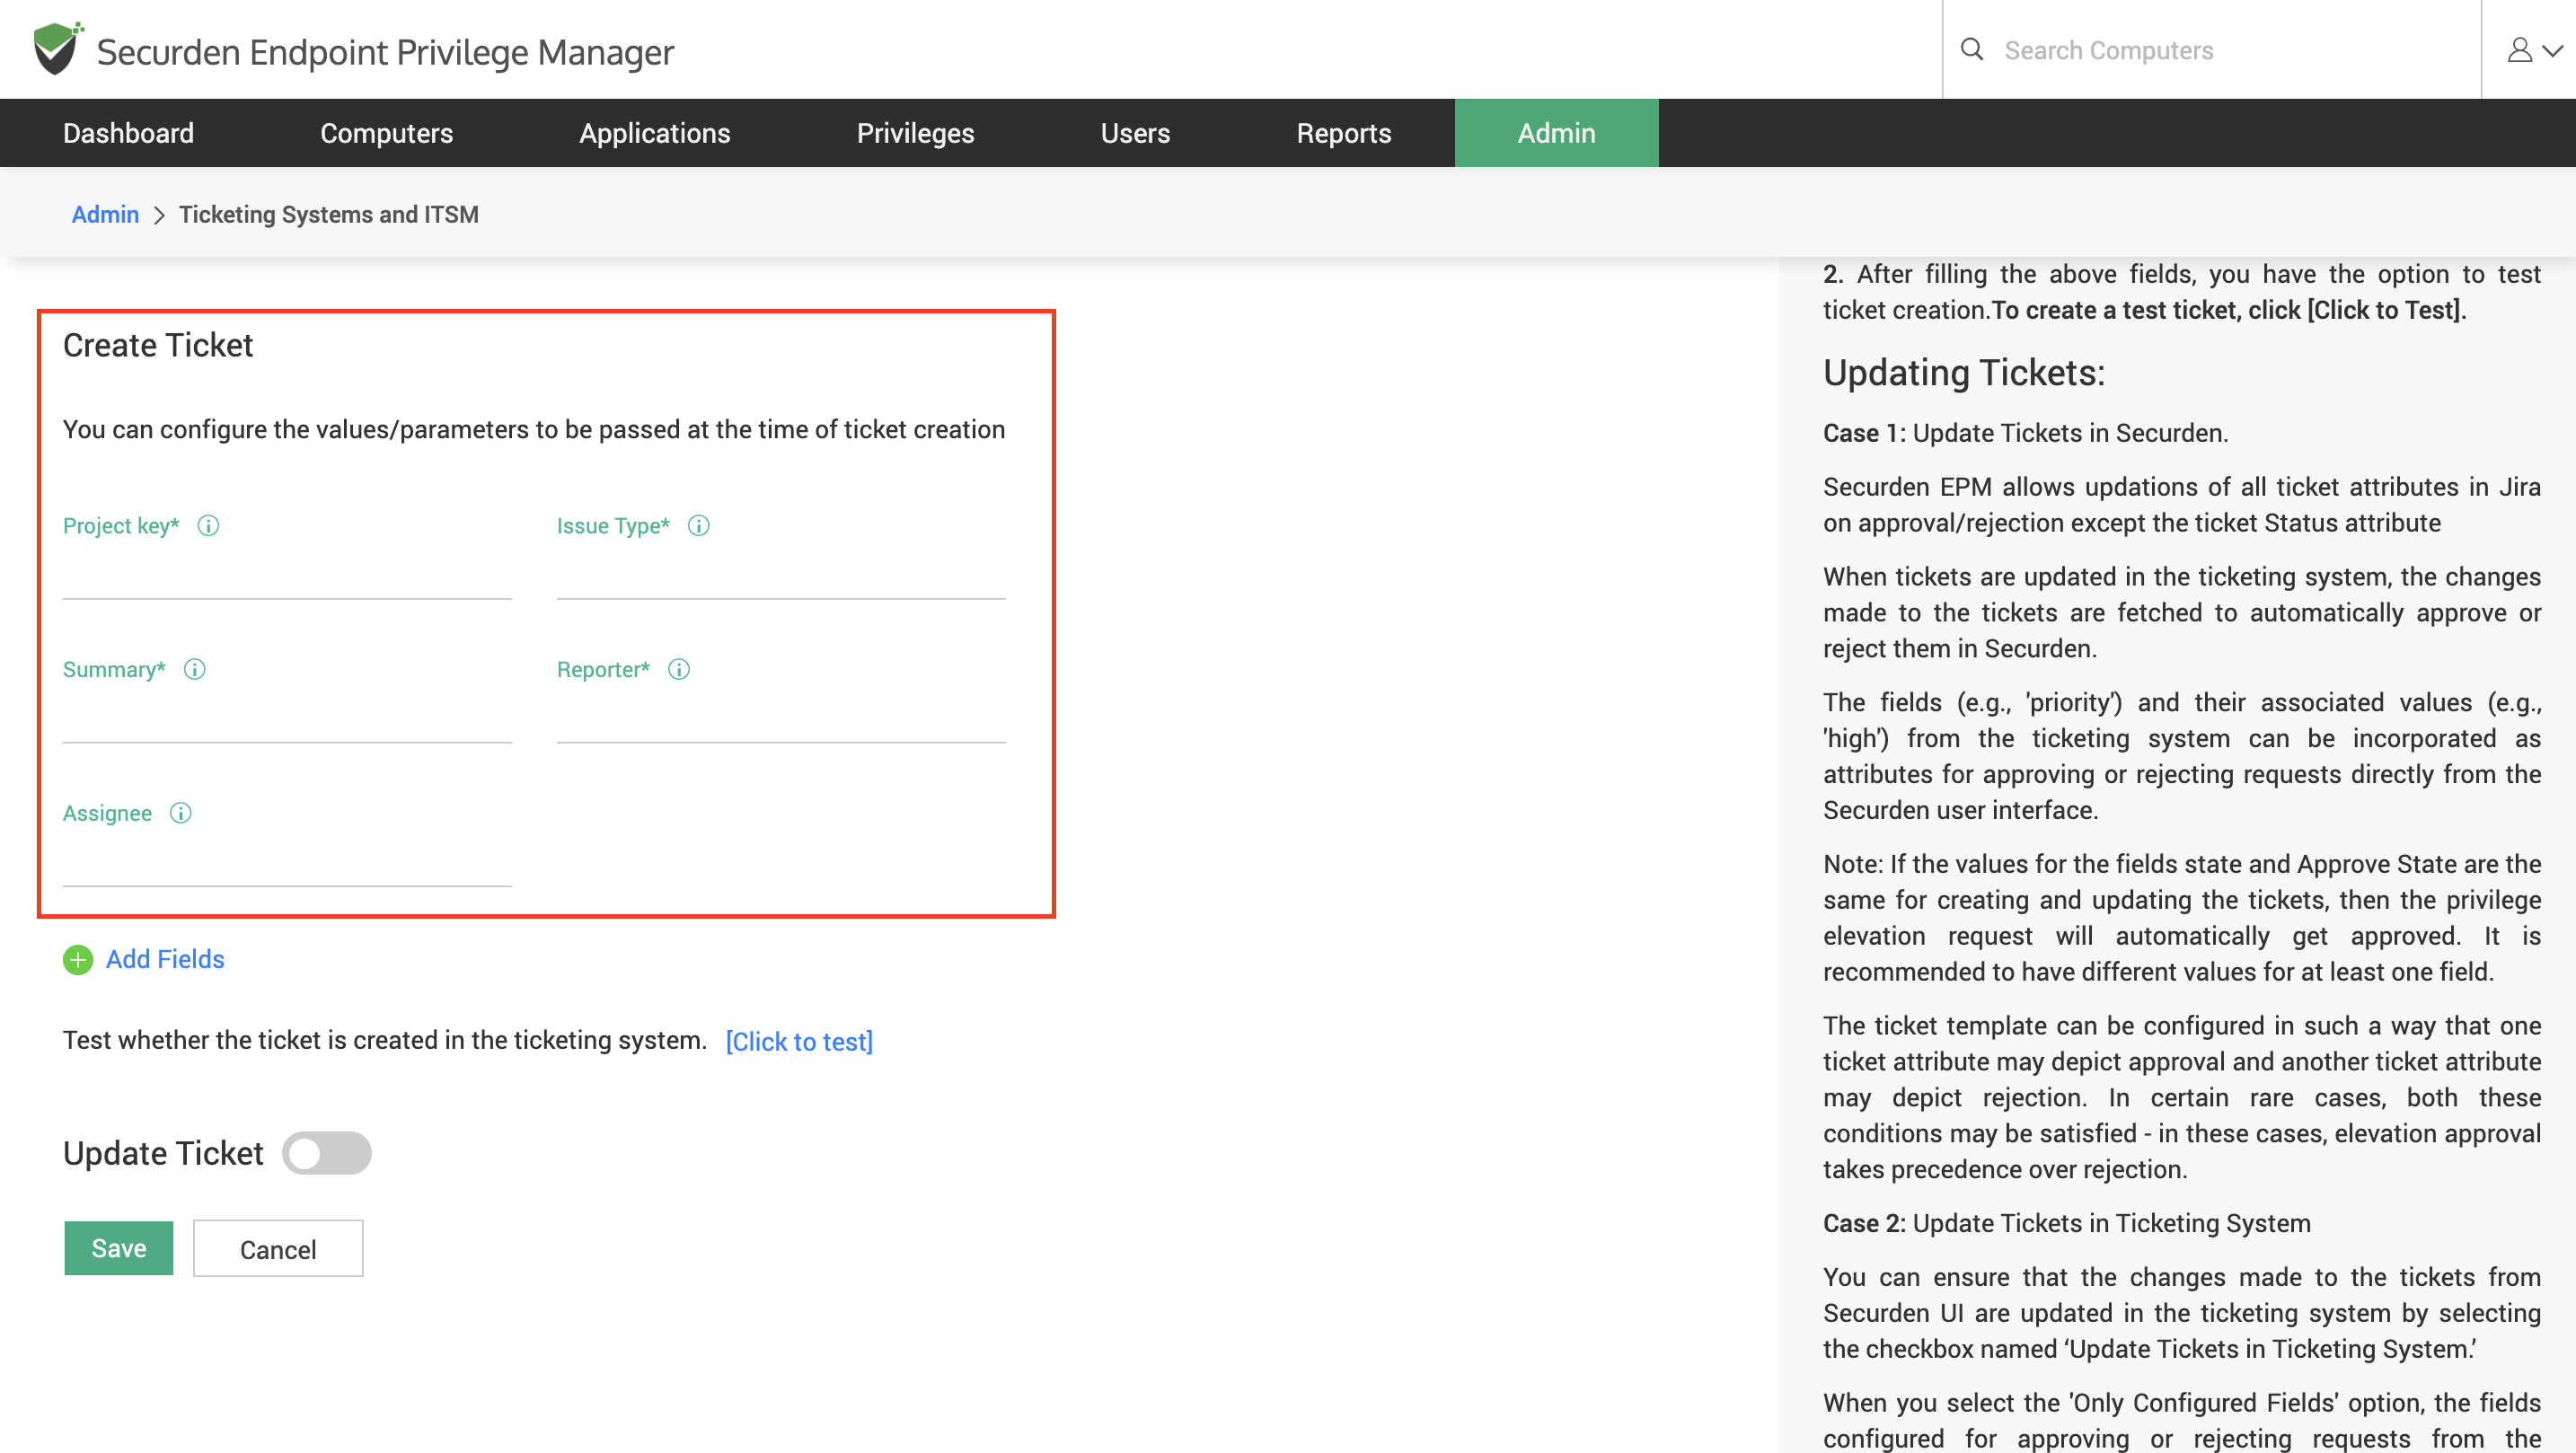
How to Configure Ticket Creation Parameters in Jira?
You can configure the values/parameters to be passed at the time of ticket creation. You need to ensure the fields required for creating a ticket on the chosen ticketing system have been filled appropriately. The following parameters must be specified at the minimum.
-
Project key – The project key specified here is a series of alphanumeric characters that describe what work is related to your project. You need to provide a key for the ticket being created.
-
Issue type - Jira consists of different types of issues. You need to specify the ID of the issue to be assigned to the ticket.
-
Summary - You may provide some context in the summary of the ticket.
-
Reporter - You need to assign the ID of the user who will be considered the creator of this ticket.
Note
By default, if the Securden user raising the request has a ticketing system id configured, then the corresponding ID will be used.
-
Assignee - You need to provide the ID of the user who will be assigned the ticket once created.
Important
The ticket will be assigned to this user only if the user (in Securden) who raised the ticket doesn't have a designated approver assigned or if the designated approver in Securden doesn't have a valid ticketing system ID configured.
After filling in the above fields, you have the option to test ticket creation. To create a test ticket, click [Click to Test].
You can also add multiple additional fields by clicking on Add Fields.
Once this is configured, whenever a request is raised in Securden, a corresponding ticket will be created in the ITSM solution.
To manage these requests directly from the ITSM solution, you need to configure the ticket parameters for approving or rejecting the request.
How to Configure Ticket Parameters for Managing the Request?
Once the connectivity between the ITSM and EPM servers is configured and parameters for creating the tickets are specified, tickets will be created in the ITSM solution whenever a request is raised. You must specify the parameters that would indicate whether the ticket has been approved or rejected.
You can navigate to this section for the steps involved in setting up the ticket parameters that will be used for approving or rejecting the request.
How to Add User and Device Attributes to Tickets in ITSM Solution?
You can pass device, user, and application details as parameters for creating and managing the ticket in your ITSM solution. You can refer to this document.
How To Approve and Reject Requests from Jira Interface?
Once the integration is configured completely, you can view the corresponding tickets being created in Jira for the requests created in Securden. You can change the ticket attributes in accordance with the rules set in Securden to approve or reject the request.

