
General Configuration Settings
Upon deploying Securden, you need to carry out certain settings before proceeding with configuring the features. These settings are classified under “Admin >> General” section.
The settings including configuring the mail server to enable Securden send email notifications, proxy server settings (if your organization makes use of a proxy server to regulate internet traffic), and Securden server connectivity settings specifying how to connect to the Securden web interface from client machines and the name with which the client machines identify the Securden server host.
How to Configure Mail server settings
Securden sends various email notifications to the users and to facilitate that, SMTP server details are to be configured. To configure the SMTP server settings, navigate to Admin >> General >> Mail Server Settings in the GUI.
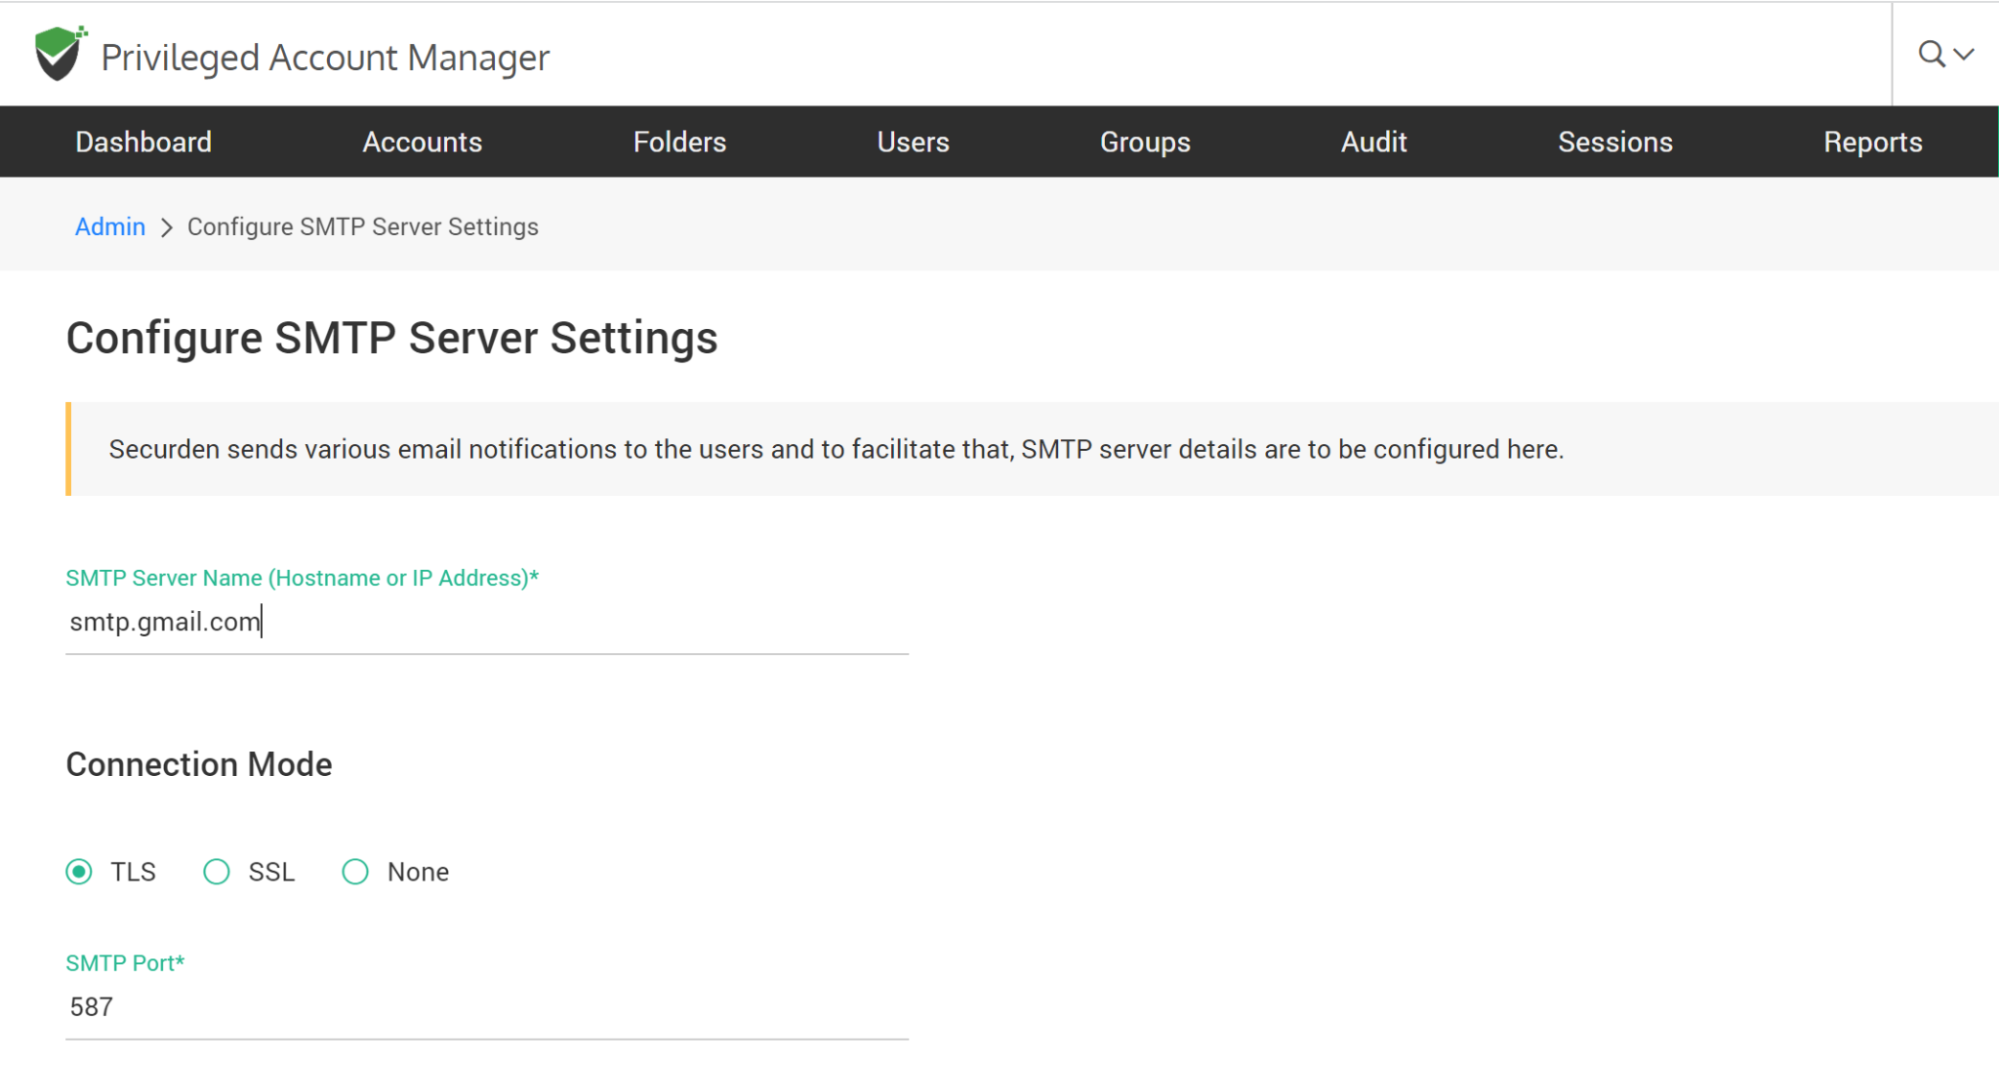
In the GUI that opens, enter the following details:
- SMTP server name: Enter the hostname or IP address of the machine that runs the SMTP server.
- Connection Mode: Select the mode in which the SMTP accepts connections. Select TLS or SSL for encrypted connections. The option ‘None’ indicates the default SMTP connection mode (not recommended).
- SMTP Port: Specify the port in which the SMTP service listens. The default port for TLS is 587 and SSL is 465.
- Sender email address for Notifications: The email address you enter here will be displayed as the ‘sender’ when Securden triggers email notifications to users.
- Supply Credentials: If your SMTP server requires authentication to access, you need to supply the credentials.
After providing the required details and authentication credentials, click the ‘Save’. You can also test the configuration setting by sending a test email.
How to Configure Proxy Server Settings
If your organization makes use of a proxy server to regulate internet traffic, configure the proxy server details to facilitate Securden to connect to the internet.
To configure proxy server details, navigate to Admin >> General >> Proxy Server Settings and move the toggle “Enable Proxy” to green.
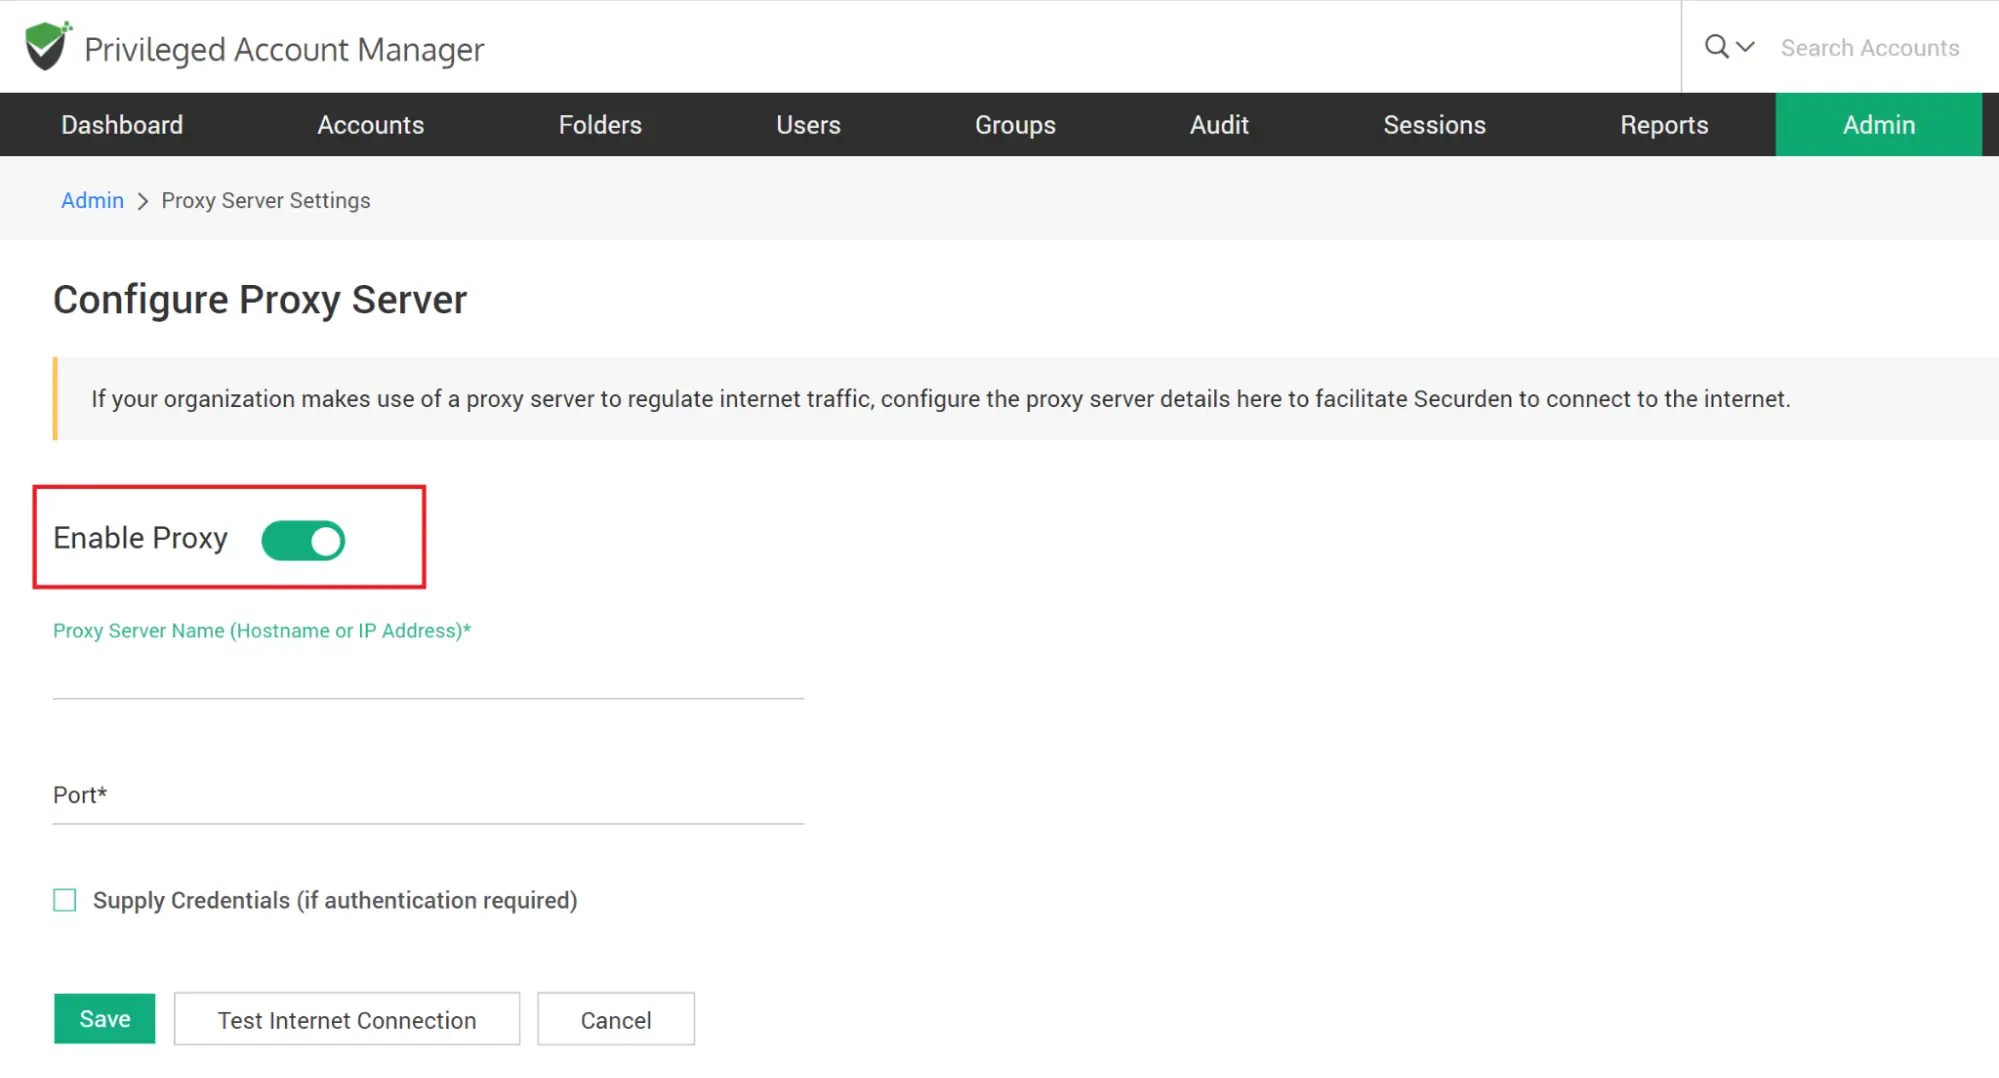
In the text fields below, enter the hostname or IP address of the machine that hosts the proxy server. Also enter the port used by the proxy server to allow client connections.
If the proxy server requires authentication, you need to enter the credentials (“Supply Credentials”) to enable Securden connect to the proxy server.
Save the settings and then run a test to verify the connection.
How to Establish Securden Server Connectivity
This setting is to specify how to connect to the Securden web interface from client machines and the name with which the client machines identify the Securden server host. In addition to specifying how the Securden server can be accessed, you can specify the gateway URLs for RDP and SSH connections.
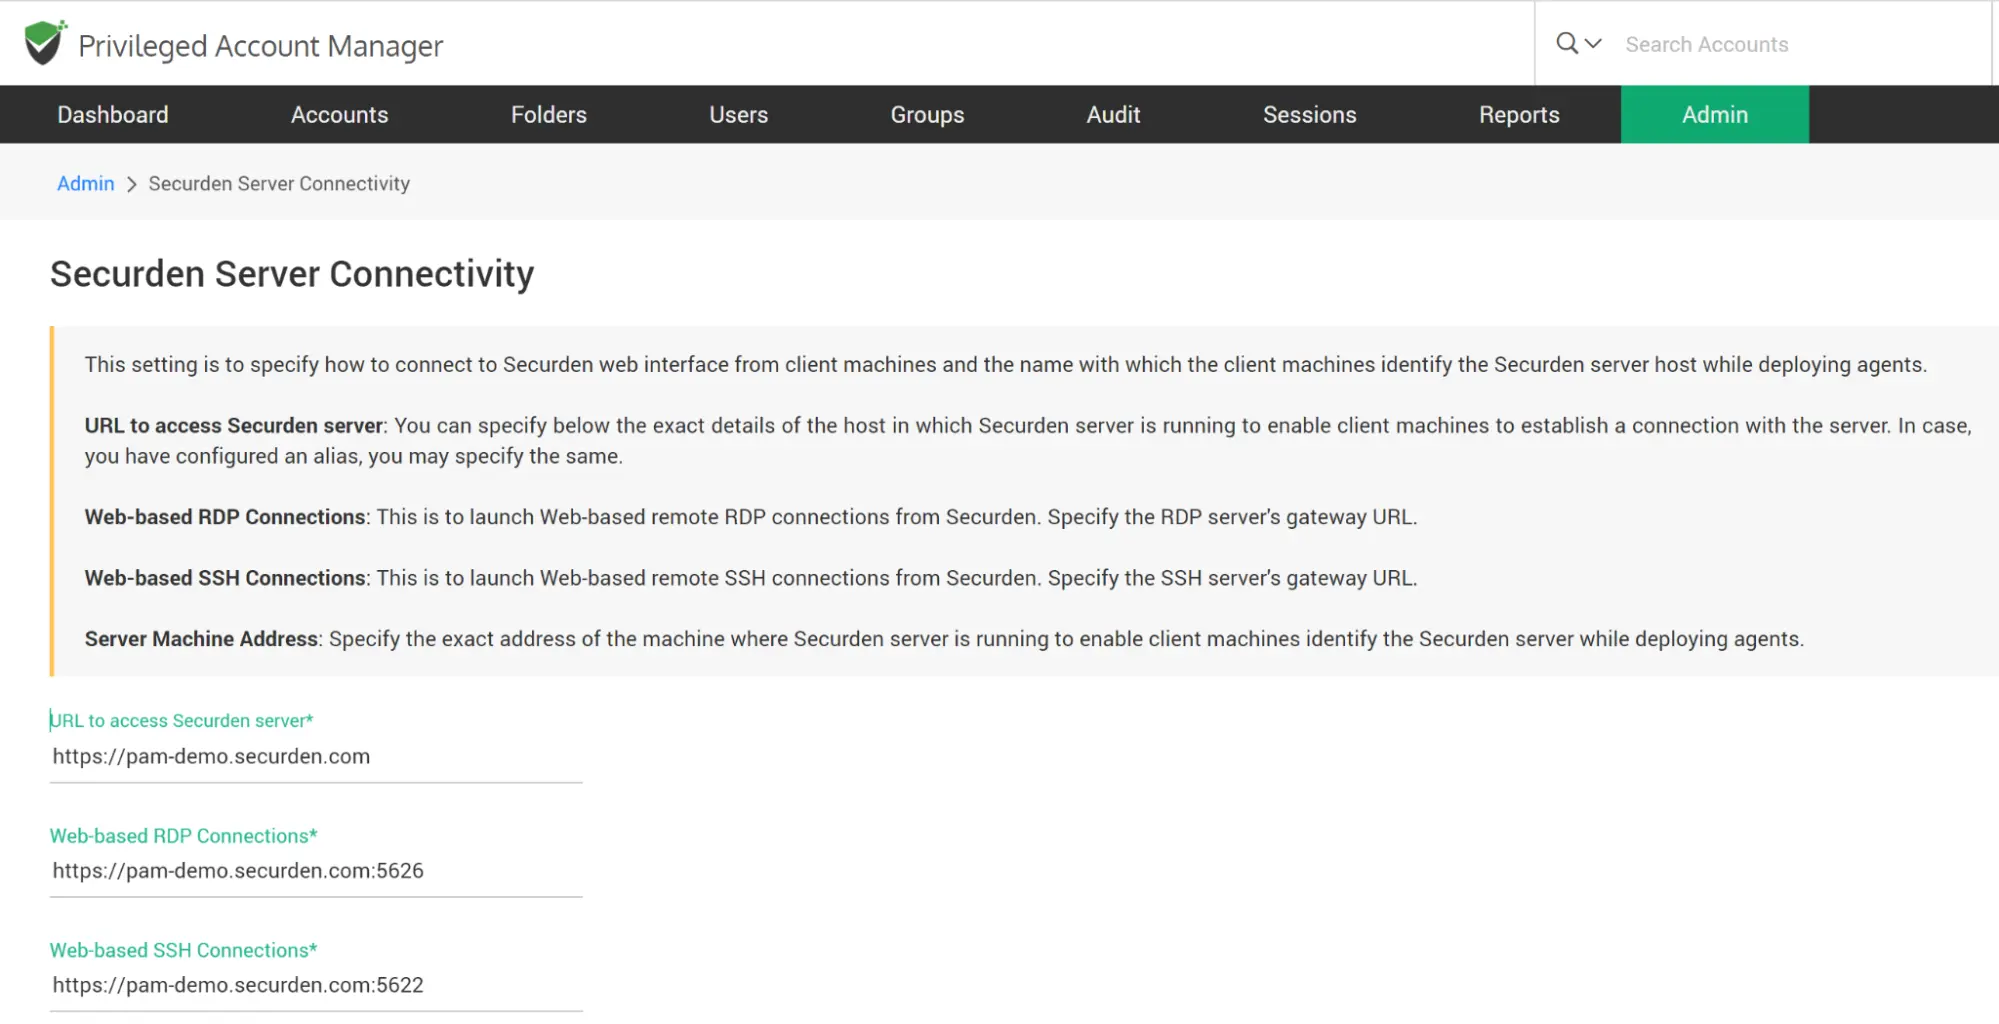
To configure server settings, navigate to Admin >> General >> Securden Server Connectivity. In the GUI that opens, enter the following details.
URL to access Securden server: This URL refers to the exact details of the host in which the Securden server is running to enable client machines to establish a connection with the server. If you have configured an alias name, you may specify the same. You can also enter the IP address or domain name. Securden server uses the port 5959 by default. If you wish to change the Server port, follow the steps below.
To change server port,
- Navigate to the Securden installation folder/conf directory and open the server.properties file with Wordpad or notepad++.
- Look for the entry "SERVER_PORT" and enter the required port number.
- Restart Securden PAM service alone (DO NOT restart Securden Web service as it is dependent of the PAM service)
If you do not wish to enter the port number, you can change the port number to default 443 to access Securden.
To change the https port to the default 443,
- Navigate to the Securden installation folder/conf directory and open the server.properties file with Wordpad or notepad++.
- Look for the entry "SERVER_PORT" and enter the required port number.
- Restart Securden PAM service alone (DO NOT restart Securden Web service as it is dependent of the PAM service)
After updating the server.properties file, you may enter the modified port in the Server Connectivity field.
Troubleshooting tip
If you are not able to connect to securden server using the domain name, then you can connect using the IP address.
Web-based RDP Connections: Securden helps in launching one-click, web-based RDP connections from the interface. To facilitate that, you can specify the RDP server's gateway URL. By default, Securden uses the port 5626 for RDP connections. If you want, you can change the RDP gateway port by following the steps below and then enter the new port number here.
To change RDP Server Gateway Port,
- Navigate to the Securden installation folder/conf directory and open the server.properties file with Wordpad or notepad++.
- Look for the entry "RDP GATEWAY PROXY PORT" and enter the new value.
- Restart Securden PAM service alone (DO NOT restart Securden Web service as it is dependent of the PAM service)
Web-based SSH Connections: Securden helps in launching one-click, web-based SSH connections from the interface. To facilitate that, you can specify the SSH server's gateway URL. By default, Securden uses the port 5622 for SSH connections. If you want, you can change the SSH gateway port by following the steps below and then enter the new port number here.
To change SSH Server Gateway Port Number,
- Navigate to the Securden installation folder/conf directory and open the server.properties file with Wordpad or notepad++.
- Look for the entry "TORNADO PROXY PORT" and enter the new value.
- Restart Securden PAM service alone (DO NOT restart Securden Web service as it is dependent of the PAM service)
Server Machine Address: Specify the exact address of the machine where the Securden server is running to enable client machines to identify the Securden server while deploying agents.
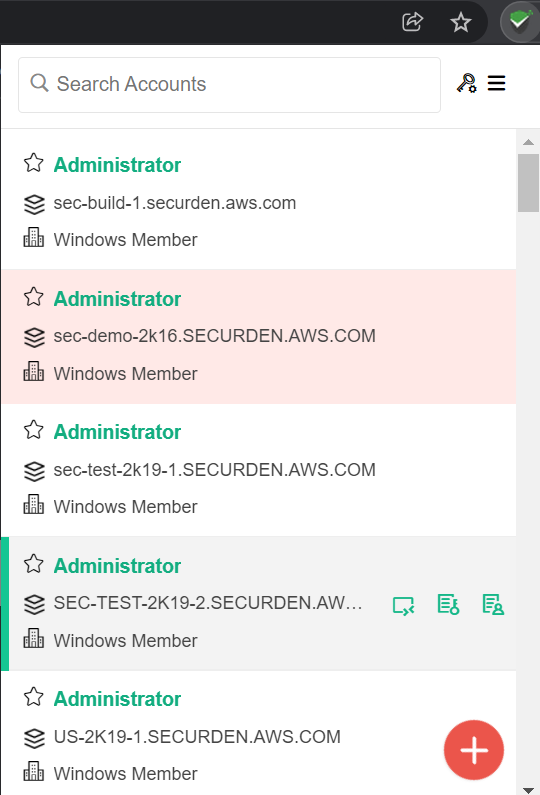
Working with Browser Extensions
Securden provides browser extensions to facilitate auto-fill of credentials on websites and web applications. When you create new accounts on websites, the same can be added to Securden without leaving that website. You can view accounts, passwords and also launch connections with websites from within the browser extension. Securden server should be running in the background for the browser extension to work. Extensions are available for Chrome, Firefox, and Chromium-based Edge browsers.
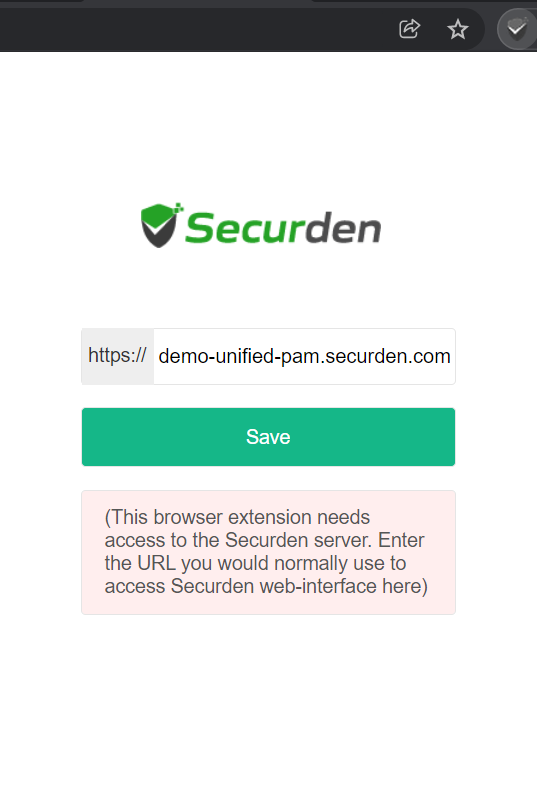
Navigate to Admin >> General >> Browser Extensions to download the extensions.
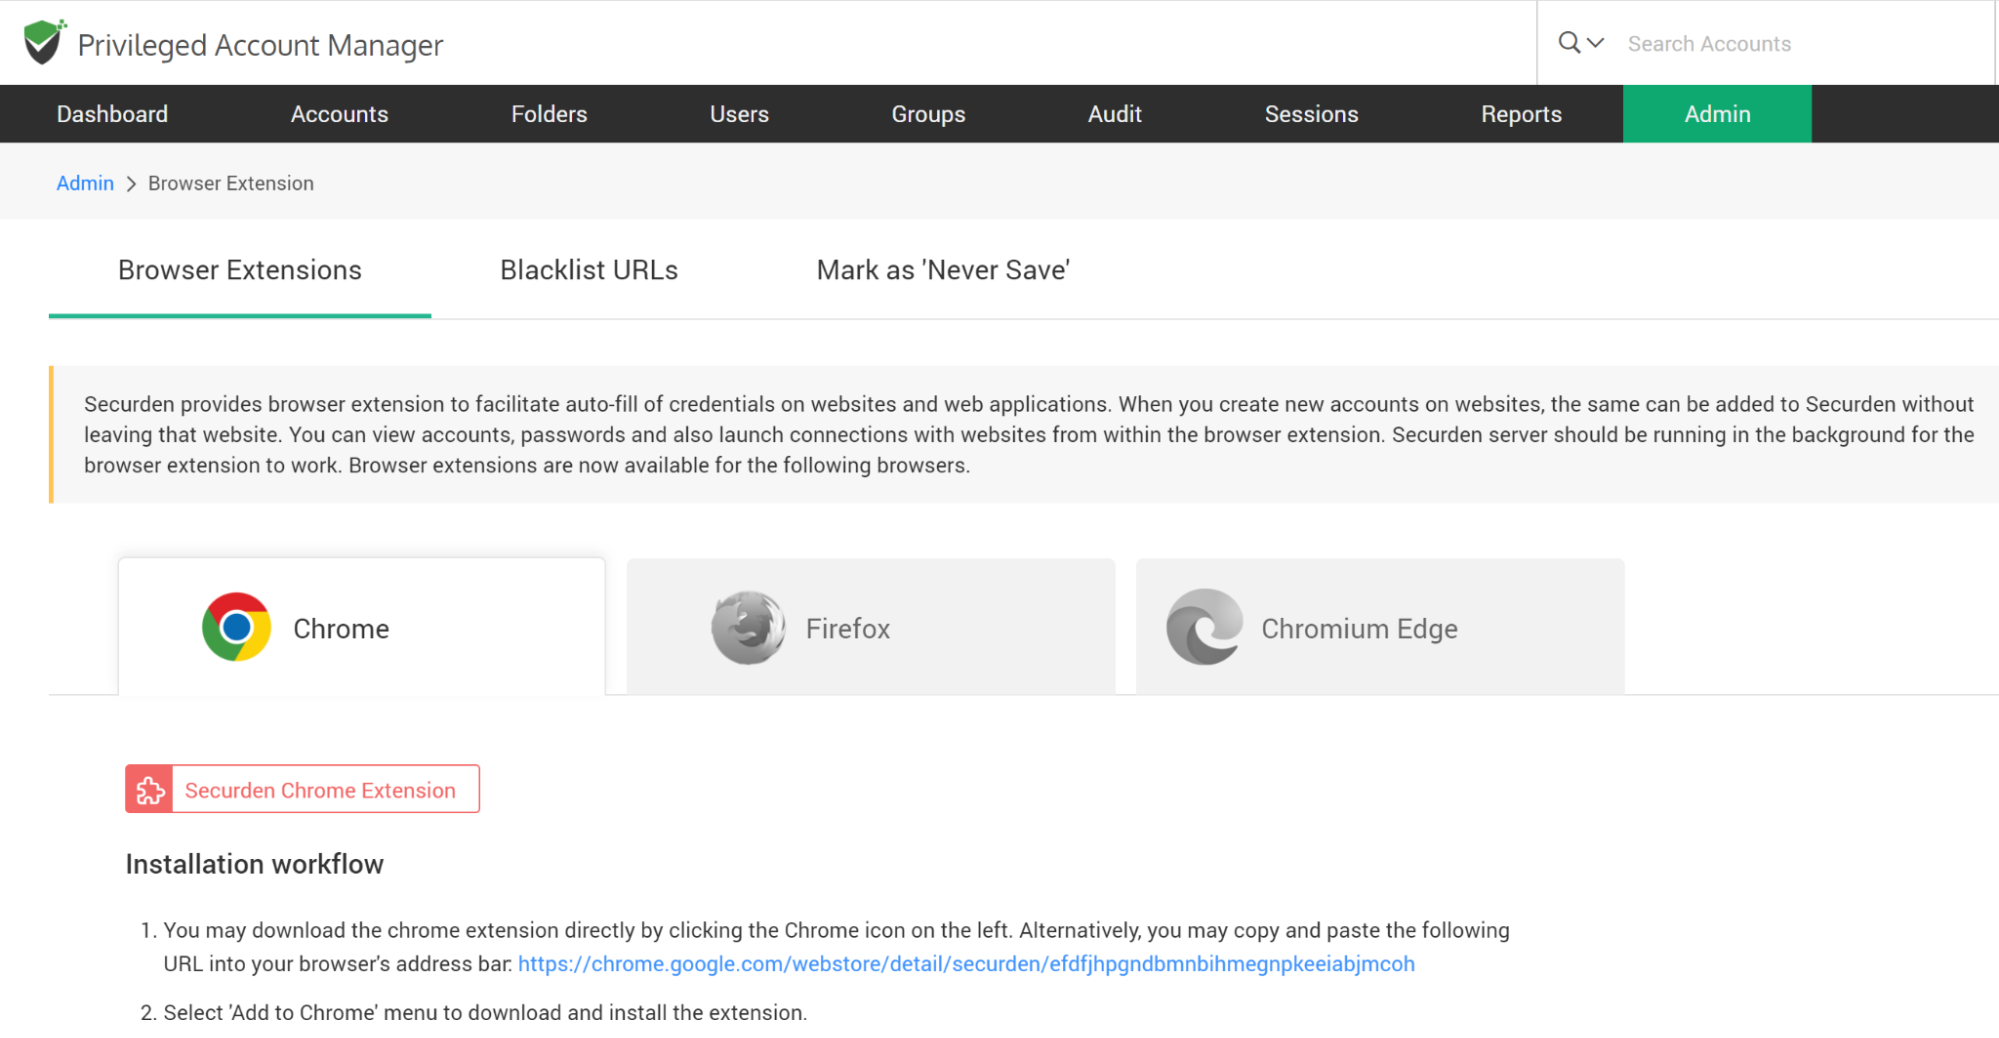
The steps to install different browser extensions are given below:
Chrome
- You may download the chrome extension directly from the GUI . Alternatively, you may copy and paste the following URL into your browser's address bar:
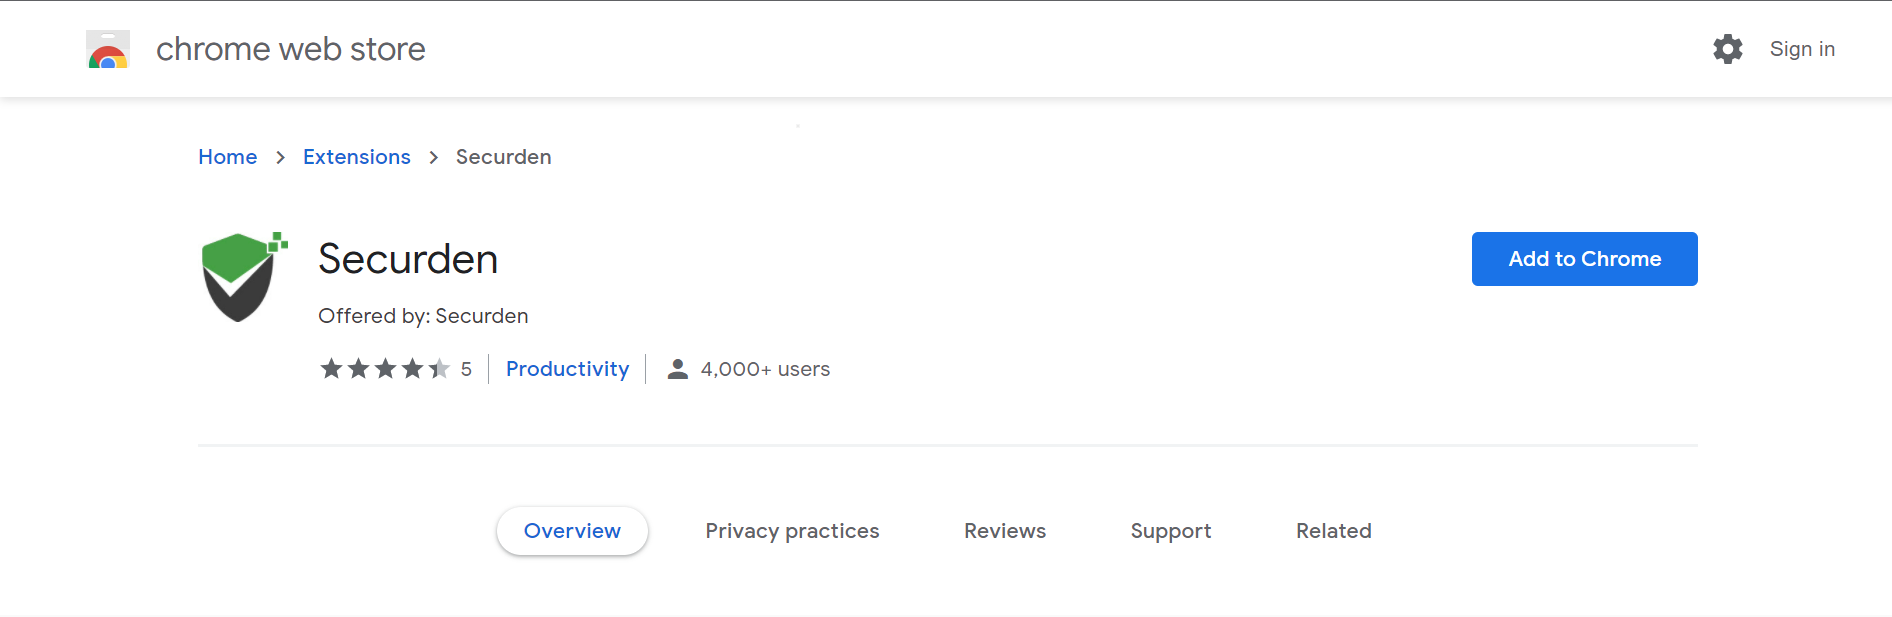
https://chrome.google.com/webstore/detail/securden/efdfjhpgndbmnbihmegnpkeeiabjmcoh - Select the 'Add to Chrome' menu to download and install the extension.
- The Google Chrome browser permissions window will ask for your consent to gain the necessary permissions to do various operations. Click 'Add Extension'.
- You will see the message 'Securden has been added to Chrome'. You can start using the extension.
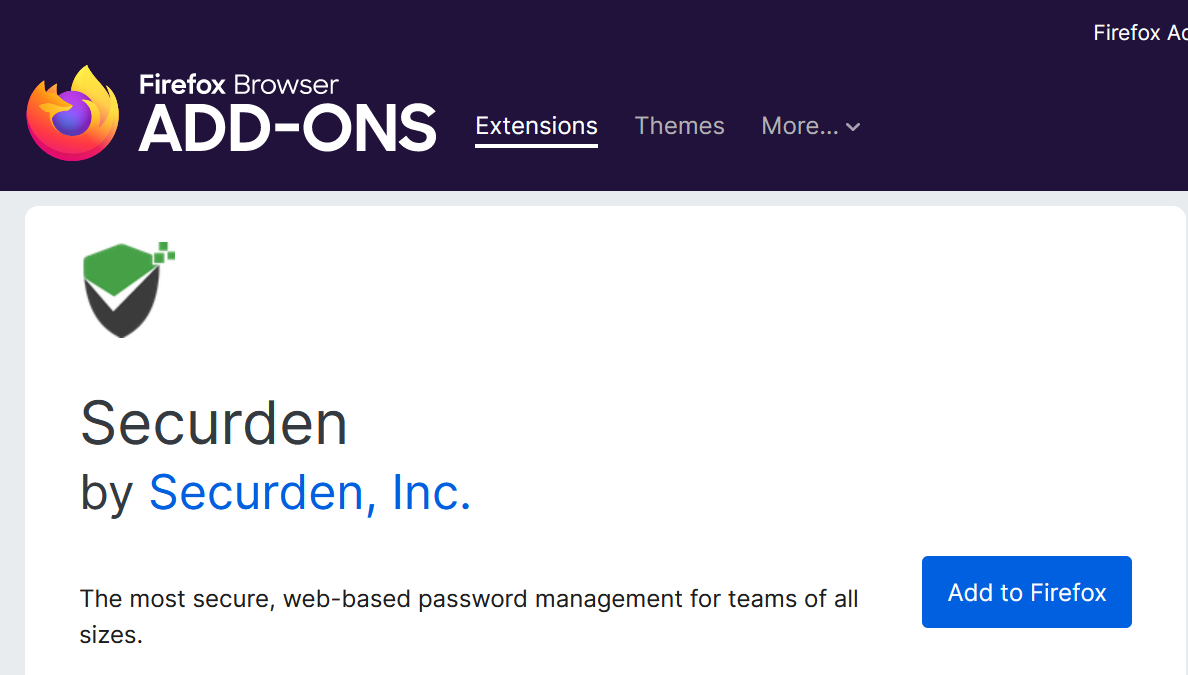
Firefox
- You may download the chrome extension directly from the GUI. Alternatively, you may copy and paste the following URL into your browser's address bar:
https://addons.mozilla.org/en-US/firefox/addon/securden/ - Click the 'Add to Firefox' menu to download and install the extension.
- The Mozilla Firefox browser permissions window will ask for your consent to gain the necessary permissions to do various operations. Click 'Add'.
- You will see the message 'Securden has been added to Firefox'. You can start using the extension.
Chromium Edge
- You may download the chrome extension directly from the GUI . Alternatively, you may copy and paste the following URL into your browser's address bar:
Securden - Chrome Web Store (google.com) - Select the 'Add to Chrome' menu to download and install the extension.
- The Chromium Edge browser permissions window will ask for your consent to gain the necessary permissions to do various operations. Click 'Add Extension'.
- You will see the message 'Securden has been added'. You can start using the extension.
In addition to installing browser extensions, you can do certain configurations related to the usage of the extensions.
How to Blacklist URLs in the Securden Browser Extension
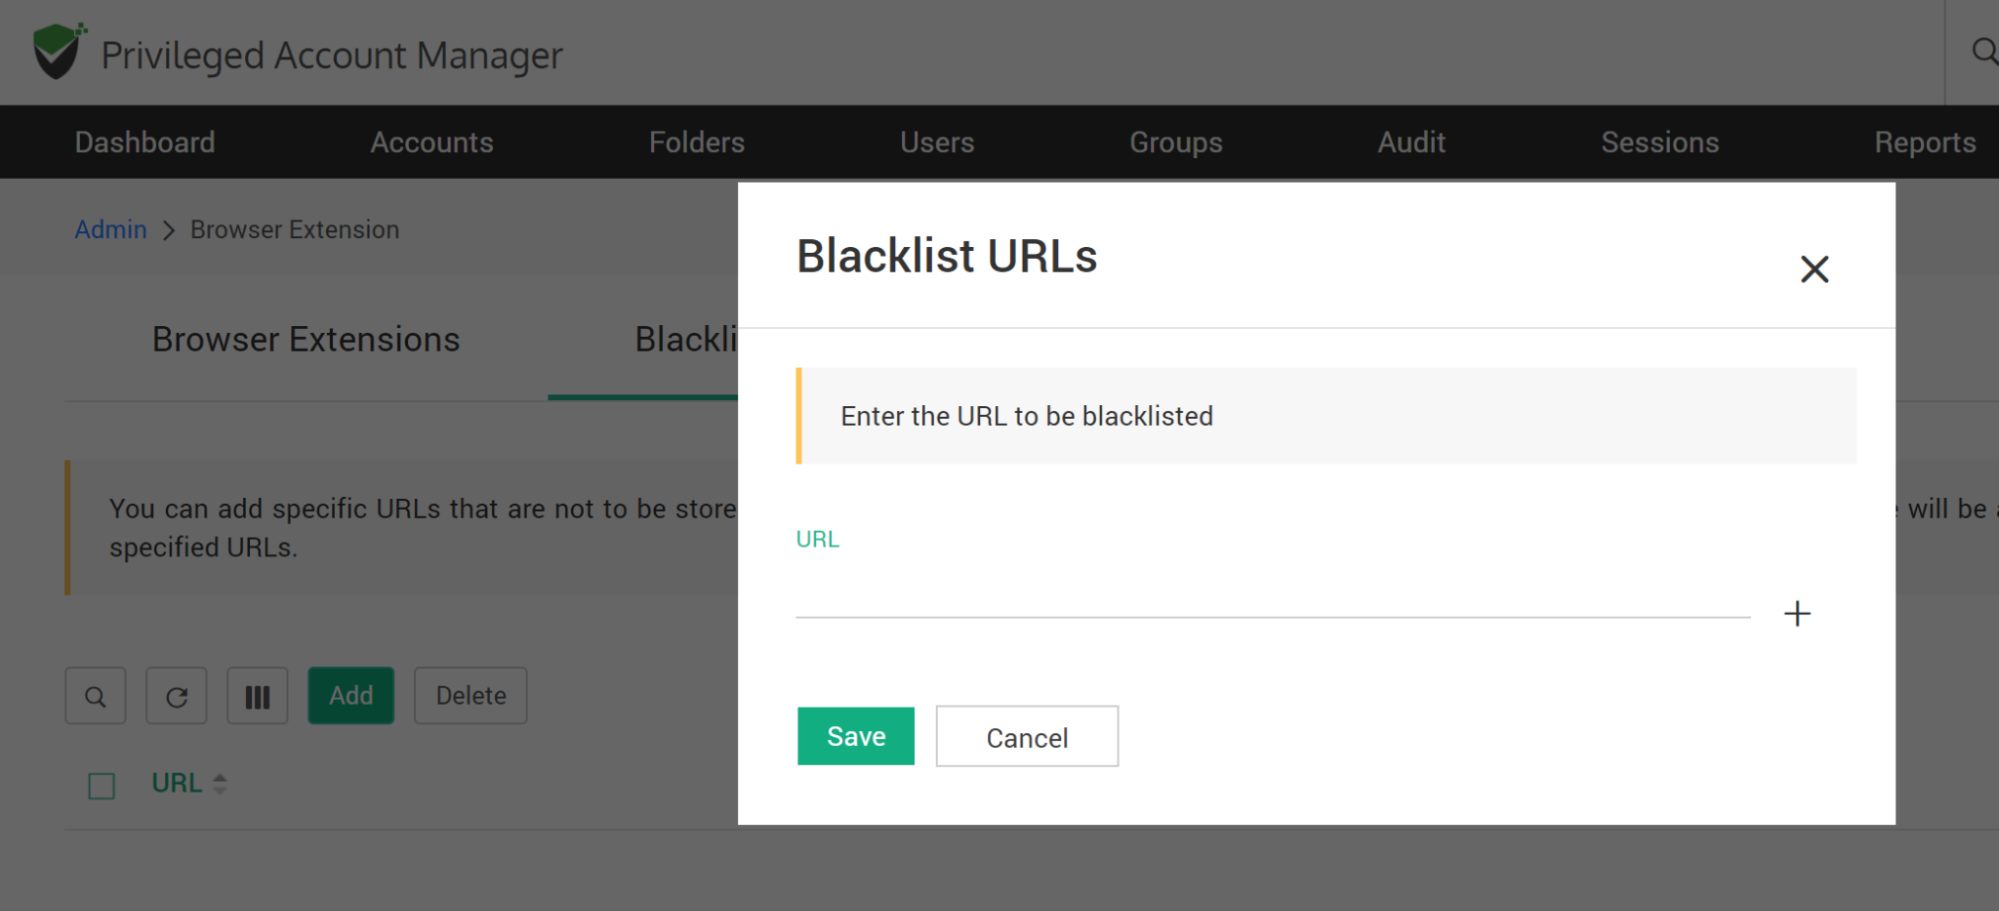
Once you install the extension, whenever you create a new account/password on a website, it usually prompts you to add the accounts to Securden inventory. There might be requirements where you wouldn't need certain accounts to be added to Securden. You can handle such scenarios through the blacklist URLs option.
This option Securden allows you to add (and delete) specific URLs that are not to be stored in Securden through the browser extension in your organization. Once this is configured, no one will be able to save accounts in Securden with the specified URLs.
Navigate to Admin >> General >> Browser Extension >> Blacklist URLs page and click the “Add” button.
Mark as ‘Never Save’
This feature is similar to the Blacklist URL option and allows you to define specific URLs that are not to be stored in Securden through the browser extension. While the Blacklist URLs option takes effect globally across the organization for all users, the ‘Never Save’ option is user-specific and doesn’t affect the entire organization.
Typically, the URLs that are marked not to be saved in Securden (setting you will see in the extension) will be listed in this page.
Navigate to Admin >> General >> Browser Extension >> Never Save page to manage such URLs.
How to Replace Self-signed Certificate with your Own Certificate
By default, Securden comes bundled with a self-signed certificate. You can add your own Certificate Authorised signed certificate by following the steps below.
Securden requires the certificate and the private key separately. If you have the CA certificate in .pfx format, follow the steps below:
- Download OpenSSL (if you don't have that installed already). You can download OpenSSL from https://protect2.fireeye.com/v1/url?k=b66121c6-e8fccb07-b6661792-867e61ab5887-9135a1d00f45ee83&q=1&e=5879dc30-9041-4067-808d-e4b5520a5c3e&u=http%3A%2F%2Fwww.slproweb.com%2Fproducts%2FWin32OpenSSL.html. Make sure the 'bin' folder under the OpenSSL installation is included in the 'PATH' environment variable.
- Copy your certificate (e.g. certificate.pfx) and paste it in the system from where you can execute OpenSSL exe. The *.pfx file is in PKCS#12 format and includes both the certificate and the private key.
- Run the following commands to export the private key
- Command 1: openssl pkcs12 -in certificate.pfx -nocerts -out securden-key.pem -nodes
- Command 2: openssl rsa -in securden-key.pem -out securden-key.pem
- Run the following command to export the certificate. openssl pkcs12 -in certificate.pfx -nokeys -out securden-cert.pem Once you execute the above steps, you will get a SSL certificate and a private key.
- Copy the certificate and private key created above and navigate to ∠Securden-Installation-Folder>/conf directory and paste the keys.
- In services.msc, restart Securden PAM Service.
How to Manage the Product License
You can apply the Securden license key and get information about the existing license from Admin >> General >> License section. The following details are displayed:
Customer Name: The name of the organization for which the product is licensed
Contact Name: Contact person within the company
Product: The name of the product purchased from Securden.
Edition: Product edition name
License Type: This indicates if you are a registered user or if you are using the trial version.
Number of Users: The number of users that can be onboarded into Securden.
Addons: Product addons, if any.
Status: The number of days until expiration is displayed here.
To add a new license, You can use the browse button to search for that license and upload the same.
