How to Configure Automated Follow-up Actions in PAM?
Trigger automated follow-up actions upon the occurrence of specific events
IT and DevOps often face the need to rapidly initiate a series of tasks upon the occurrence of certain events. Automation takes care of initiating the required tasks in a timely manner.
You can trigger the automated follow-up action(s) upon the occurrence of any specific event or a sequence of events in Securden Unified PAM. For example, when the password of an account is retrieved or changed, you can trigger a follow-up action automatically. Typically, Securden keeps listening for the event to occur and triggers the script defined by you to initiate the follow-up action.
How to Create an Event Listener for Incident Response
Creating the event listener involves configuring settings in Securden and defining the required follow-up action(s). Typically, you need to specify the conditional event (upon the occurrence of which you want to trigger the follow-up action), then the specific accounts in Securden that are to be considered for the conditional action.
To configure Event Listener,
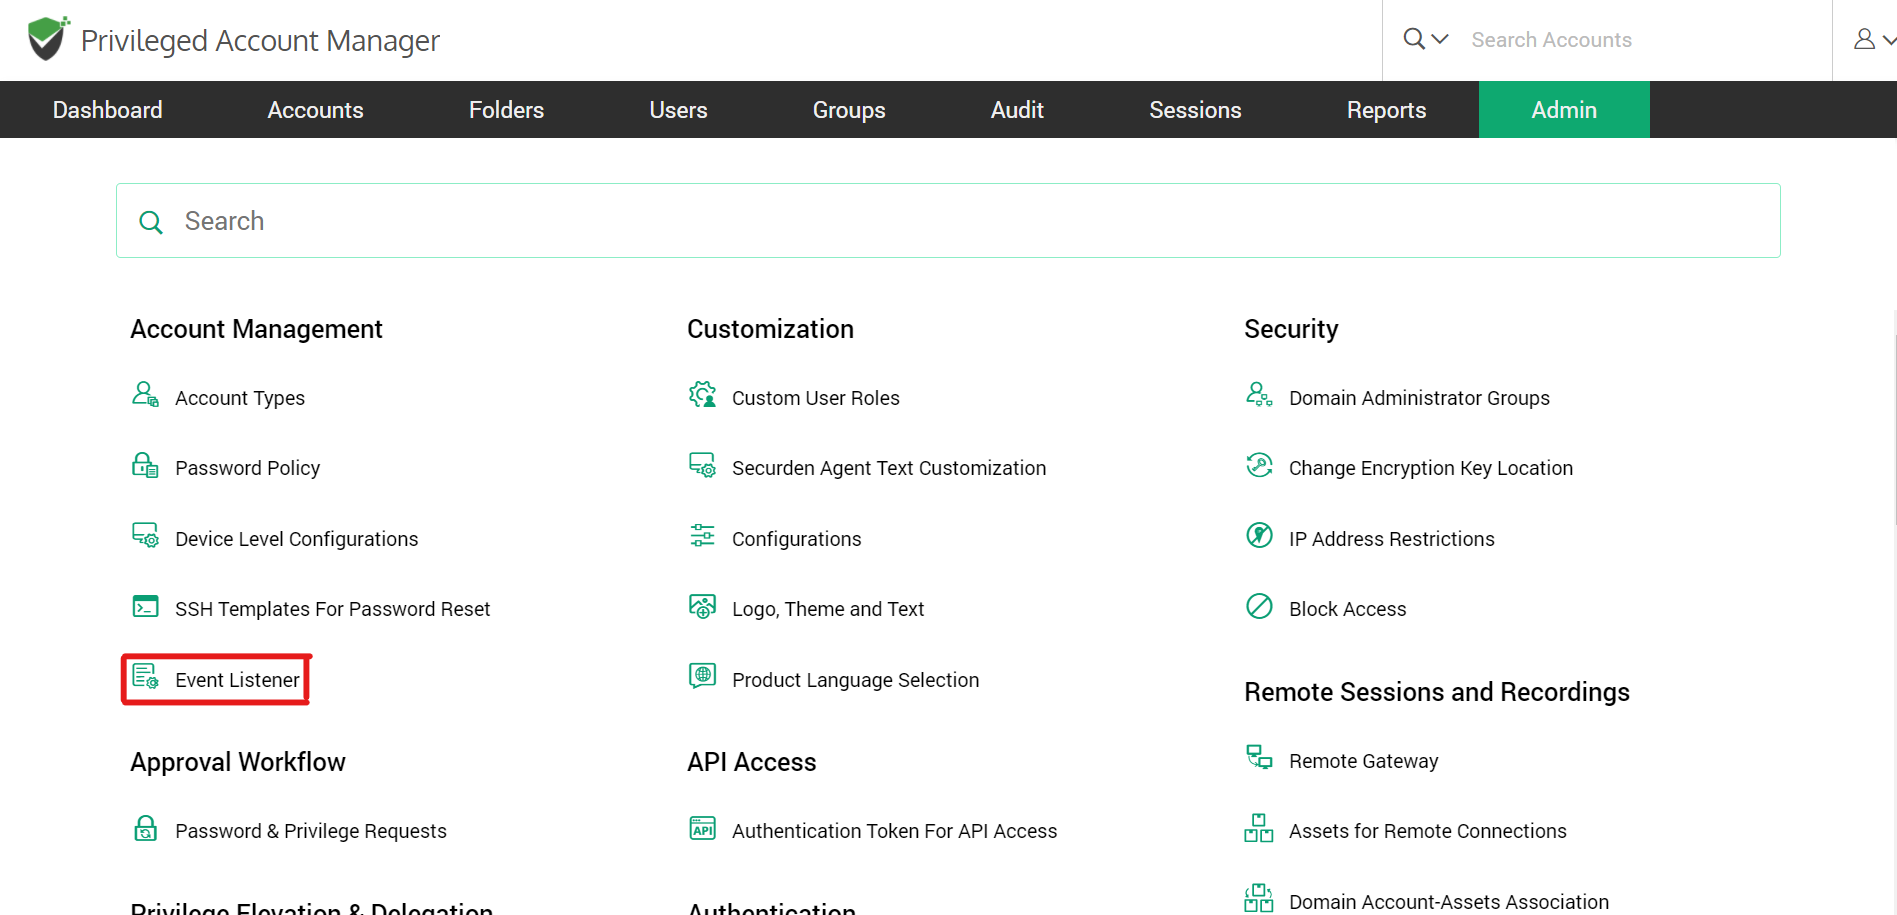
- Navigate to Admin >> Account Management >> Event Listener
- To add an event trigger, click on ‘Add Listener’.

Clicking on Add Listener takes you to the settings GUI to add listener-related attributes.
Step 1: Provide a Name and description for the Listener
- Listener name: A listener name should be included for easy access on the listener lists page. This is done for quick identification.
- Description: A brief description of what the listener was created for or a general categorization of the listener can be given to have an overview of it.

Step 2: Specify the event type to trigger the listener
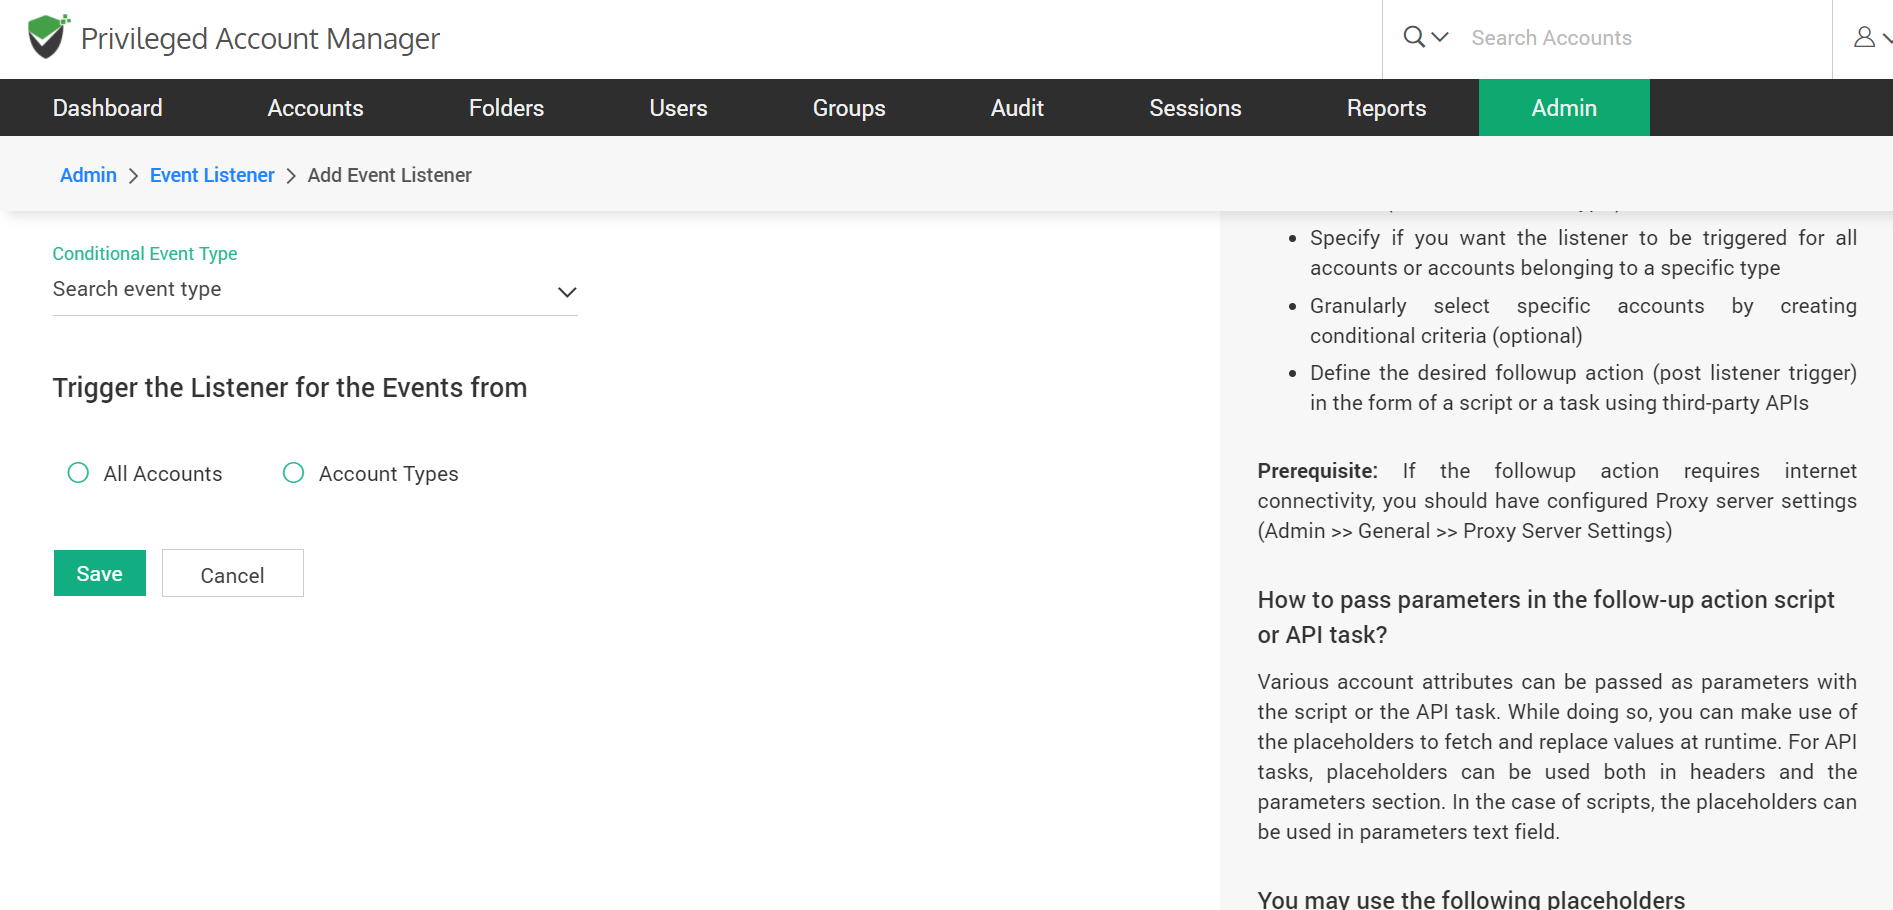
The listener can be triggered for certain conditional event types. You can select the event type from the scroll list by clicking ‘Search event type’.
Some of the conditional events are: Account Added, Account deleted, Account added to Folder, Account removed from Folder, Breached password identified, Password changed locally, Password reset in a remote machine, and Password retrieved.
Step 3: Specify account types for listener to be triggered
You can choose an event listener to be triggered for activity in all accounts or for a specific account type like Linux, MAC, Windows Domain account, and others.
Click on ‘All Accounts’ to trigger an event for all accounts.
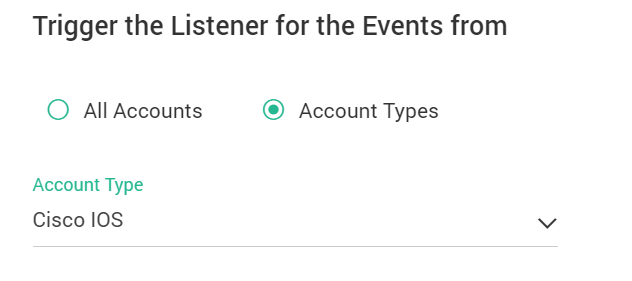
Click on ‘Account Types’ and select the type from the drop-down list.
Step 4: Granularly select specific accounts

You can create granular conditions to trigger the listener only for a select list of accounts matching the criteria to suit your needs. You need to specify the account attributes needed or not needed as the selection criteria. To proceed with this step click on ‘Specify Attributes for Granular Selection’.
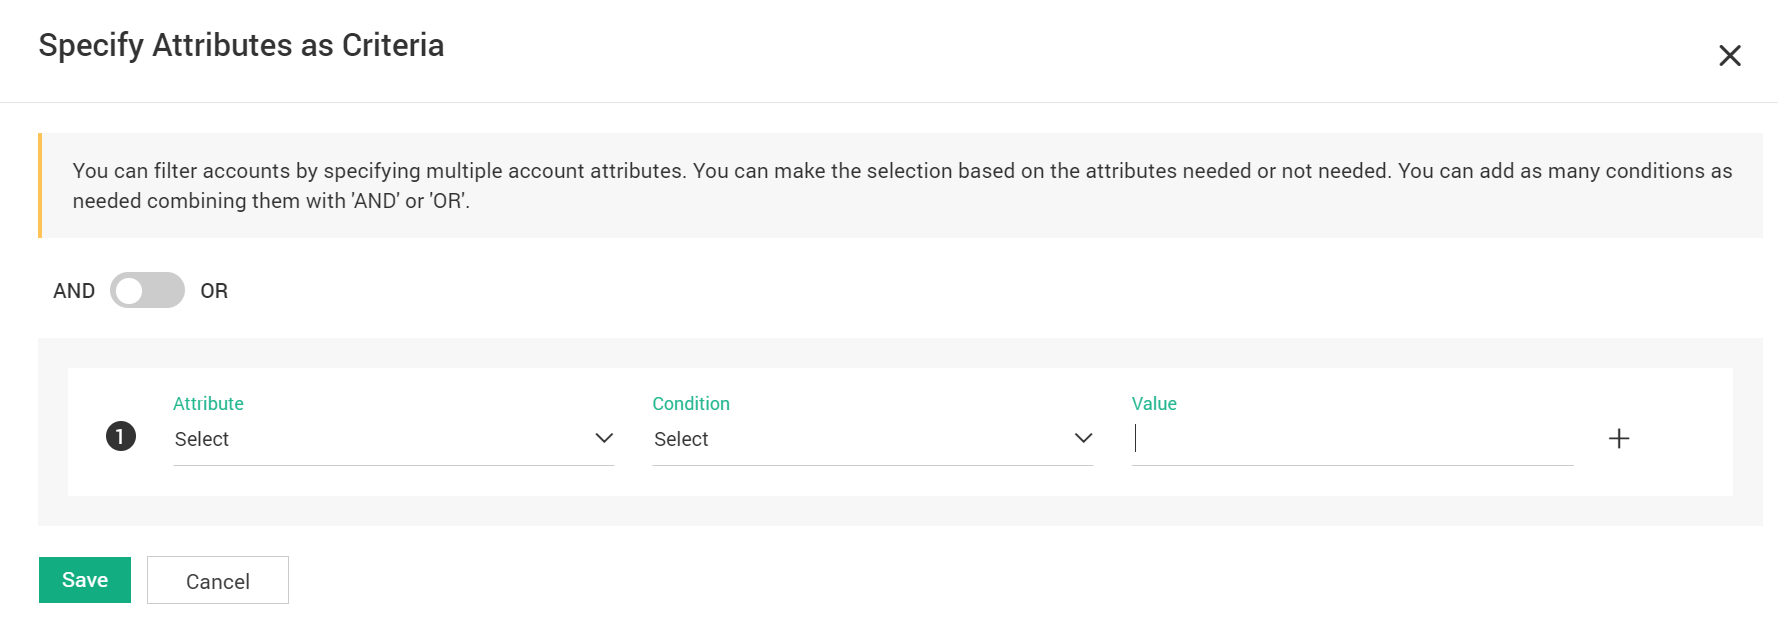
While selecting multiple attributes, you can choose between using the AND operator and the OR operator. Choosing AND will let you select all accounts that satisfy both conditions. Choosing OR will let you select all accounts that satisfy a minimum of one of the conditions.
For each of the selected attributes, you can choose the condition from Equals, Contains, and Does Not Contain.
Specify the Value of the attribute chosen and choose the condition according to the rules below.
Equals mean the Value specified is an exact match to the account’s attribute
Contains mean the Value specified is a part of the account’s attribute.
Does Not Contain means the Value specified is not a part of the account’s attribute.
To add a criterion, you can click on “+” at the RHS.
To remove a criterion, you can click on “-” at the RHS.
Step 5: Define the desired follow-up action
Prerequisite: If the follow-up action requires internet connectivity, you should have configured Proxy server settings (Admin >> General >> Proxy Server Settings)
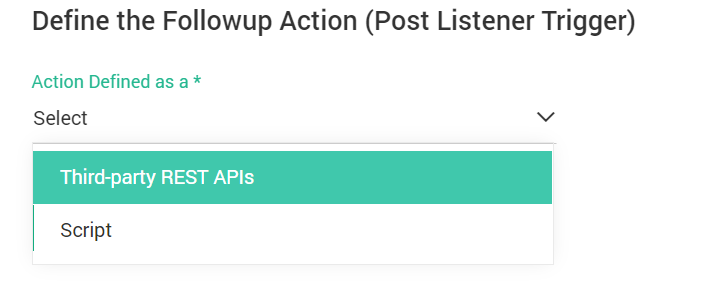
The follow-up action can be either in the form of a script or a task using third-party APIs.
How to Set up Follow-Up Actions with a Script
Summary of steps:
- Key in the Pre-Command: If the script needs another program to invoke it from the command prompt, the same could be provided here as the 'Pre Command'.
- Select the Script file from your computer.
- Choose the Parameters to be Passed.
FORMAT : ∠Pre Command> ∠Script File> ∠Parameters>
How to Set up Follow-Up Actions with Third-Party REST APIs
Various account attributes can be passed as parameters with the script or the API task. While doing so, you can make use of the placeholders to fetch and replace values at runtime. For API tasks, placeholders can be used both in headers and the parameters section. In the case of scripts, the placeholders can be used in the parameters text field.
You may use the following placeholders
- Account Title {%ACCOUNT_TITLE%}
- Account Name {%ACCOUNT_NAME%}
- Address {%ACCOUNT_ADDRESS%}
- Account Old Password {%OLD_PASSWORD%}
- Account Password {%ACCOUNT_PASSWORD%}
- Folder Name {%FOLDER_NAME%}
- Name of the account for remotely logging in to the IT asset {%REMOTE_LOGIN_ACCOUNT_NAME%}
- Password of the remote login account {%REMOTE_LOGIN_ACCOUNT_PASSWORD%}
- Name of the account that has privileges to do remote operation {%PRIVILEGED_ACCOUNT_NAME%}
- Password of the privileged account {%PRIVILEGED_ACCOUNT_PASSWORD%}
Setting up follow-up actions with a Third-party REST API
Steps:
- Select the request type from GET, PUT, POST, DELETE.
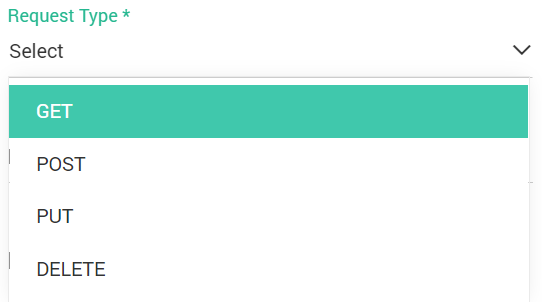
The four main HTTP methods (GET, PUT, POST, and DELETE) can be mapped to CRUD operations as follows:
GET retrieves the representation of the resource at a specified URL. GET should have no side effects on the server.
PUT updates a resource at a specified URL. PUT can also be used to create a new resource at a specified URL, if the server allows clients to specify new URIs. For this tutorial, the API will not support creation through PUT.
POST creates a new resource. The server assigns the URL for the new object and returns this URL as part of the response message.
DELETE deletes a resource at a specified URL.
- Enter the Request URL where the request type will be applicable
- Choose to add Headers or API Parameters using ‘Add Headers’ and ‘Add Parameters’.
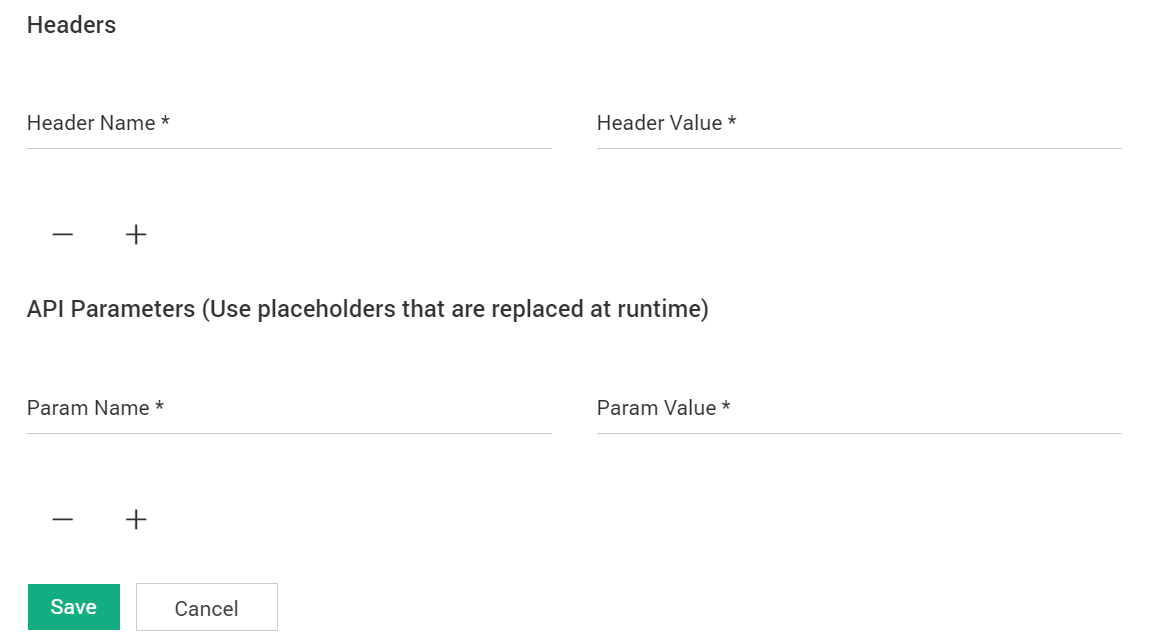
To enter multiple Headers or Parameters use the ‘+’ sign. To remove a Header or Parameter use the ‘-’ sign.
Enter the details of Name and Value for Headers and API parameters.
- API headers are like an extra source of information for each API call you make to represent the meta-data associated with an API request and response.
- API parameters are the variable parts of a resource. They determine the type of action you want to take on the resource. Each parameter has a name and value type.
What are the Actions Performed on an Event Listener
Once all the fields have been filled, click on ‘Save’, if you wish to stop the creation, simply click ‘Cancel’.
Event listener actions
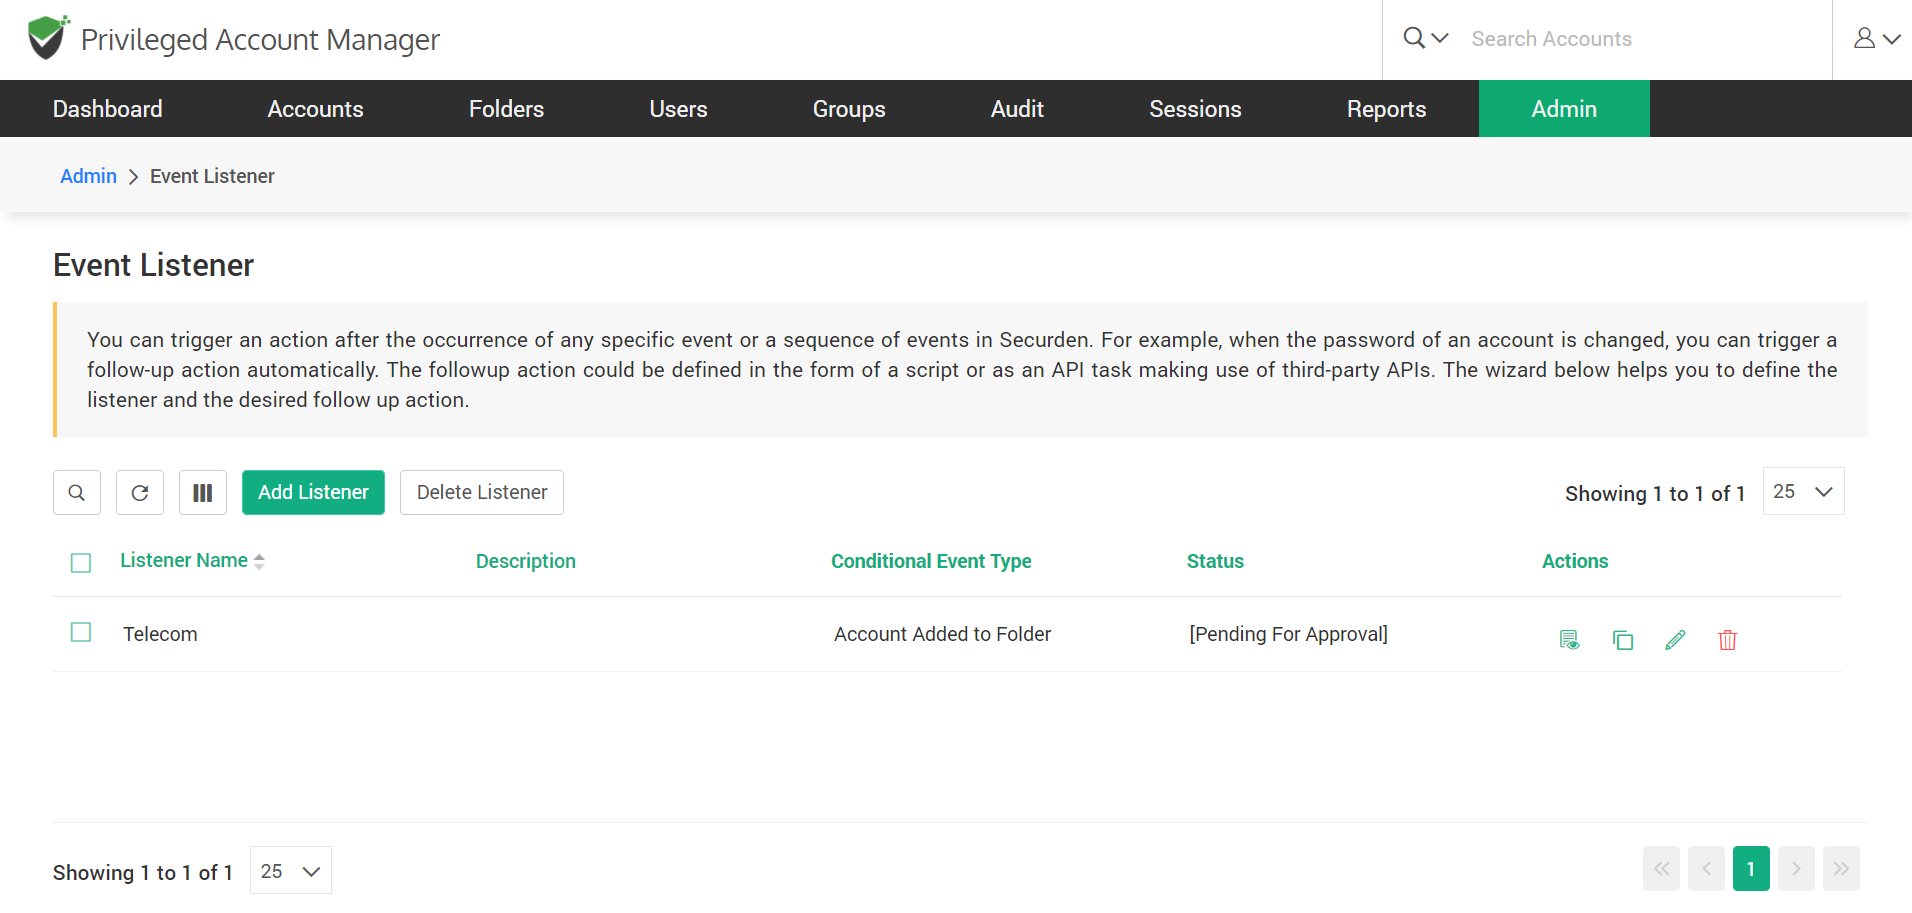
Delete a listener
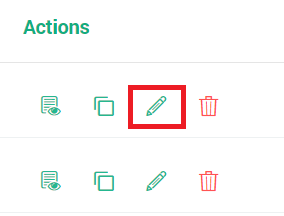
To delete created listeners, select them from the list and click ‘Delete Listener’ OR delete them individually using the ∠Red icon> in ‘Actions’.

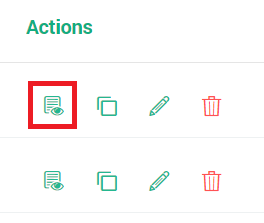
Listener Actions
View Listener gives you a brief of the Listener name, Event type, Trigger action, and Description. To access this click on the view icon as shown below.
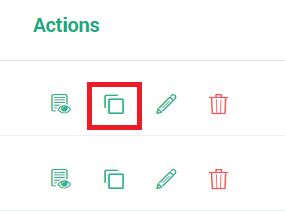
Clone Listener. To create a listener with similar details to an existing one, use the clone icon as shown below. This takes you to the Add listener configuration with all the pre-filled details of the clone, change the fields as needed and click ‘Save’.
Edit Listener. To edit a listener click on the edit icon as shown below. This lets you change any field you have entered while adding the listener.